Not sure what you're looking for?

Book a call

Hello, Redditor! To say thank-you to our friends from Reddit, we have an exclusive offer. Use code REDDIT to get your first month for £1. Applies to monthly plans only.

Gnu Host is now . See our announcement Zume for more details.

You are on our site Visit our site 

How to unblock your IP from our firewall

There are many reasons why your IP may become listed in our firewall. Maybe you forgot your password and tried to log in too many times, or maybe you triggered our security software with a PHP script.

If your IP address is repeatedly being blocked, you should resolve the root cause of this. Most often this is caused by multiple failed email logins.  You should ensure that email clients on every device on your network (mobiles, laptops, desktops etc.) are configured with the correct username and password to prevent failed logins being detected by our firewall. The IP unblock tool will tell you the reason for the block to help you identify the root cause.

We offer a simple way to unblock their IP address directly through the client area.

  1. Log into the Zume client area.
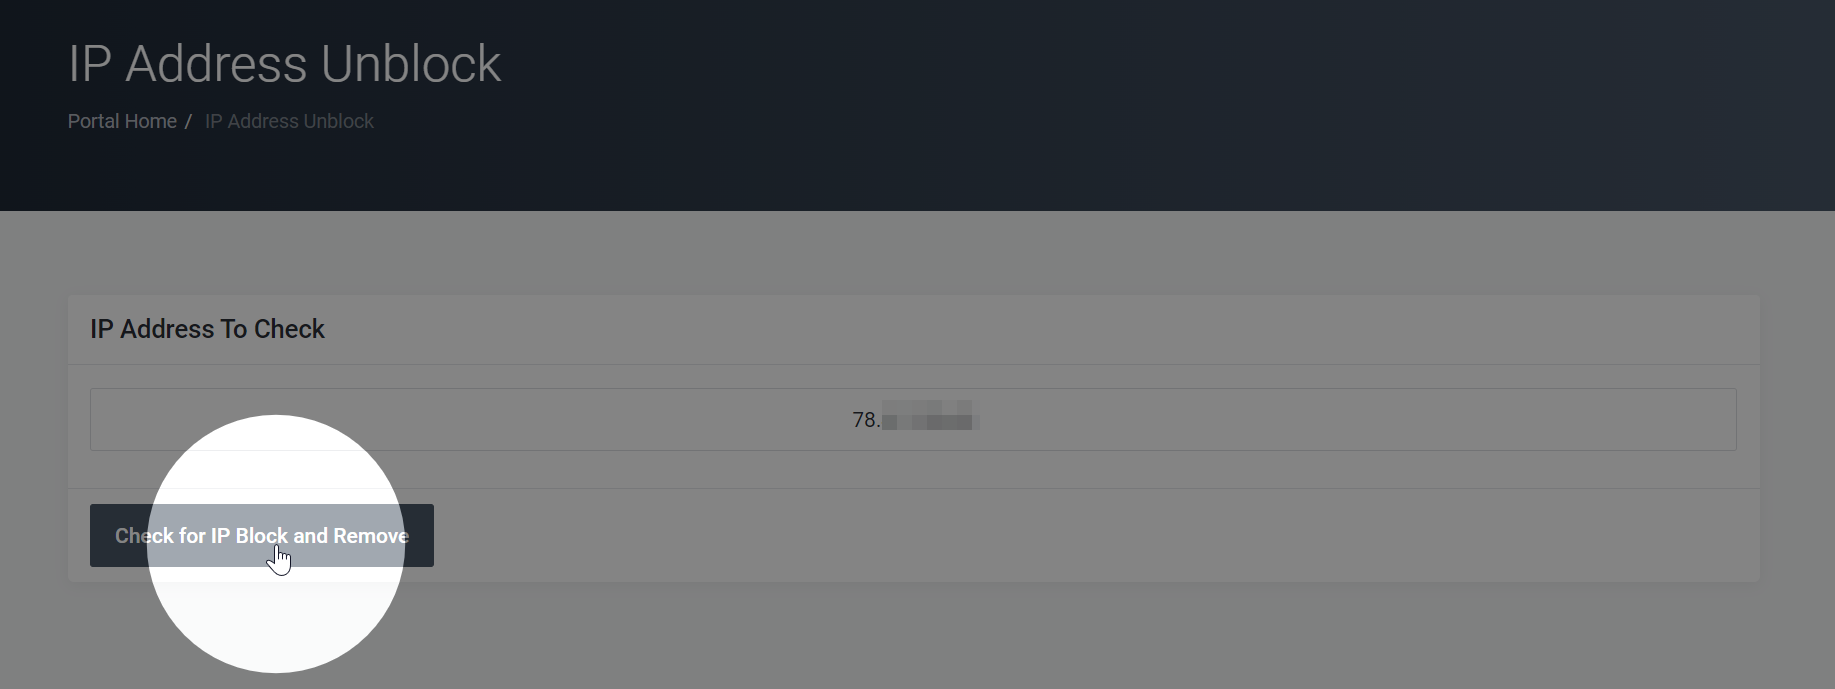
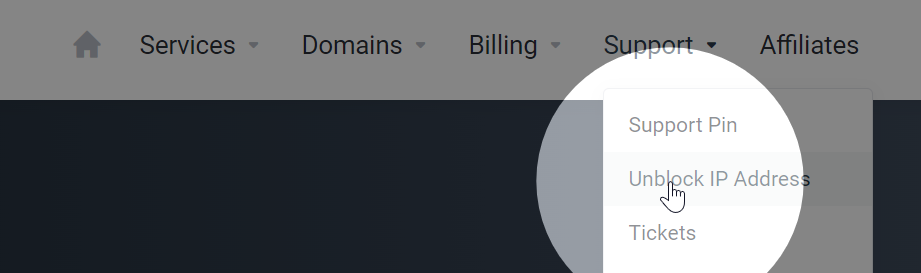
  2. Go to the Unblock IP Address page under the Support dropdown.
  3. Enter your IP address in the provided field. To find your IP address, you can visit a website like whatismyip.com.
  4. Click the Check for IP Block button. If your IP address was blocked, you should now have access to your website.

If you are still facing issues after unblocking your IP address, please read this article about what to do if your website seems to be down.

How to enable caching on WordPress

You should uninstall all existing caching plugins from your WordPress admin area. Examples include WPRocket, W3 Total Cache, Hummingbird etc.

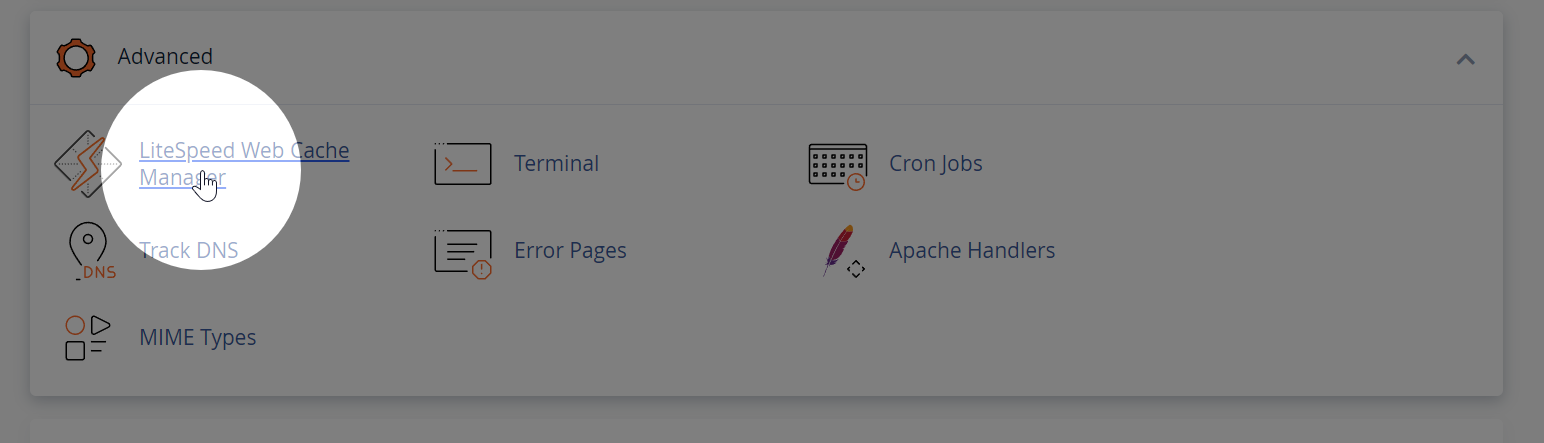
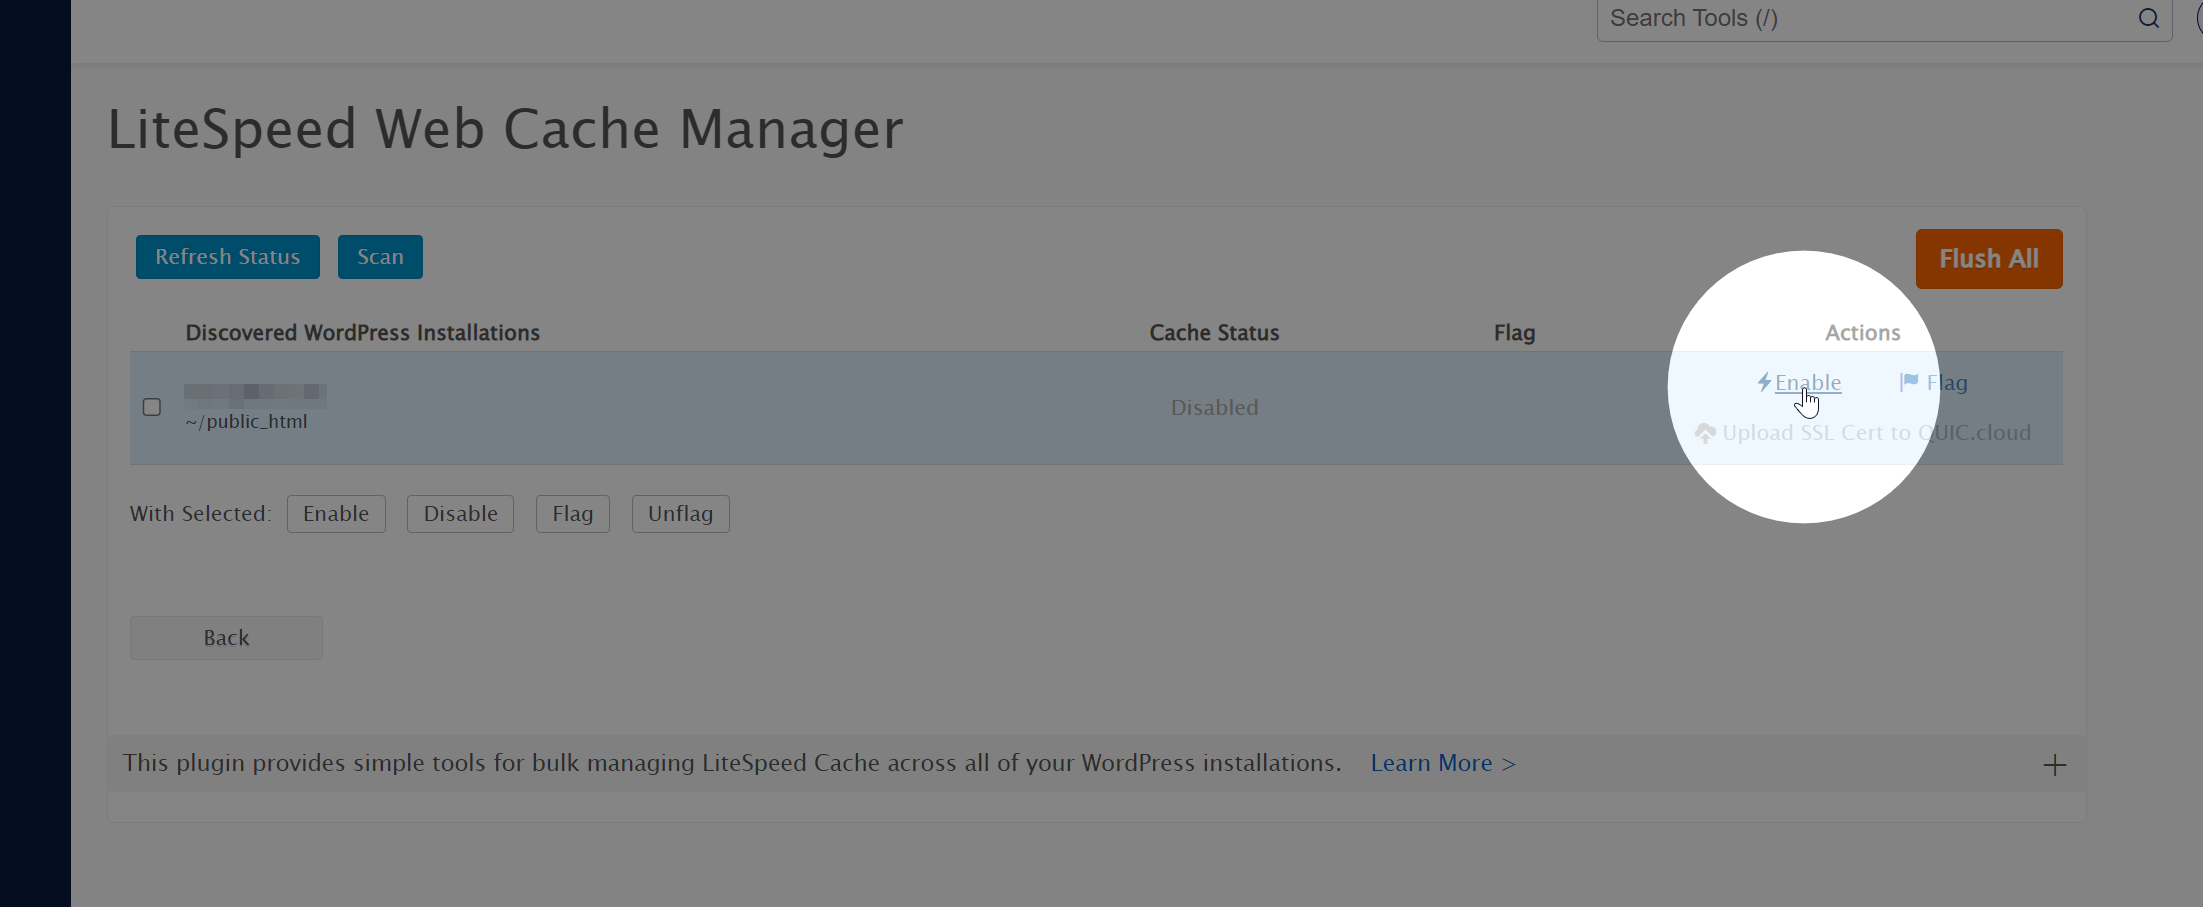
Log into cPanel and click on the LiteSpeed Web Cache Manager link.

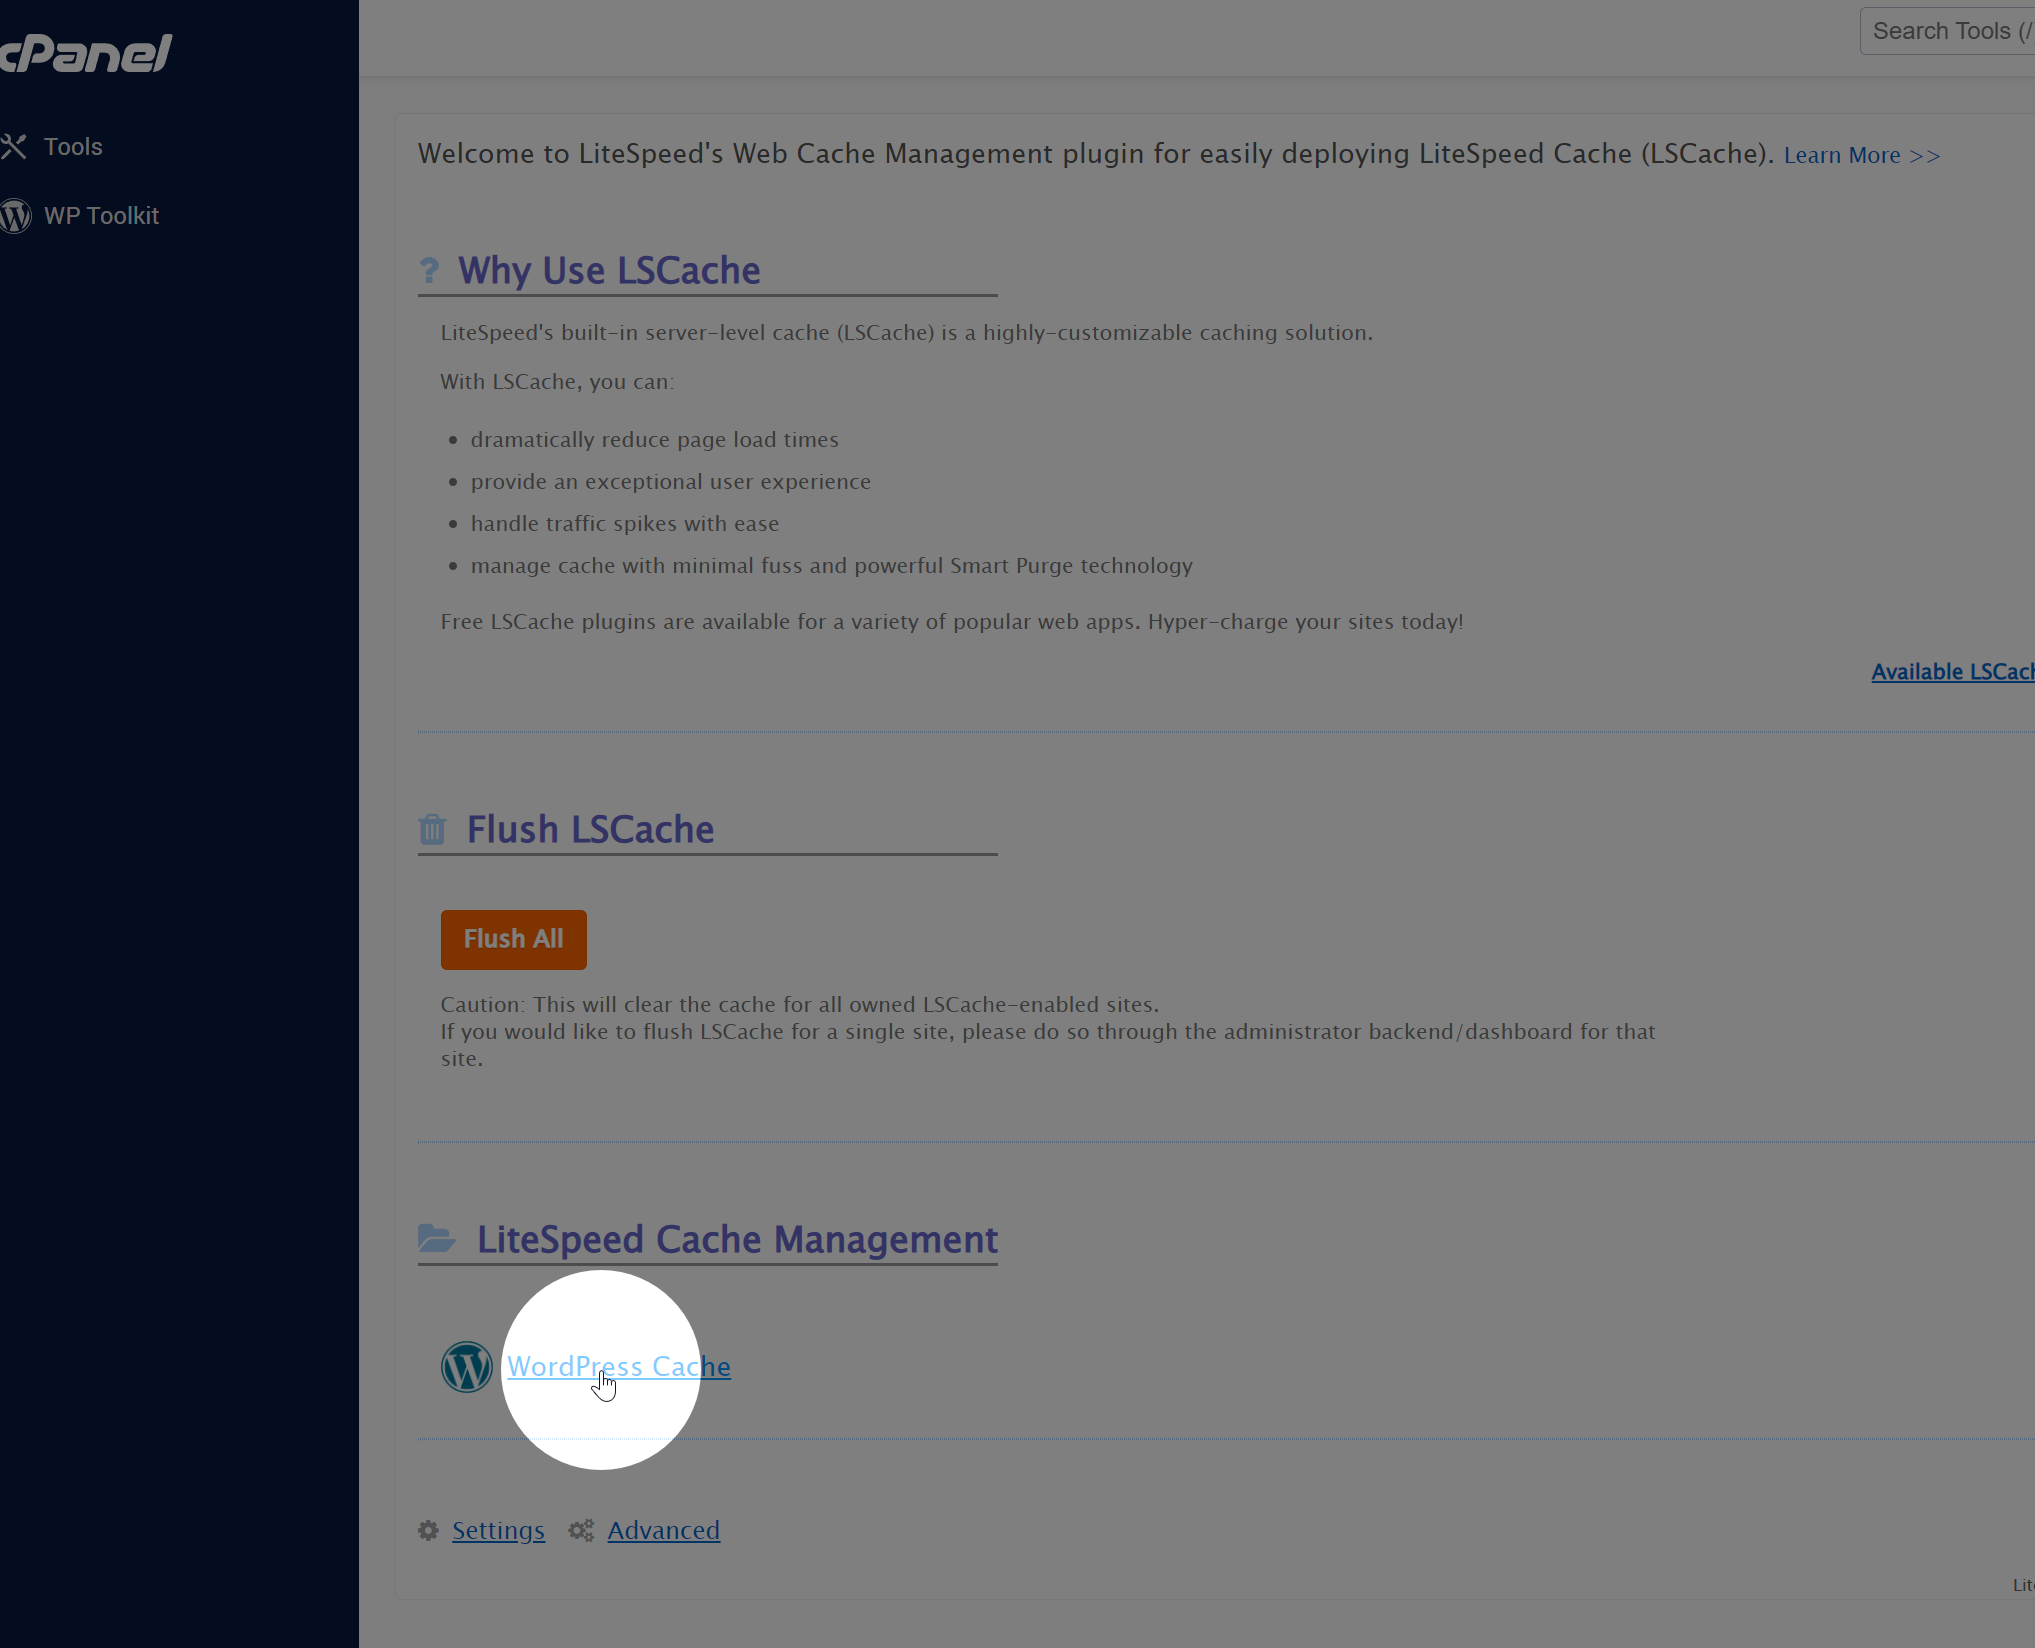
Click WordPress Cache.

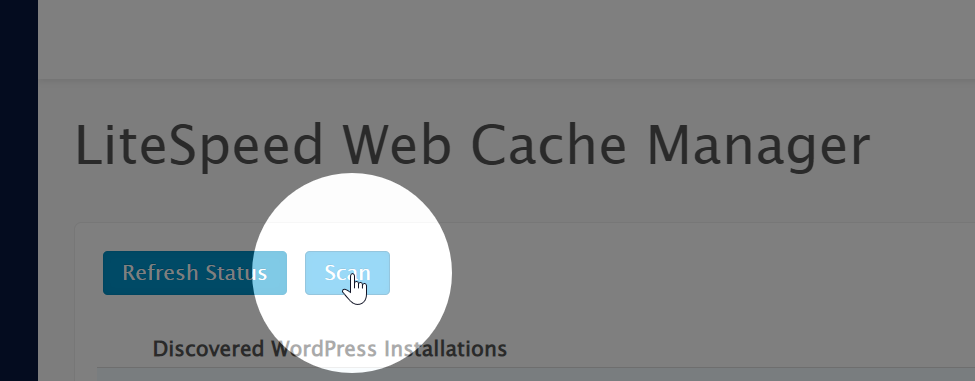
Click Scan to detect your WordPress installations.

Click Enable on the installations that you wish to enable caching for.

If you get an error, please double check that all existing cache plugins are disabled and deleted.

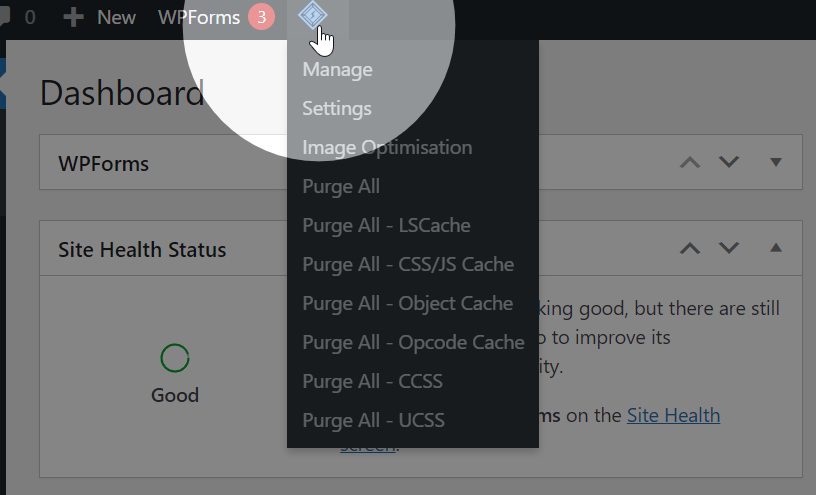
In your WordPress admin area, you can now manage the cache configuration.

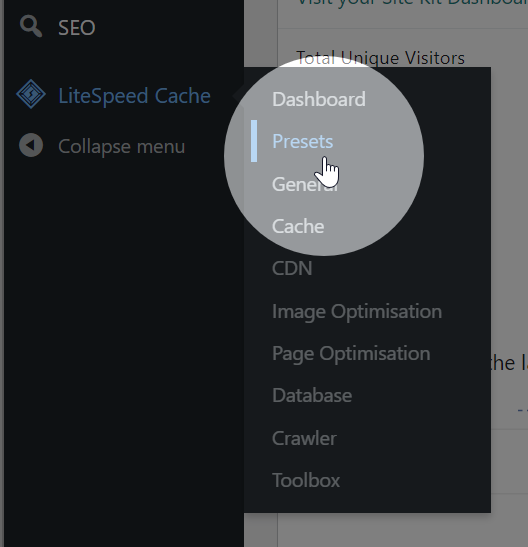
We recommend applying one of the presets for optimal configuration.

Website Optimisation Techniques

Optimising your website for better performance is essential to improve user experience, reduce bounce rates, and boost search engine rankings. In this article, we will discuss advanced optimisation techniques that can help you enhance your website’s performance.


  1. Configure .htaccess for Expires Headers

Expires headers instruct browsers to cache specific resources for a set period, reducing server load and improving load times. To enable Expires headers, add the following code to your .htaccess file:

<IfModule mod_expires.c>
 ExpiresActive On
 ExpiresByType image/jpg "access 1 year"
 ExpiresByType image/jpeg "access 1 year"
 ExpiresByType image/gif "access 1 year"
 ExpiresByType image/png "access 1 year"
 ExpiresByType text/css "access 1 month"
 ExpiresByType text/html "access 1 month"
 ExpiresByType application/pdf "access 1 month"
 ExpiresByType text/x-javascript "access 1 month"
 ExpiresByType application/x-shockwave-flash "access 1 month"
 ExpiresByType image/x-icon "access 1 year"
 ExpiresDefault "access 1 month"
</IfModule>
  1. Enable WordPress Caching

Caching can significantly improve your WordPress site’s performance by storing a static version of your pages. Install a caching plugin, such as WP Super Cache or W3 Total Cache, and configure it according to your site’s requirements.

Learn how to enable WordPress caching.

  1. Use LiteSpeed Cache (LSCache) and Optimise Database

LSCache is a powerful caching solution for LiteSpeed Web Server. Install the LiteSpeed Cache plugin for WordPress, and enable its database optimisation features to clean up and optimise your database tables.

  1. Implement a CDN

A Content Delivery Network (CDN) distributes your site’s static assets across multiple servers worldwide, ensuring faster delivery based on the user’s geographic location. Implementing a CDN can significantly reduce latency and improve loading speeds.

Learn how to configure Bunny.net CDN with WordPress.

  1. Disable wp-cron.php

By default, WordPress uses a file called wp-cron.php to schedule tasks. However, it can cause performance issues on high-traffic sites. Disable wp-cron.php by adding the following line to your wp-config.php file:

define(‘DISABLE_WP_CRON’, true); Then, set up a manual cron job via your hosting control panel (cPanel) to run the script at specific intervals.

  1. Enable SSL

Secure Sockets Layer (SSL) encrypts data between your website and users, improving security and boosting search engine rankings. Obtain an SSL certificate for your domain and configure your website to use HTTPS.

Learn how to enable SSL on your website.

  1. Optimise PHP in cPanel

Ensure that your server is running the latest stable version of PHP, as newer versions generally offer better performance. In cPanel, navigate to “MultiPHP Manager” and select the desired PHP version for your website. Additionally, configure PHP settings (memory limit, execution time, etc.) according to your site’s needs.

  1. Minimise External Resources

External resources, such as fonts, scripts, and stylesheets, can increase the number of HTTP requests and slow down your site. Limit the use of external resources and consider hosting them locally to reduce load times.

  1. Optimise WordPress Plugins and Themes

Choose lightweight, well-coded plugins and themes for your WordPress site. Regularly update and remove any unused or outdated plugins to prevent performance issues and security vulnerabilities.

How to use PHP in the terminal

When using PHP in the terminal, you have to specify the full path to the PHP binary. This guide will show you how to use PHP in the terminal.


PHP Paths

The following paths are used to run PHP in the terminal:

  • PHP 5.6/opt/cpanel/ea-php56/root/usr/bin/php
  • PHP 7.0/opt/cpanel/ea-php70/root/usr/bin/php
  • PHP 7.1/opt/cpanel/ea-php71/root/usr/bin/php
  • PHP 7.2/opt/cpanel/ea-php72/root/usr/bin/php
  • PHP 7.3/opt/cpanel/ea-php73/root/usr/bin/php
  • PHP 7.4/opt/cpanel/ea-php74/root/usr/bin/php
  • PHP 8.0/opt/cpanel/ea-php80/root/usr/bin/php
  • PHP 8.1/opt/cpanel/ea-php81/root/usr/bin/php
  • PHP 8.2/opt/cpanel/ea-php82/root/usr/bin/php
  • PHP 8.3/opt/cpanel/ea-php83/root/usr/bin/php
  • PHP 8.4/opt/cpanel/ea-php84/root/usr/bin/php
  • PHP 8.5/opt/cpanel/ea-php85/root/usr/bin/php

How to use PHP in the terminal

To use PHP in the terminal, you have to specify the full path to the PHP binary. For example, to run composer install using PHP 8.0, you can run the following command:

/opt/cpanel/ea-php80/root/usr/bin/php /usr/local/bin/composer install

Adding PHP to the PATH

To add PHP to the PATH, you can create a symbolic link to the PHP binary. For example, to add PHP 8.3 to the PATH, you can run the following command:

ln -s /opt/cpanel/ea-php82/root/usr/bin/php /usr/local/bin/php

After running this command, you can use PHP in the terminal without specifying the full path to the PHP binary.

Alternatively, you can add the following line to your ~/.bashrc file:

export PATH=/opt/cpanel/ea-php82/root/usr/bin:$PATH

You can add this to your ~/.bashrc file by running the following commands:

cd ~
echo 'export PATH=/opt/cpanel/ea-php82/root/usr/bin:$PATH' >> ~/.bashrc
source ~/.bashrc

Remember to adjust the ea-php82 part of the path to match the version of PHP you want to use.

After adding this line, you can use PHP in the terminal without specifying the full path to the PHP binary.

For example, you can run the following command to check the PHP version:

php -v

How to log in to cPanel control panel

cPanel is our web-based control panel that allows you to manage your web hosting account and access various tools and features. In this guide, we will walk you through the steps to log in to cPanel to manage your web hosting account.


After signing up for one of our hosting packages, you will receive a Welcome Email with all of the information you need to access your control panel. If you follow the cPanel login link provided, it will take you to the login screen where you can enter your credentials and continue to cPanel.

Stay Secure

You must update your password after receiving your Welcome Email. Learn how to update your cPanel password.

Single Sign-on via the Client Area

Log into the Zume Client Area using your credentials.

Client Area Login

Forgotten your Client Area password? Learn how to reset your Client Area password.

Find your service

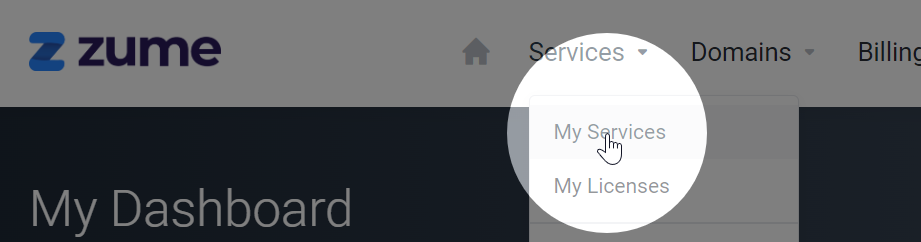
In the Services dropdown, click My Services.

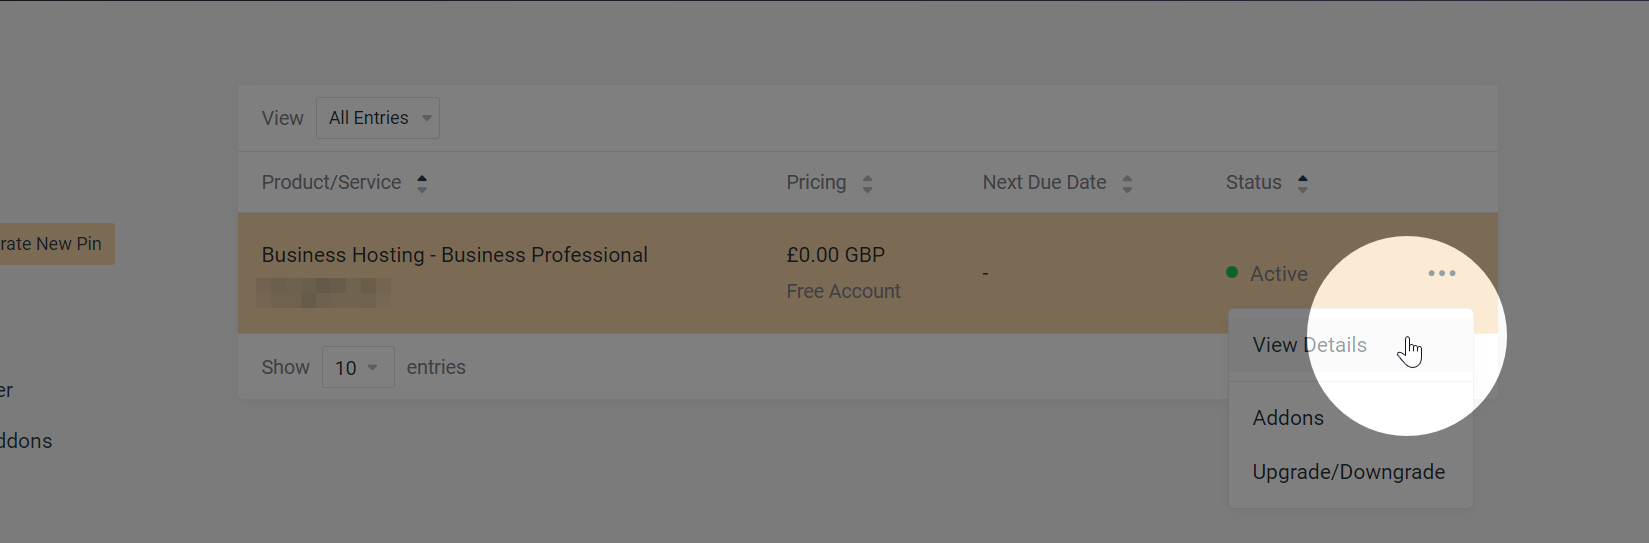
Locate your service on the My Services page. Click the 3 dots, then View Details.

My Services

Log in to cPanel

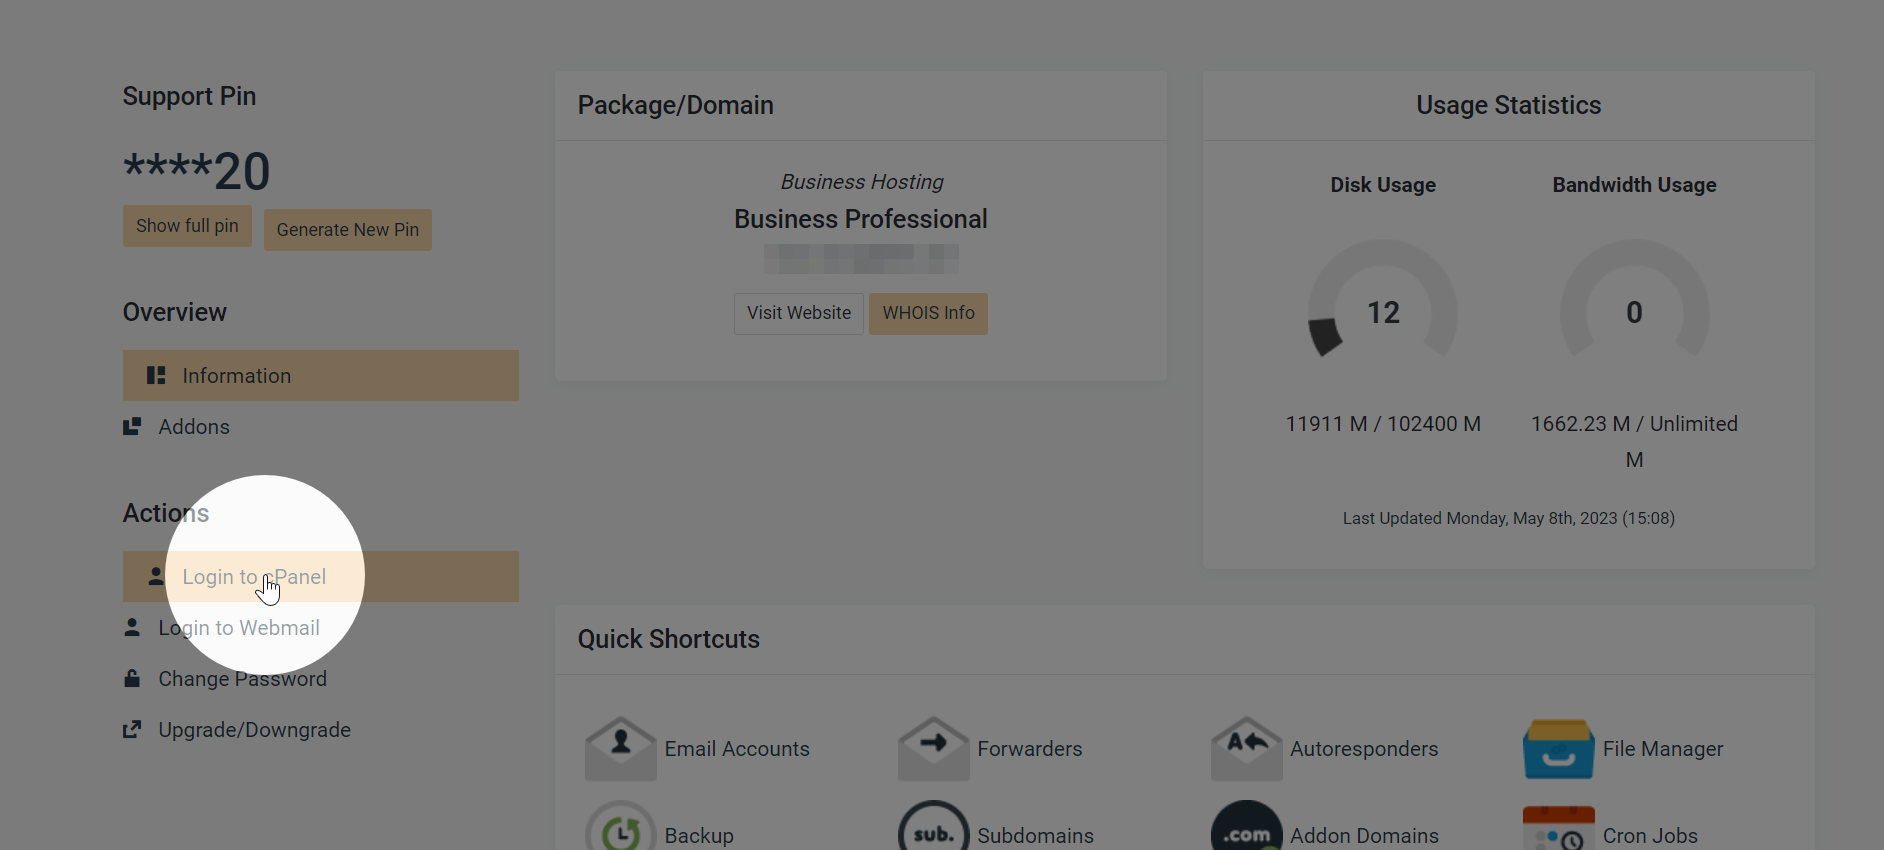
Click the Login to cPanel button to be taken to cPanel.

Login to cPanel

Forgotten your cPanel password? Learn how to reset your cPanel password.

How to connect to cPanel via SSH

Connecting to cPanel via SSH allows you to manage your web hosting account more efficiently and run commands securely. In this guide, we will walk you through the steps to connect to cPanel via SSH using a terminal emulator or your own SSH client.


Connect via cPanel Terminal

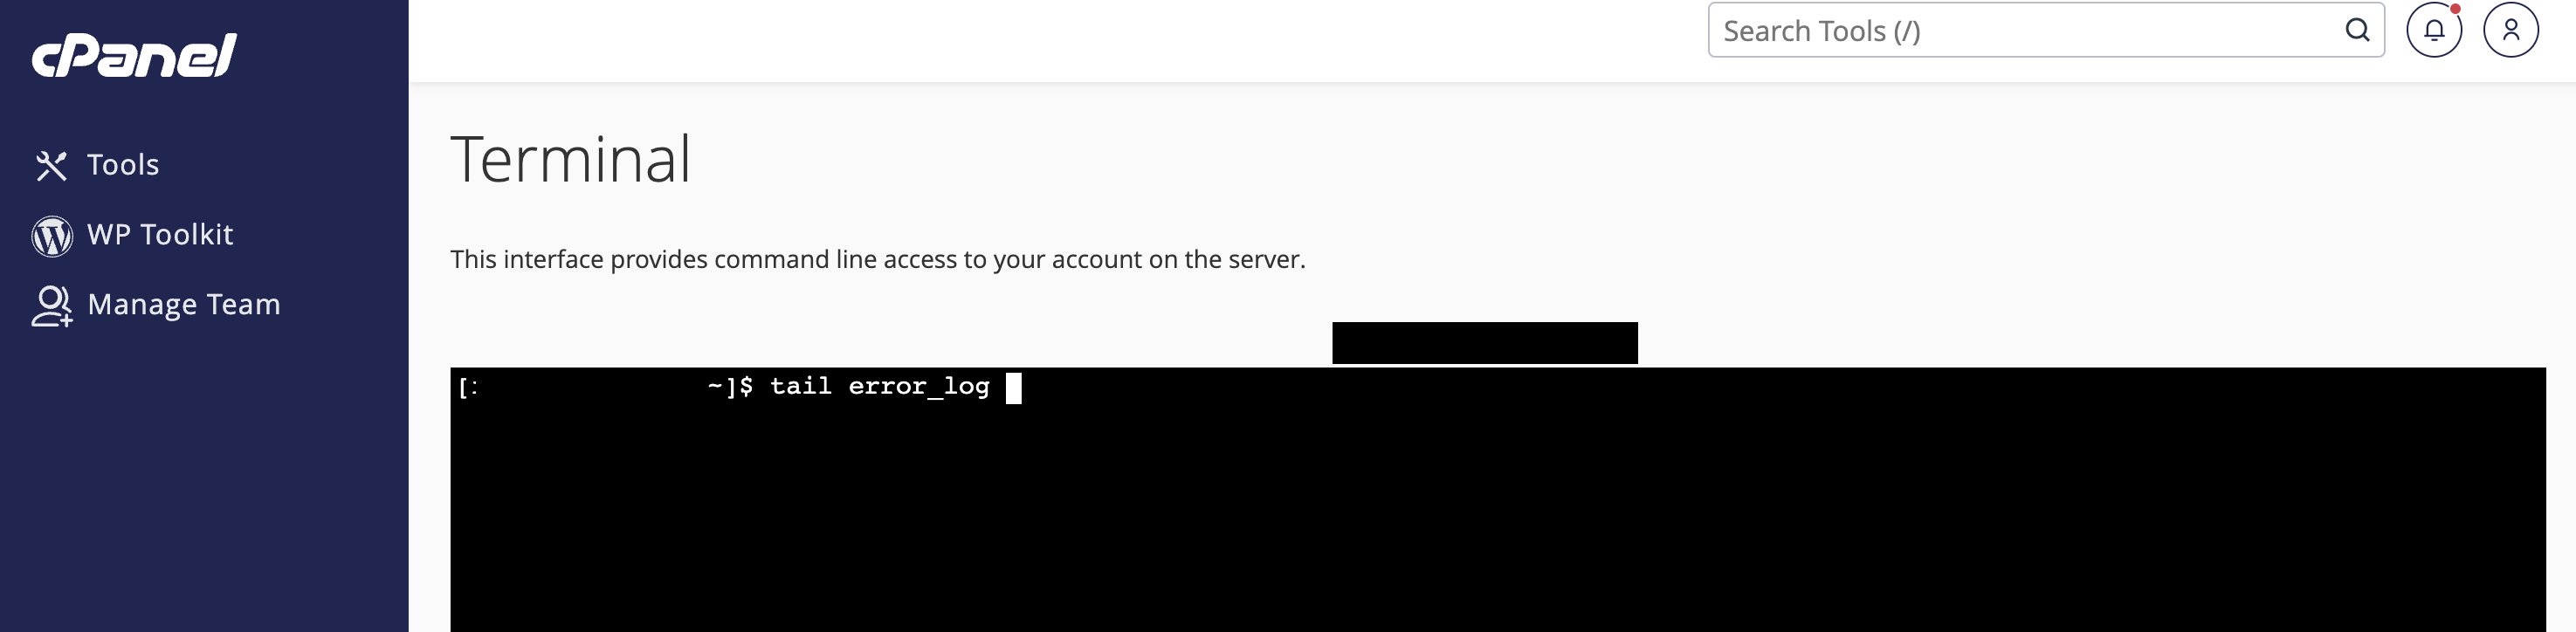
cPanel provides a built-in terminal emulator that allows you to access your server via SSH directly from the cPanel interface. Here’s how you can connect to cPanel via SSH using the terminal:

Caution!

Be cautious when using the terminal, as running incorrect commands can cause corruption or data loss. If you are unsure about a command, consult with Zume or a system administrator. We cannot be held responsible for any damages caused by running incorrect commands.

  1. Log in to your cPanel account.
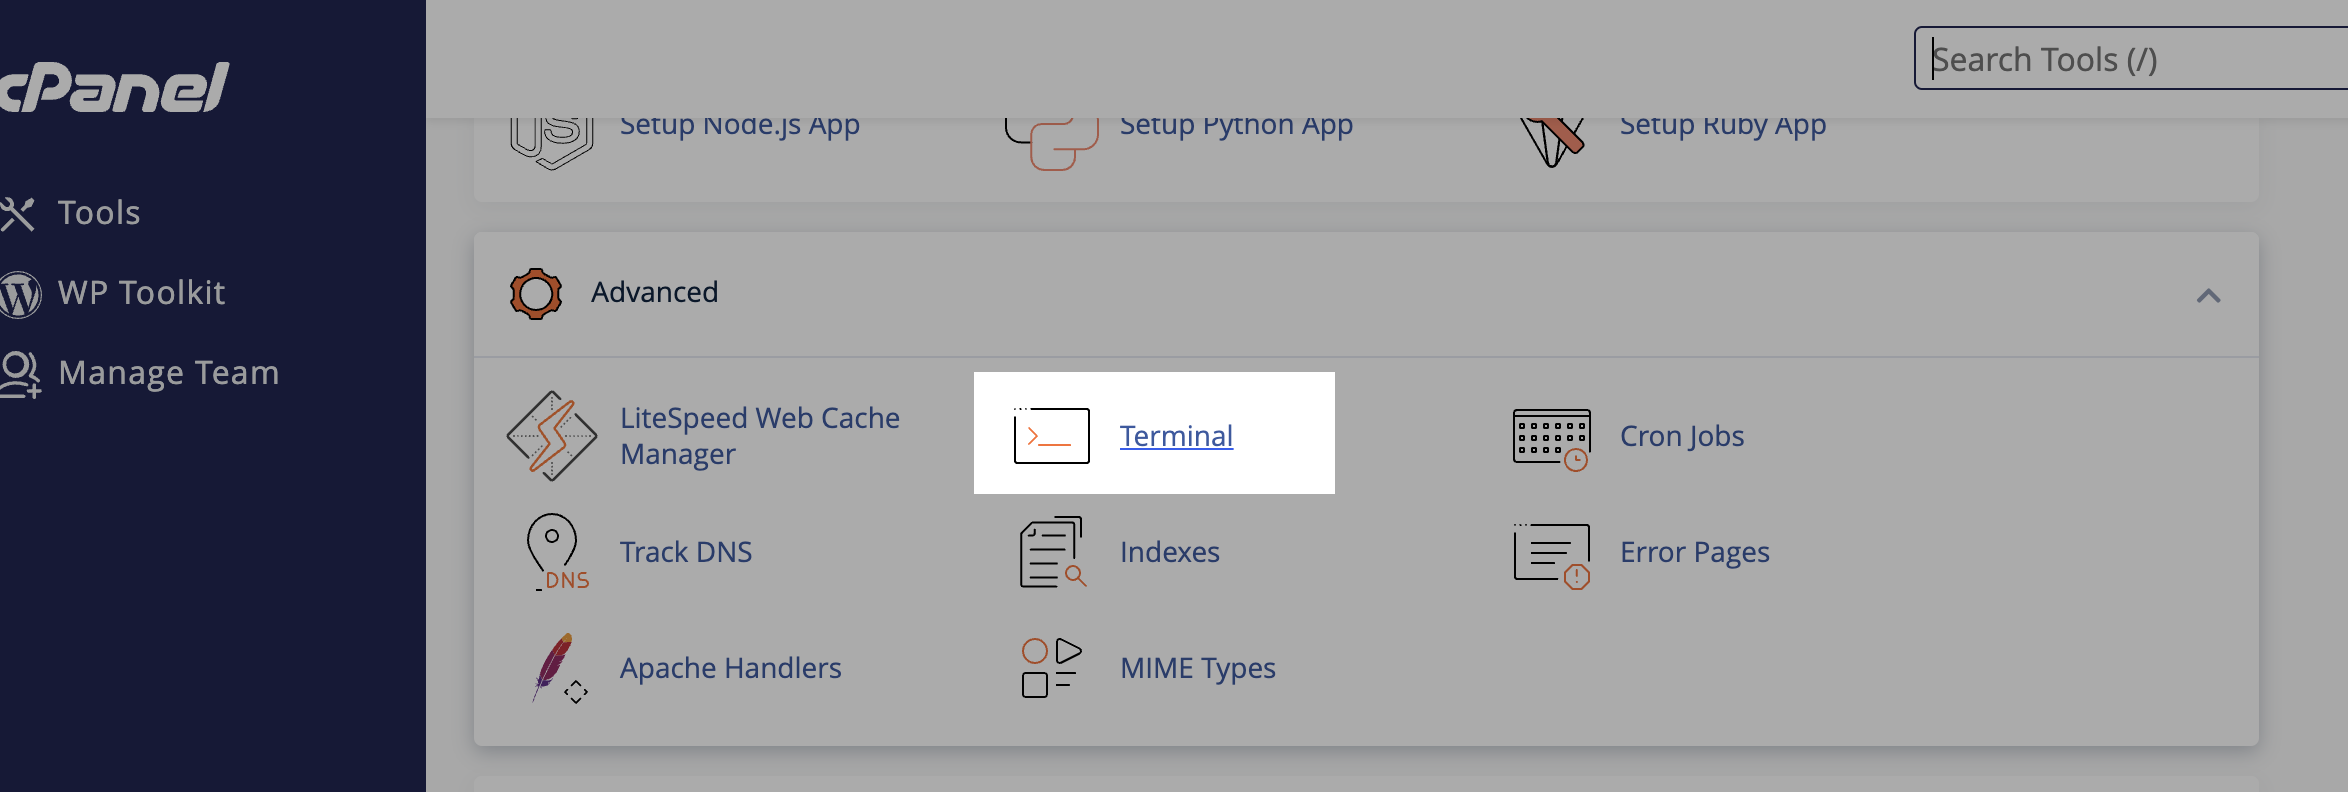
  2. In the cPanel dashboard, navigate to the “Advanced” section and click on “Terminal.”Terminal in cPanel
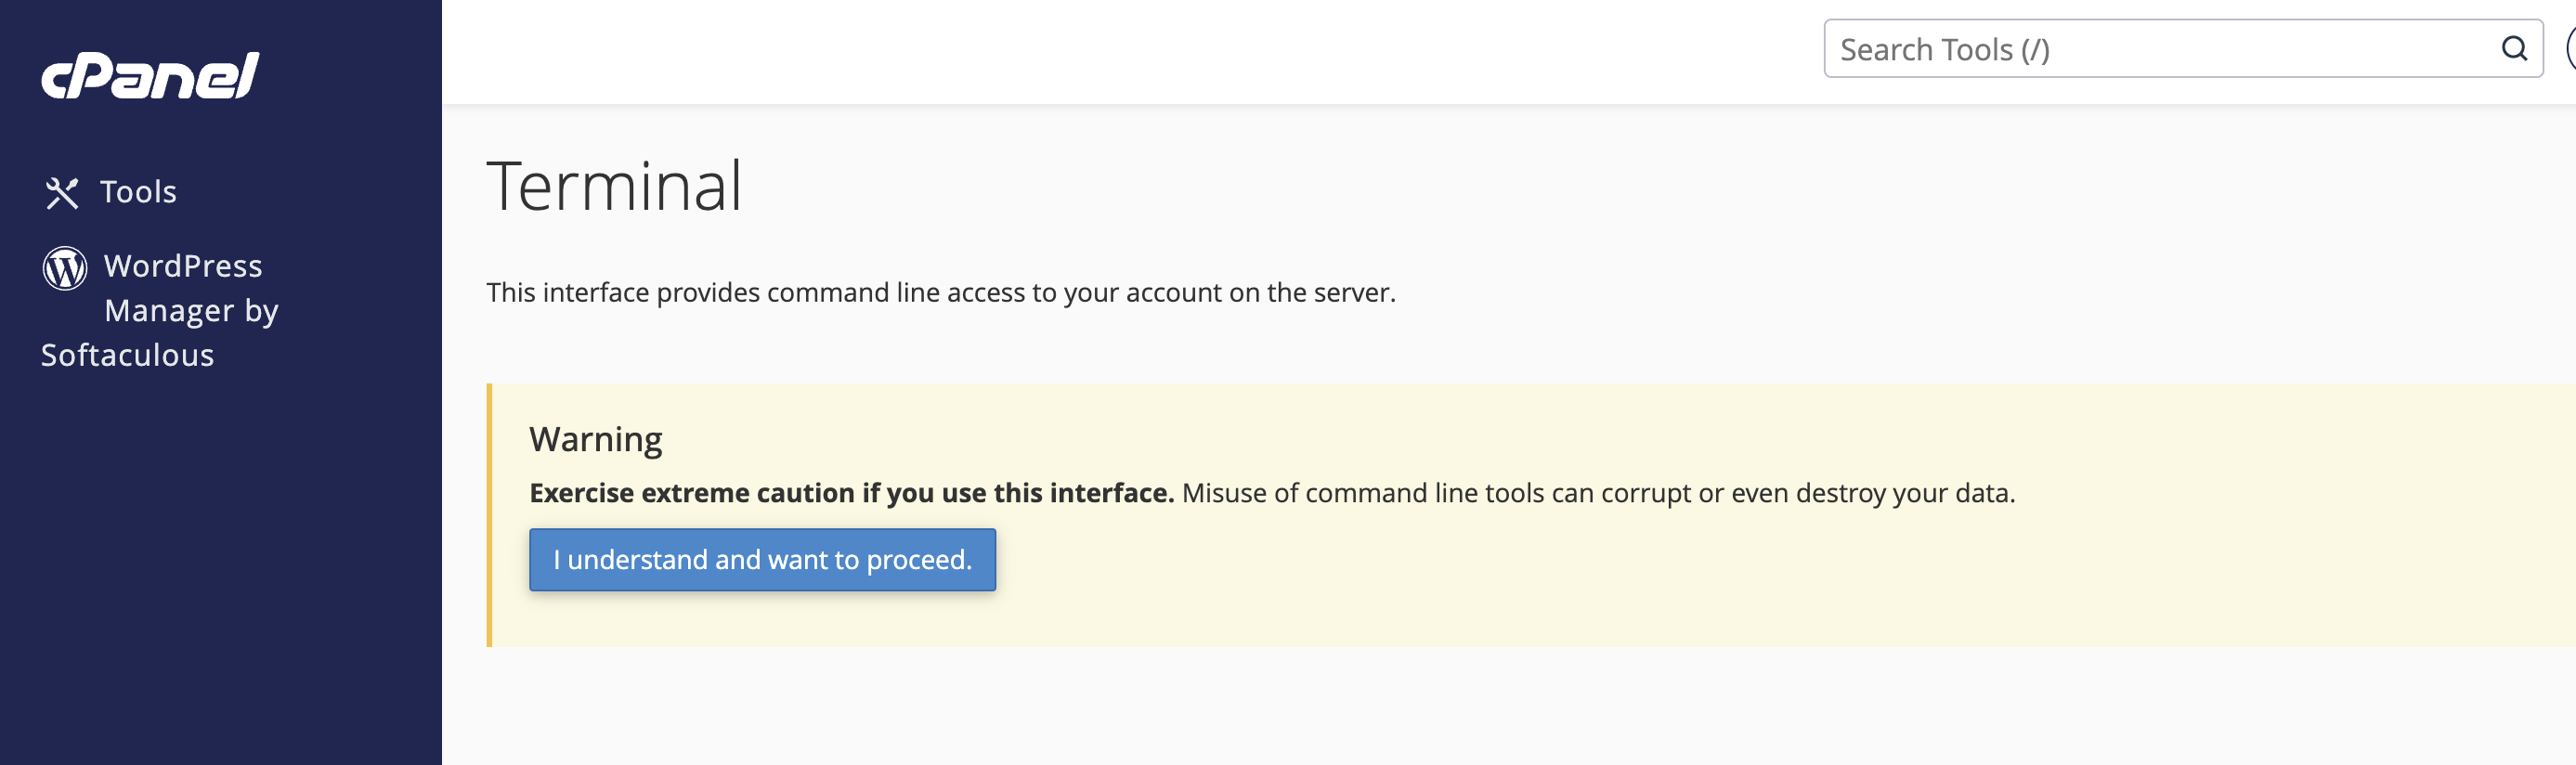
  3. Click the button to confirm that you understand the risks associated with using the terminal.Terminal Warning
  4. You will be shown a command prompt where you can run various commands on your server.Terminal Command Prompt

Connect via SSH Client

If you prefer to use your own SSH client to connect to cPanel, follow these steps:

  1. Open your preferred SSH client (e.g., PuTTY, Terminal on macOS, or Windows PowerShell).
  2. Enter the following command to connect to your server via SSH:ssh username@server_hostname Replace username with your cPanel username and server_hostname with your server’s hostname.
  3. When prompted, enter your cPanel password to establish the SSH connection.

How to change the primary domain on your hosting account

Some plans include unlimited domains, so it’s not always necessary to change the primary domain on your hosting account. However, if you need to change the primary domain on your hosting account, follow these steps.


Do you need to change your primary domain?

Before you change your primary domain, consider whether you need to change it. If you have a hosting plan that allows you to host multiple domains, you can add additional domains to your account without changing the primary domain.

I would like to change my primary domain

Prior to requesting a change of the primary domain, ensure that the domain you would like to set as the primary domain is not already added to your hosting account.

If the domain is already added to your hosting account, you must remove it first. Removing a domain will not delete any files, emails, or databases associated with the domain.

Next, please get in touch with our support team to request a change of the primary domain on your hosting account.

Contact our support team

Please remember to include the new domain in your request!

How to add another website to my hosting plan

If you have a hosting plan that allows you to host multiple websites, you can easily add another website to your account. This guide will walk you through the steps to add another website to your hosting plan with Zume.


Point your domain to Zume

Ensure your domain is pointed to Zume. There’s two methods to achieve this. We recommend using option 1, however if your domain is registered with Cloudflare and you are unable to modify your domain’s nameservers you should use option 2.

Go to your domain registrar, and update the nameservers for your domain.

These should be set to:

ns1.zumedns.com
ns2.zumedns.com

You can read more information about our nameservers here: What are Zume’s nameservers

Option 2: Create an “A” record

  1. Log into cPanel.
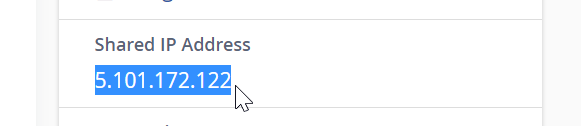
  2. On the right-hand panel, locate the section that says “Shared IP Address” or “Dedicated IP Address”.
Shared IP Address in cPanel
  1. Copy the IP address and create an A record with your external DNS hosting provider. For example if you use Cloudflare, steps can be found here: How to add a DNS record in Cloudflare
  2. Finally, verify your nameservers to A record is correct using a DNS checker tool such as MXToolbox.

Add domain in cPanel

  1. Log into cPanel. Read our guide on How to log in to cPanel if you need help.
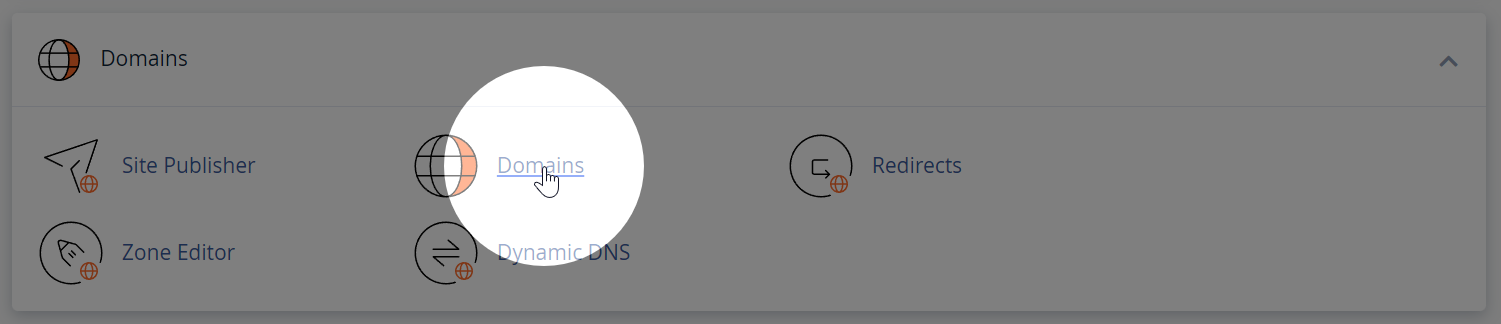
  2. Navigate to the Domains menu in cPanel.
Domains menu in cPanel
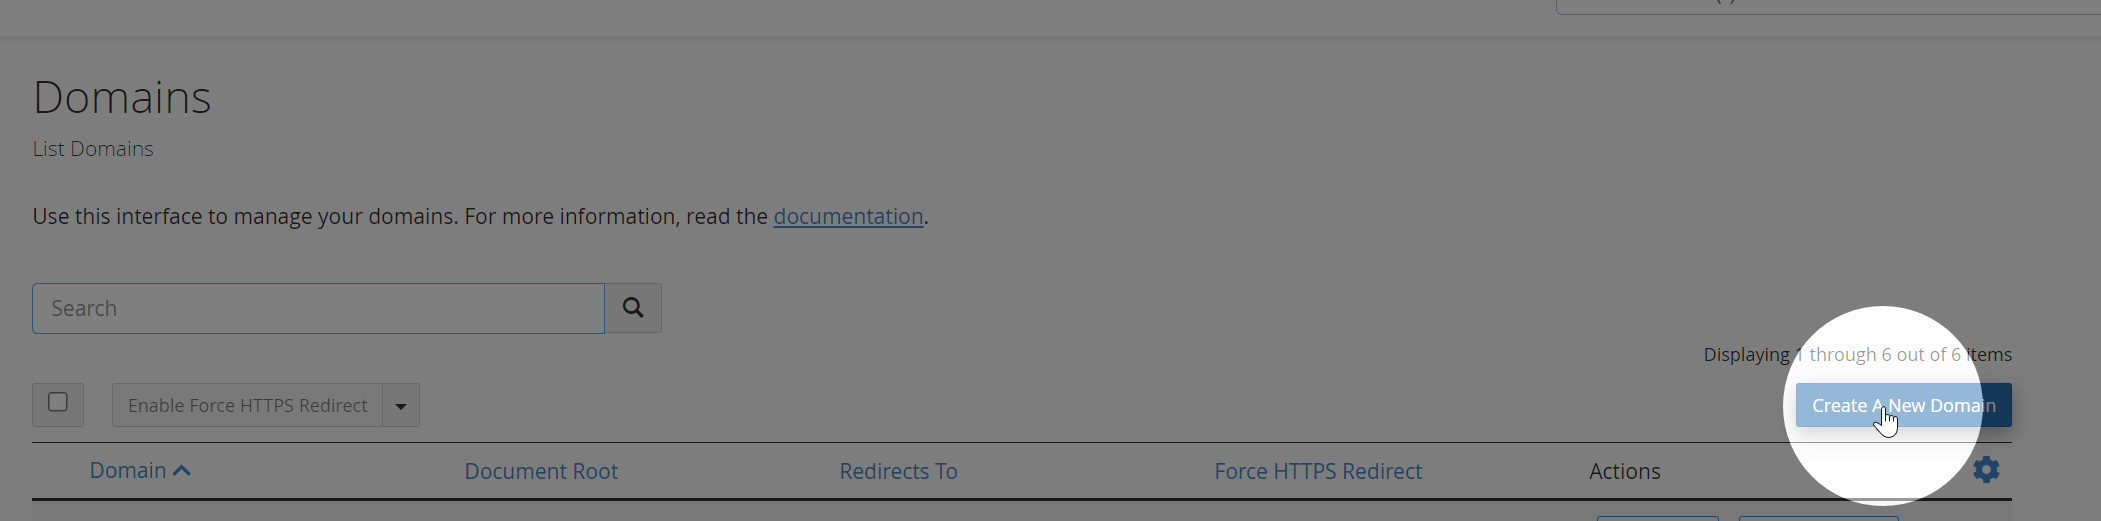
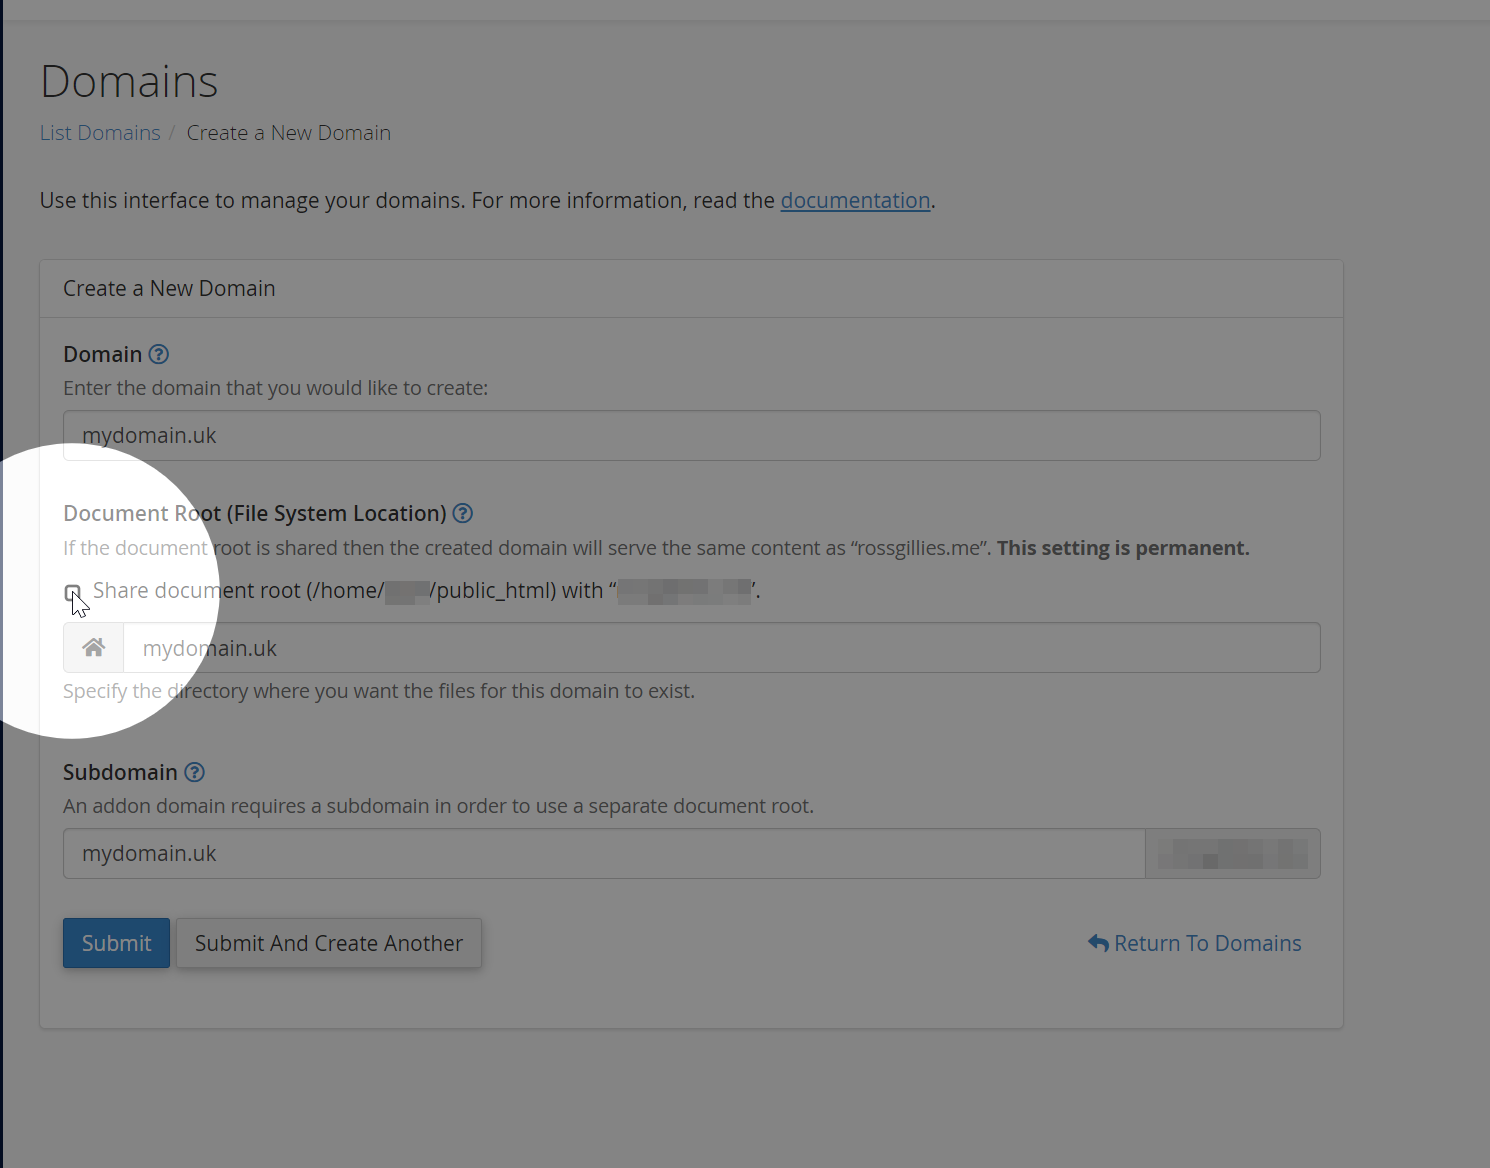
  1. Click “Create a New Domain”
Create a New Domain in cPanel
  1. Enter your new domain. Make sure you uncheck the “Share document root” checkbox, otherwise the domain will be added as an “alias” of your main domain.
Enter your new domain in cPanel
  1. Click “Submit”.
  2. A directory for the new domain should appear in your account’s home directory. You can use the cPanel File Manager or your own SFTP Client to upload files for your new website.
  3. An SSL certificate will be automatically provisioned for your new domain, although it may take some time.