Not sure what you're looking for?

Book a call

Hello, Redditor! To say thank-you to our friends from Reddit, we have an exclusive offer. Use code REDDIT to get your first month for £1. Applies to monthly plans only.

Gnu Host is now . See our announcement Zume for more details.

You are on our site Visit our site 

How do I enable Redis?

Redis is included with all Business Hosting and Managed WordPress plans.

The Redis socket for your account is located at /home/{username}/.cagefs/tmp/redis.sock

If the socket doesn’t exist, please open a ticket to get it activated.

LS Cache Configuration

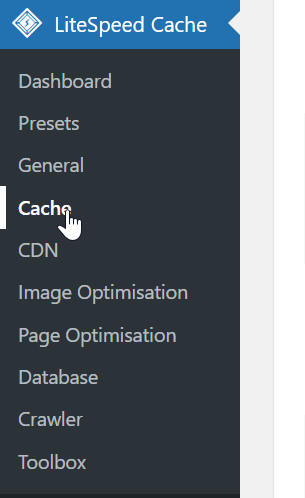
In the LSCache WordPress plugin, go to the Cache menu.
Under the Object tab, enter the following configuration.
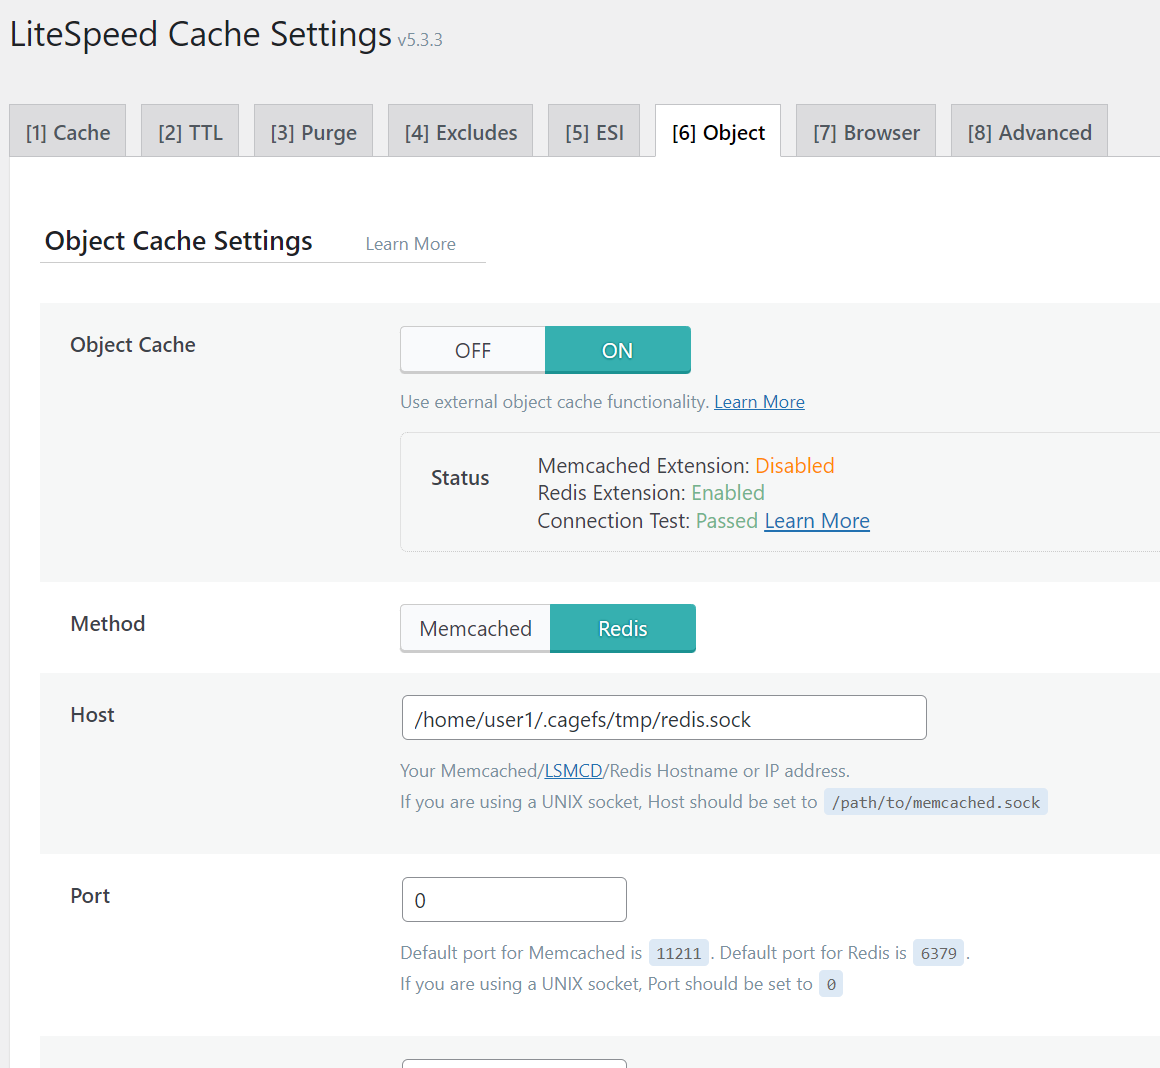
Remember to set the Port field to 0. This is because the Redis connection is via a socket.

You should change the /home/user1 path to match your hosting account. You can find this in the General Information panel in cPanel, under Home Directory:

How to create a staging site on your Managed WordPress Hosting

Staging sites are useful for testing changes to your website before they are live. Zume’s Managed WordPress Hosting allows you to create a staging site for your WordPress website, so you can test changes before they are live, and deploy in a single click.


Log in to cPanel

Learn how to log in to cPanel

Add the staging domain

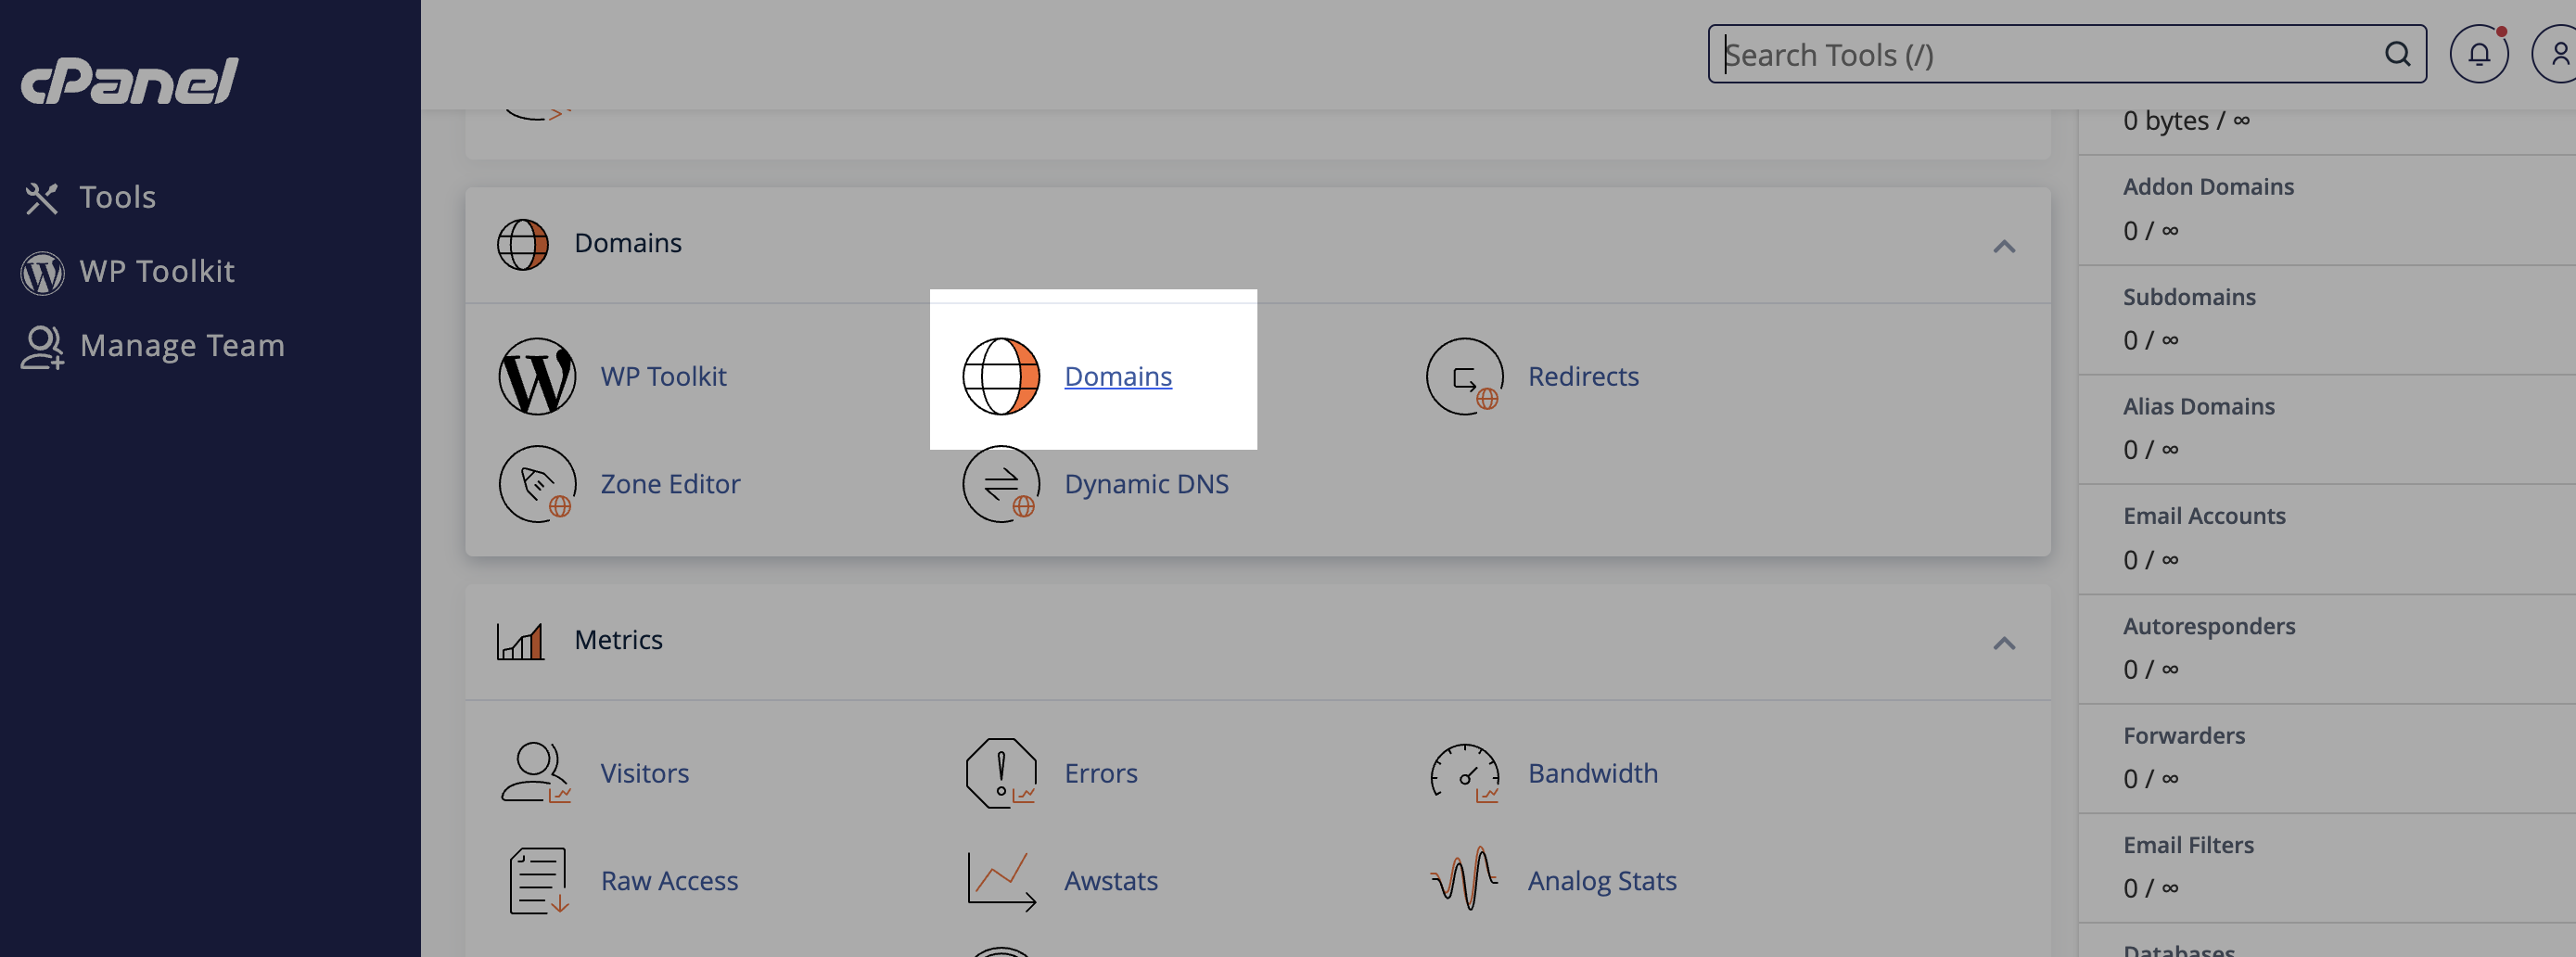
  1. Scroll to the “Domains” section in cPanel and click the “Domains” menu option.
Domains menu in cPanel
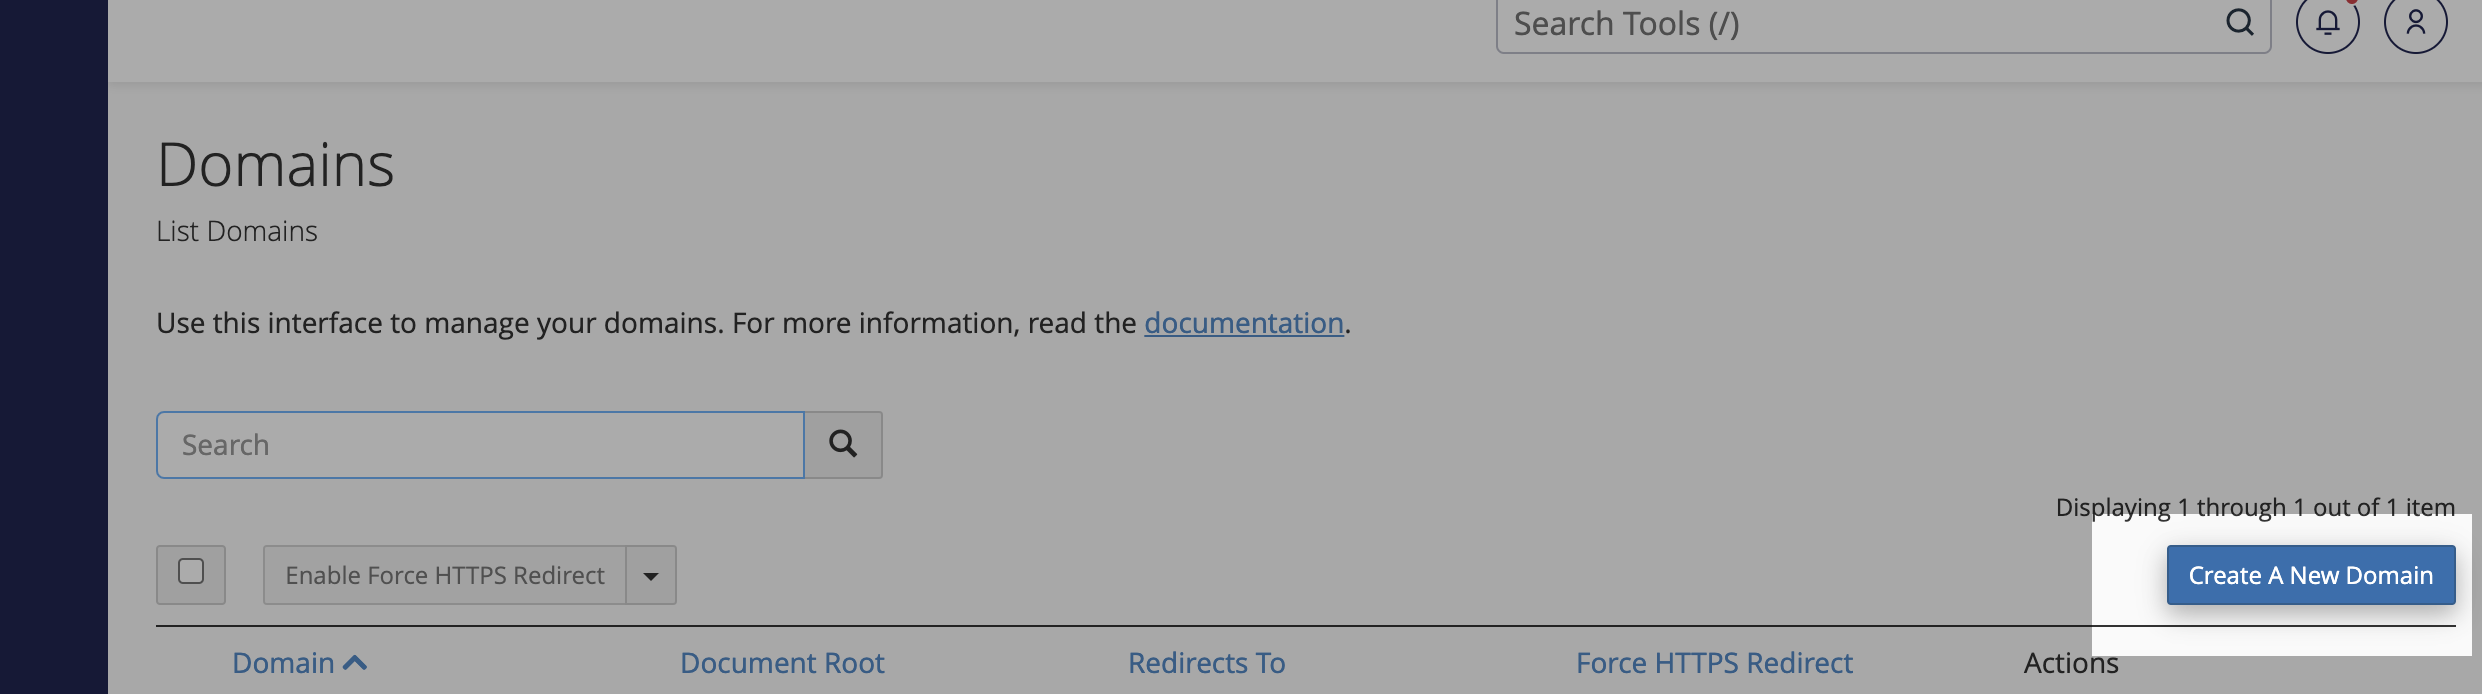
  1. Click “Create a New Domain”
Create a New Domain in cPanel
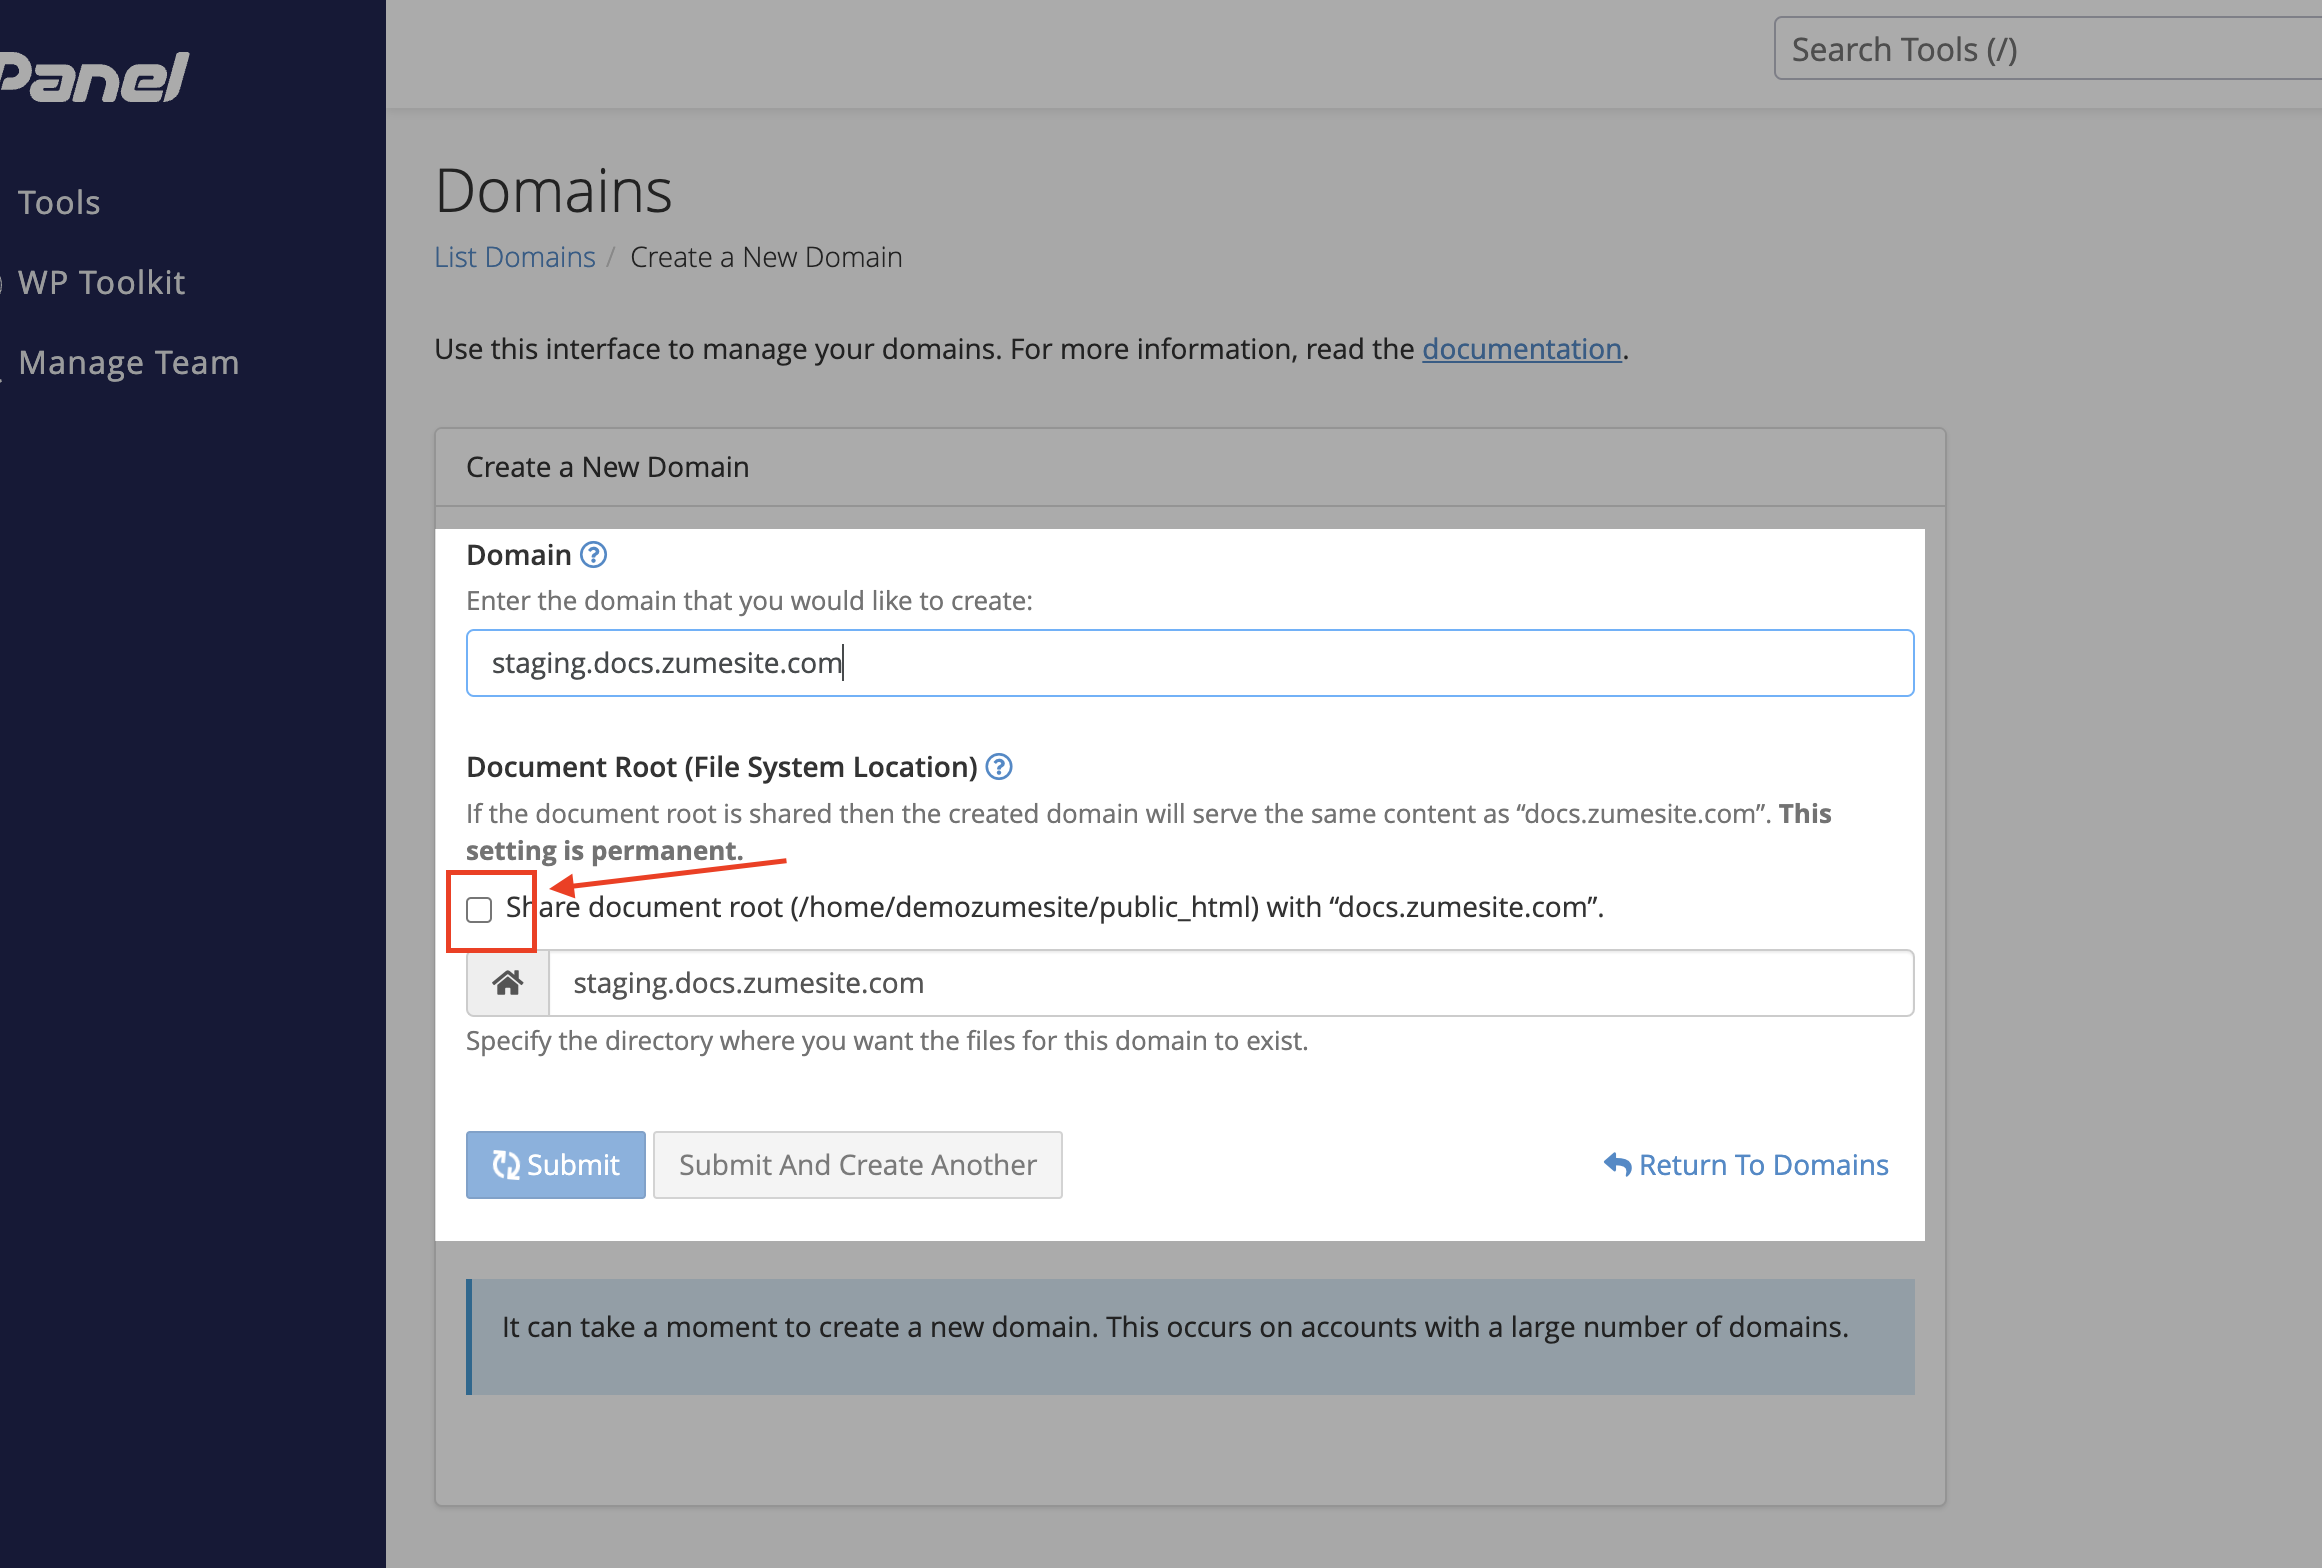
  1. Enter your desired staging domain name, and click “Submit”.

Make sure you uncheck the ‘Share document root’ checkbox!

Enter your new domain in cPanel

Clone the live site

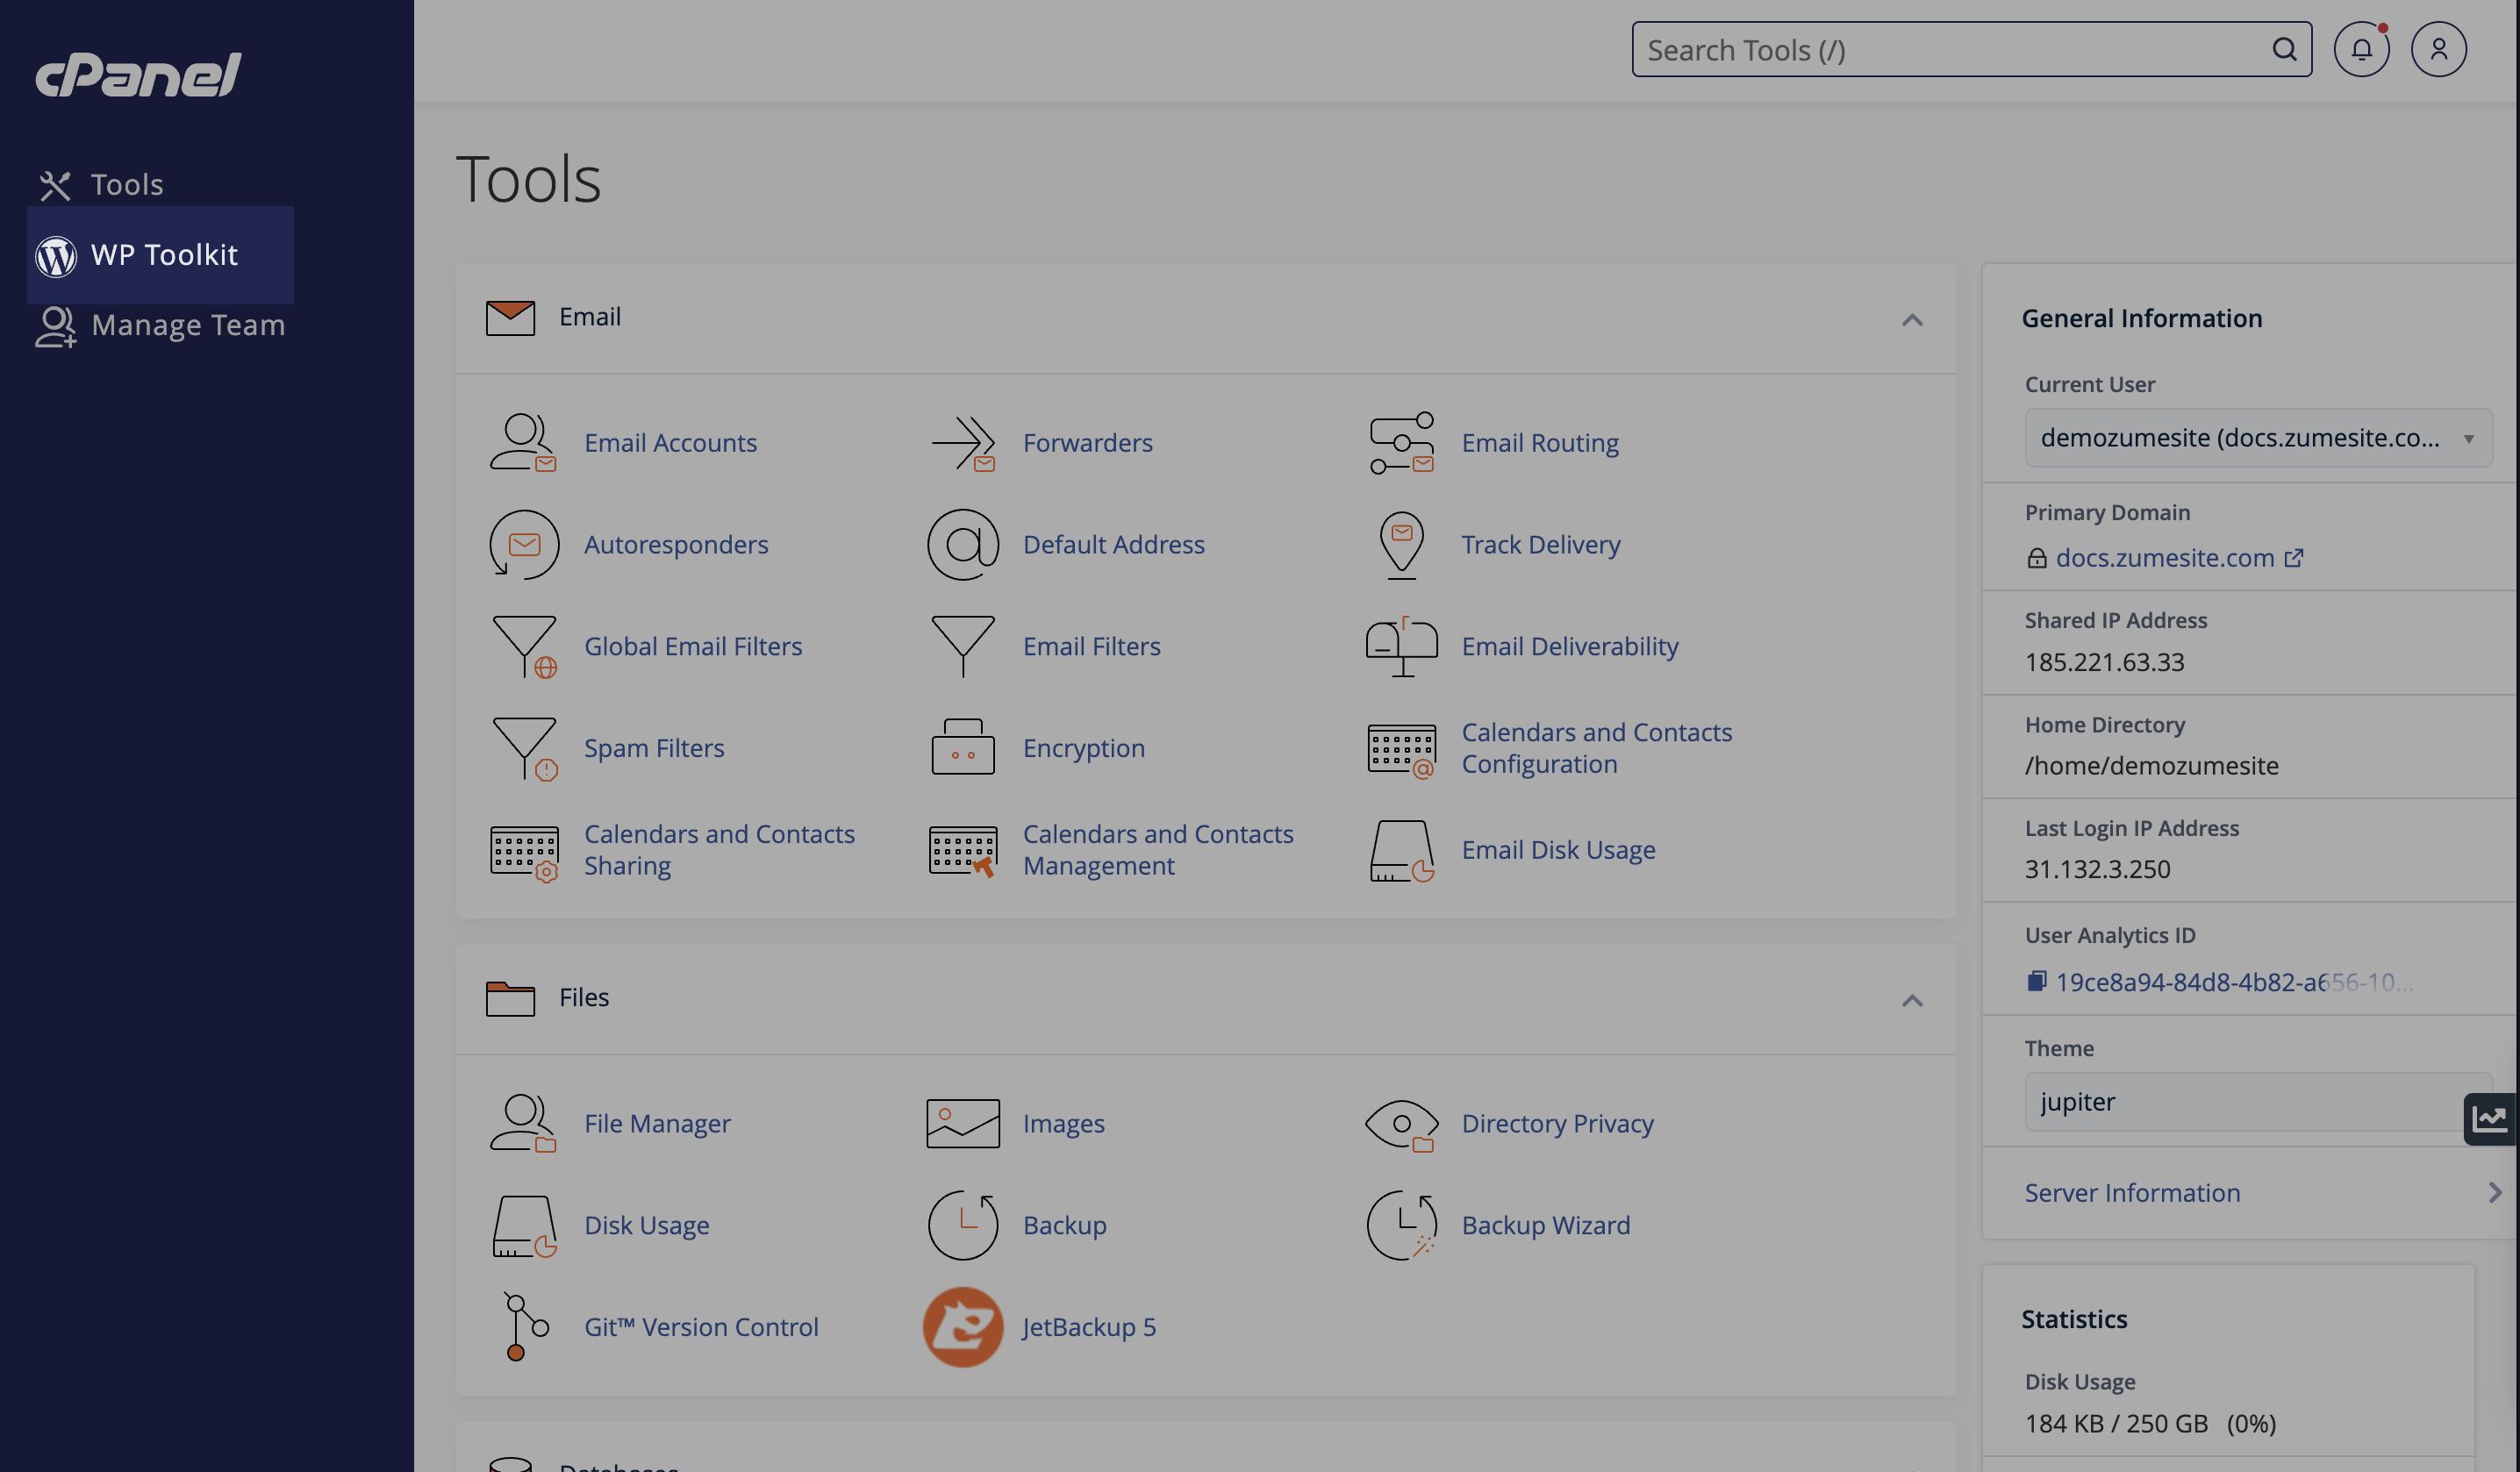
  1. Navigate to the “WP Toolkit” option on the left-hand menu.
WP Toolkit option in cPanel
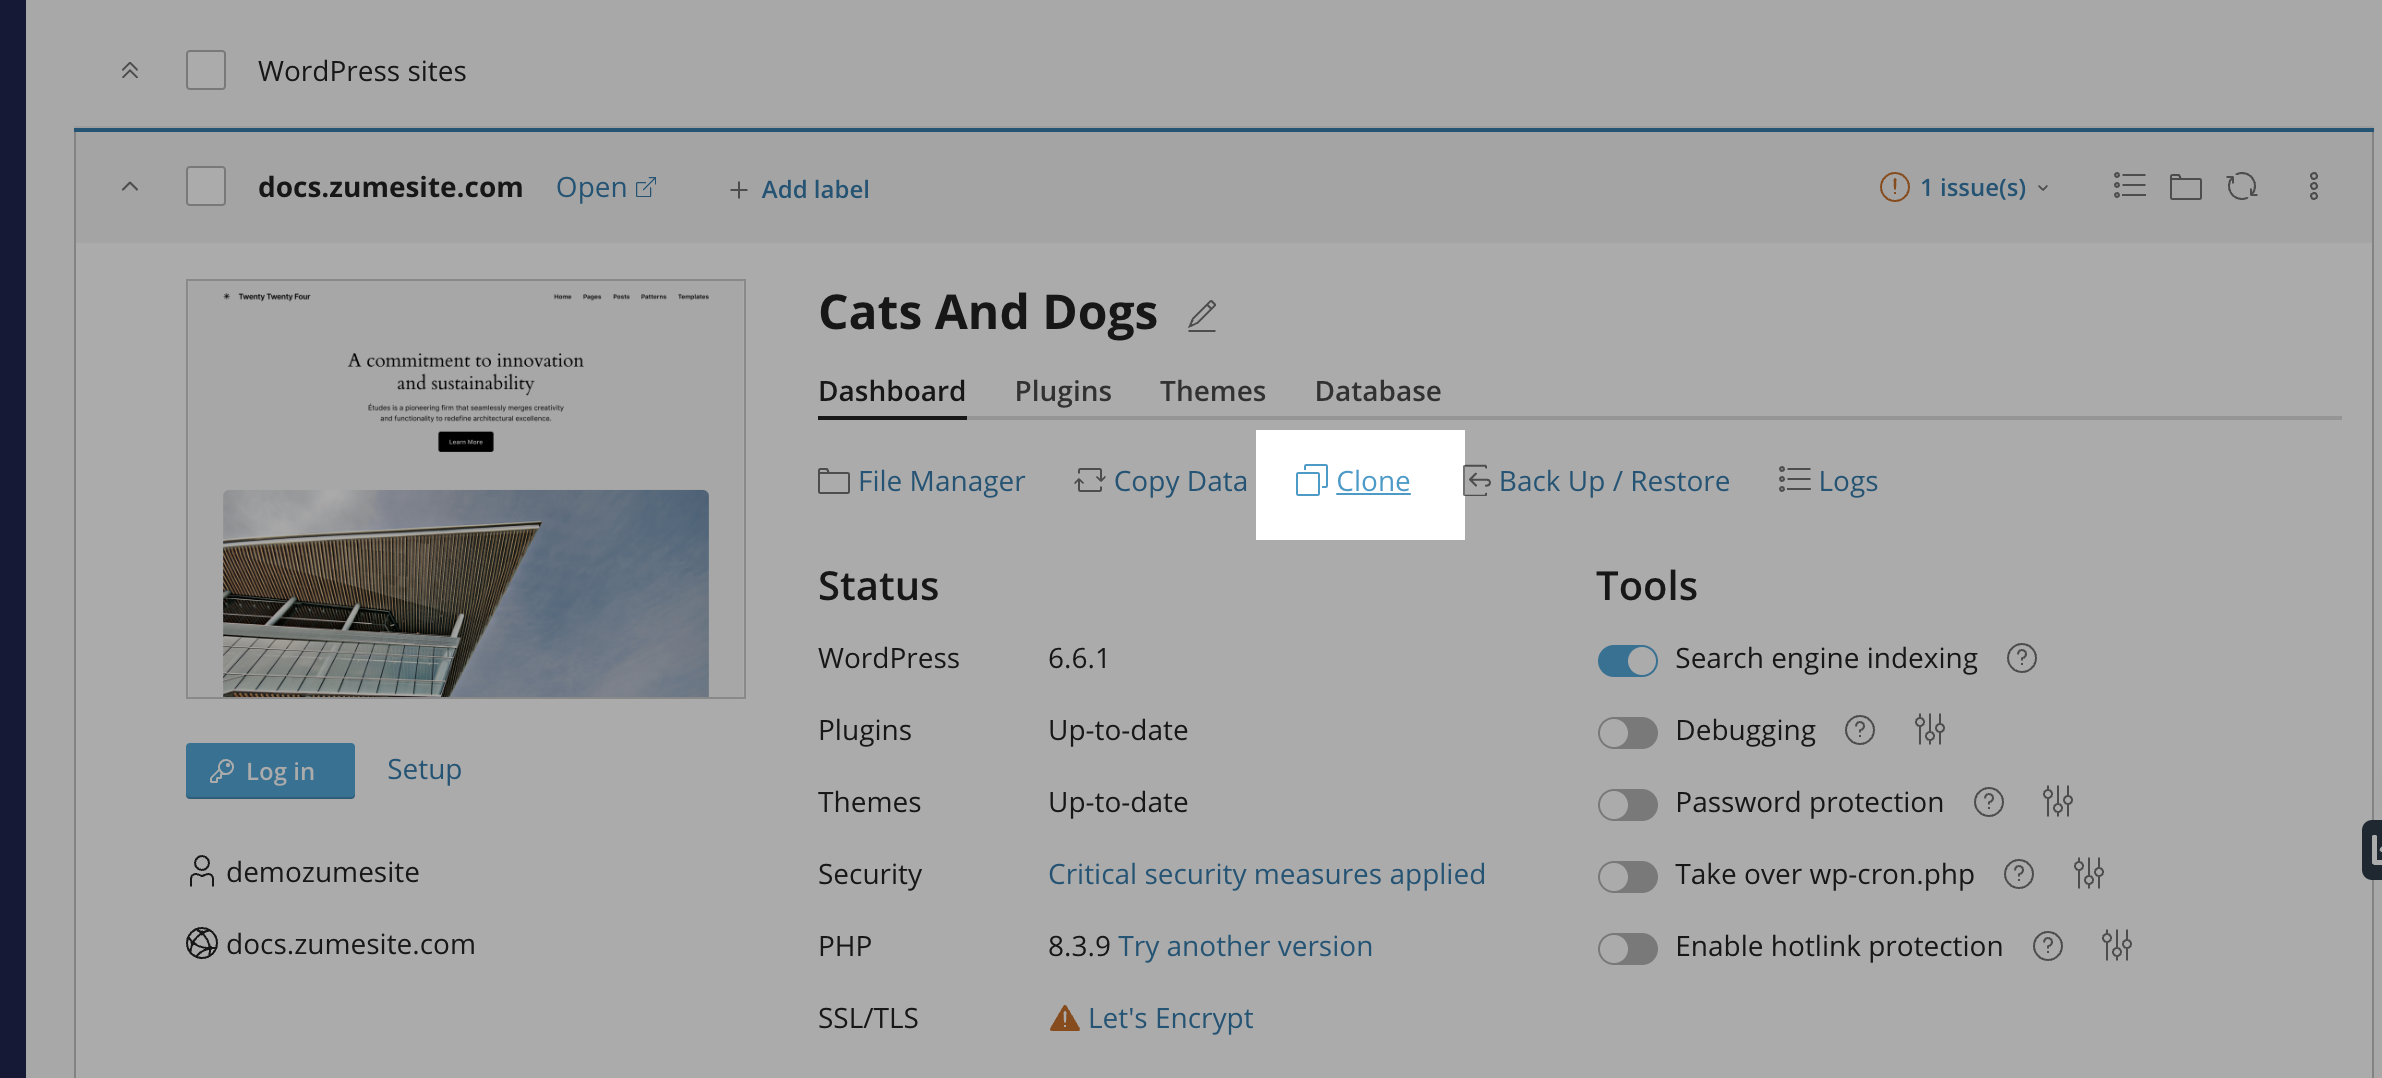
  1. Click the “Clone” button.
Clone button in cPanel
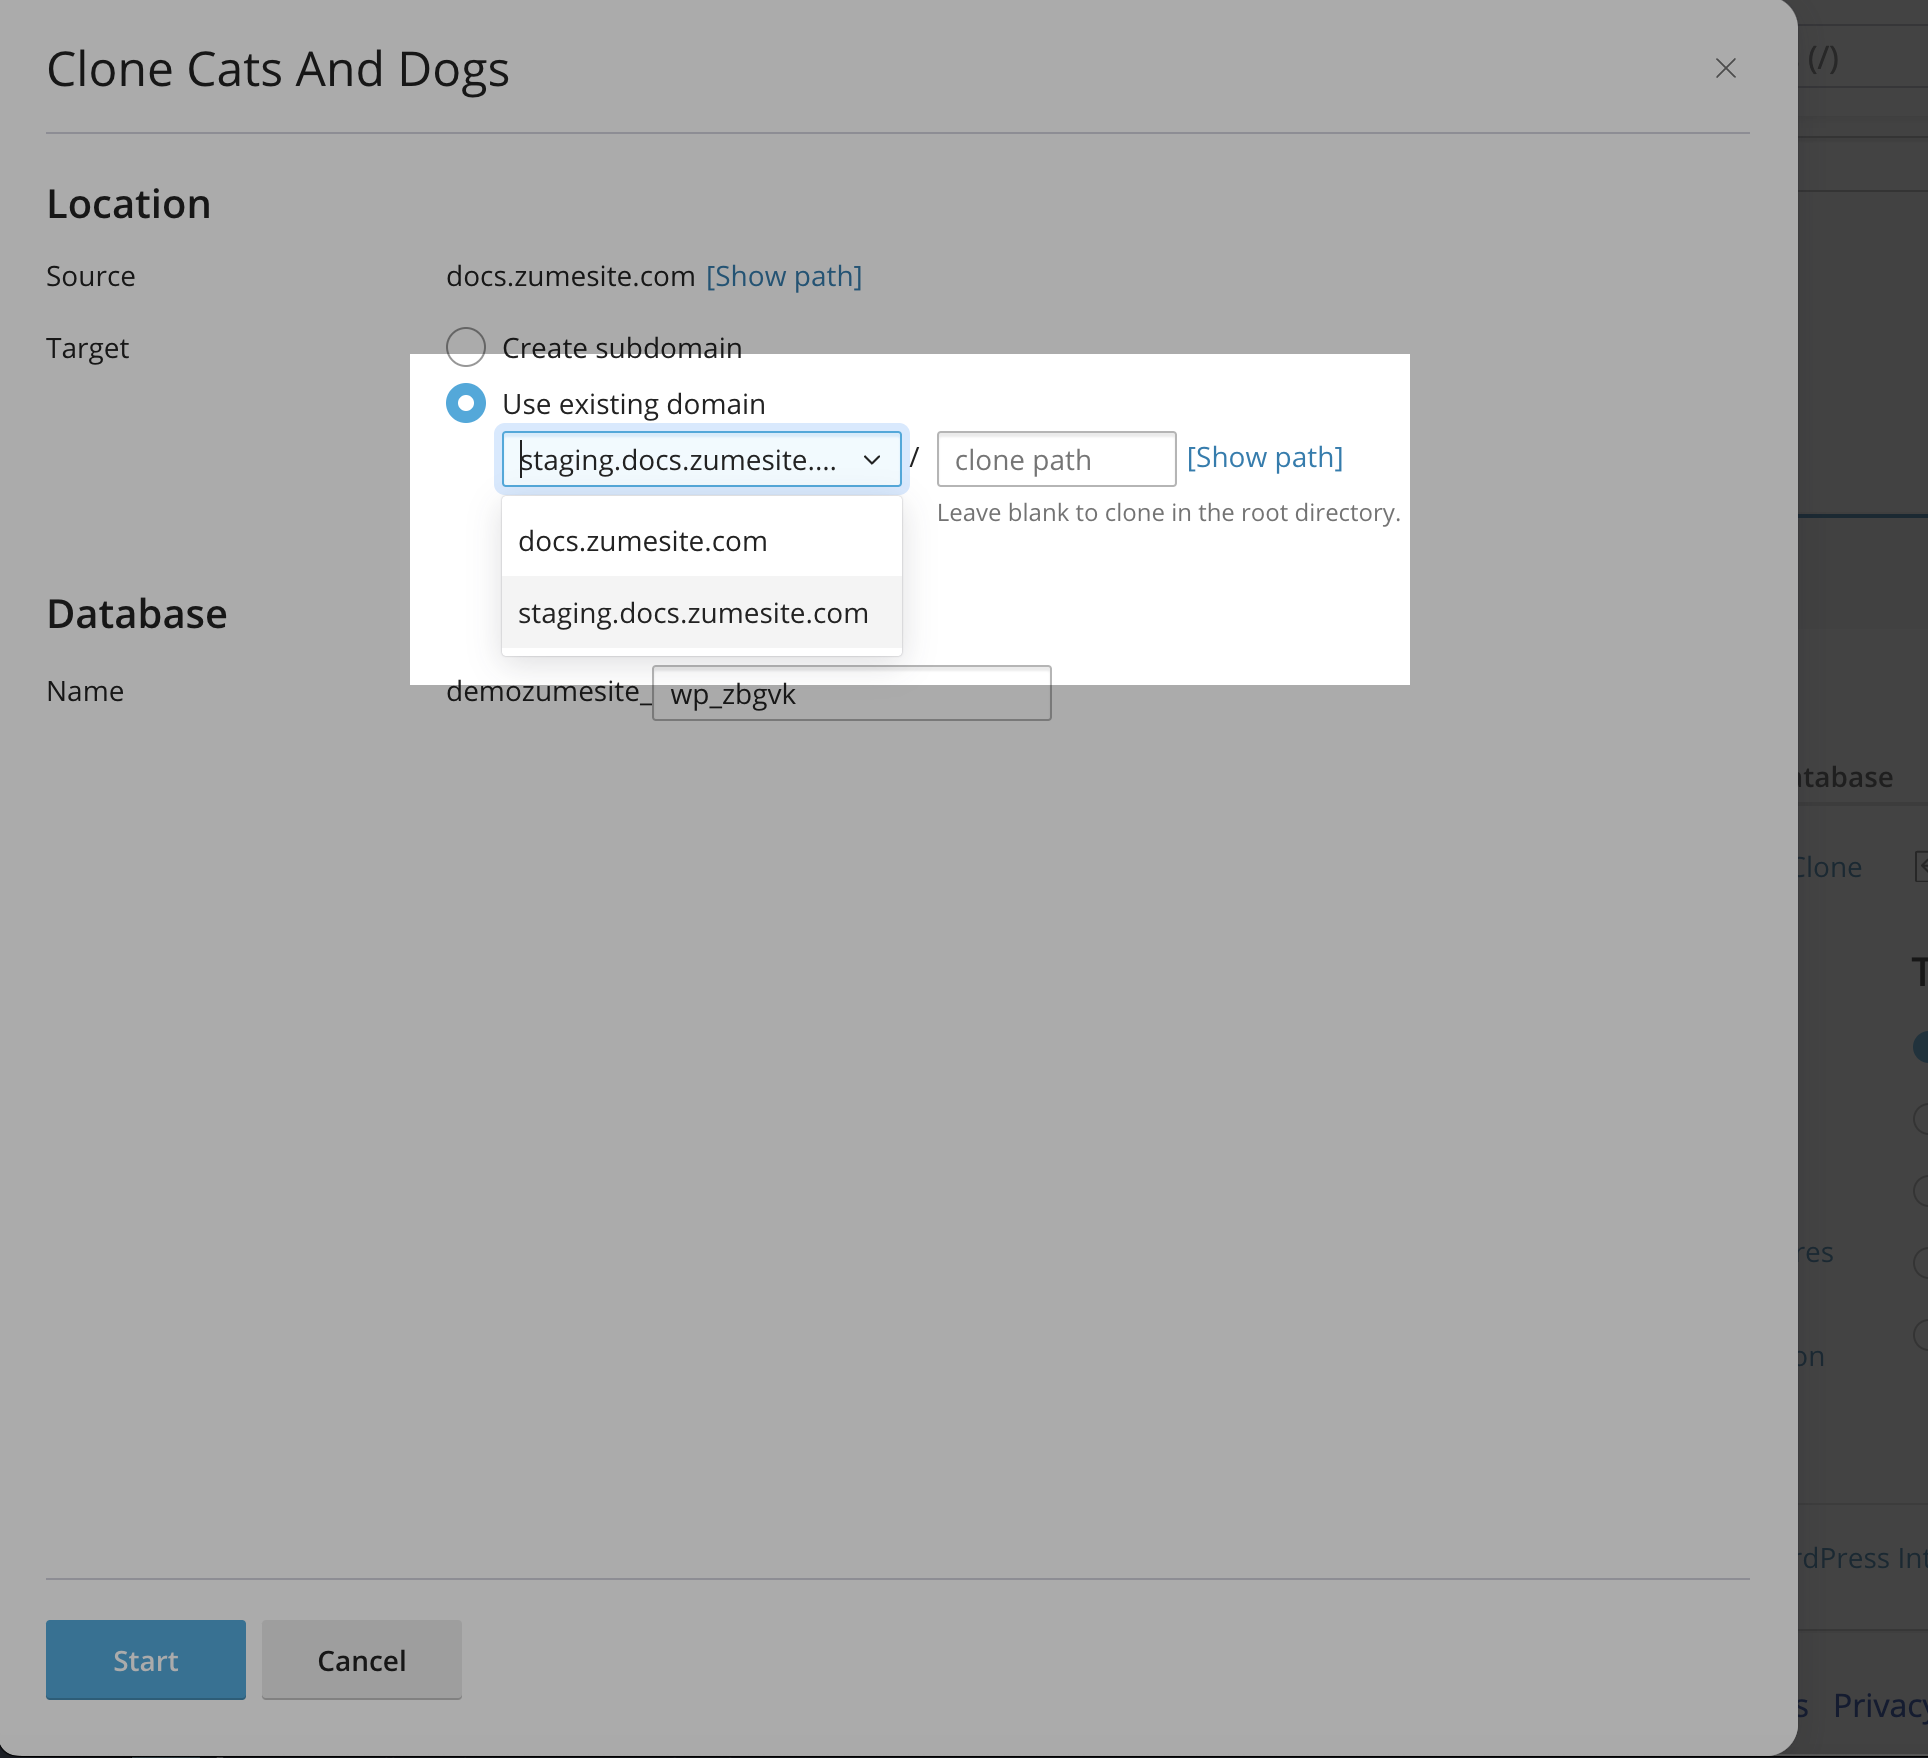
  1. Click the “Use existing domain” option, and select the domain you just created. Alternatively, you can generate a new domain by selecting the “Create subdomain” option.
Use existing domain option in cPanel
  1. Click “Start” to clone the live site.
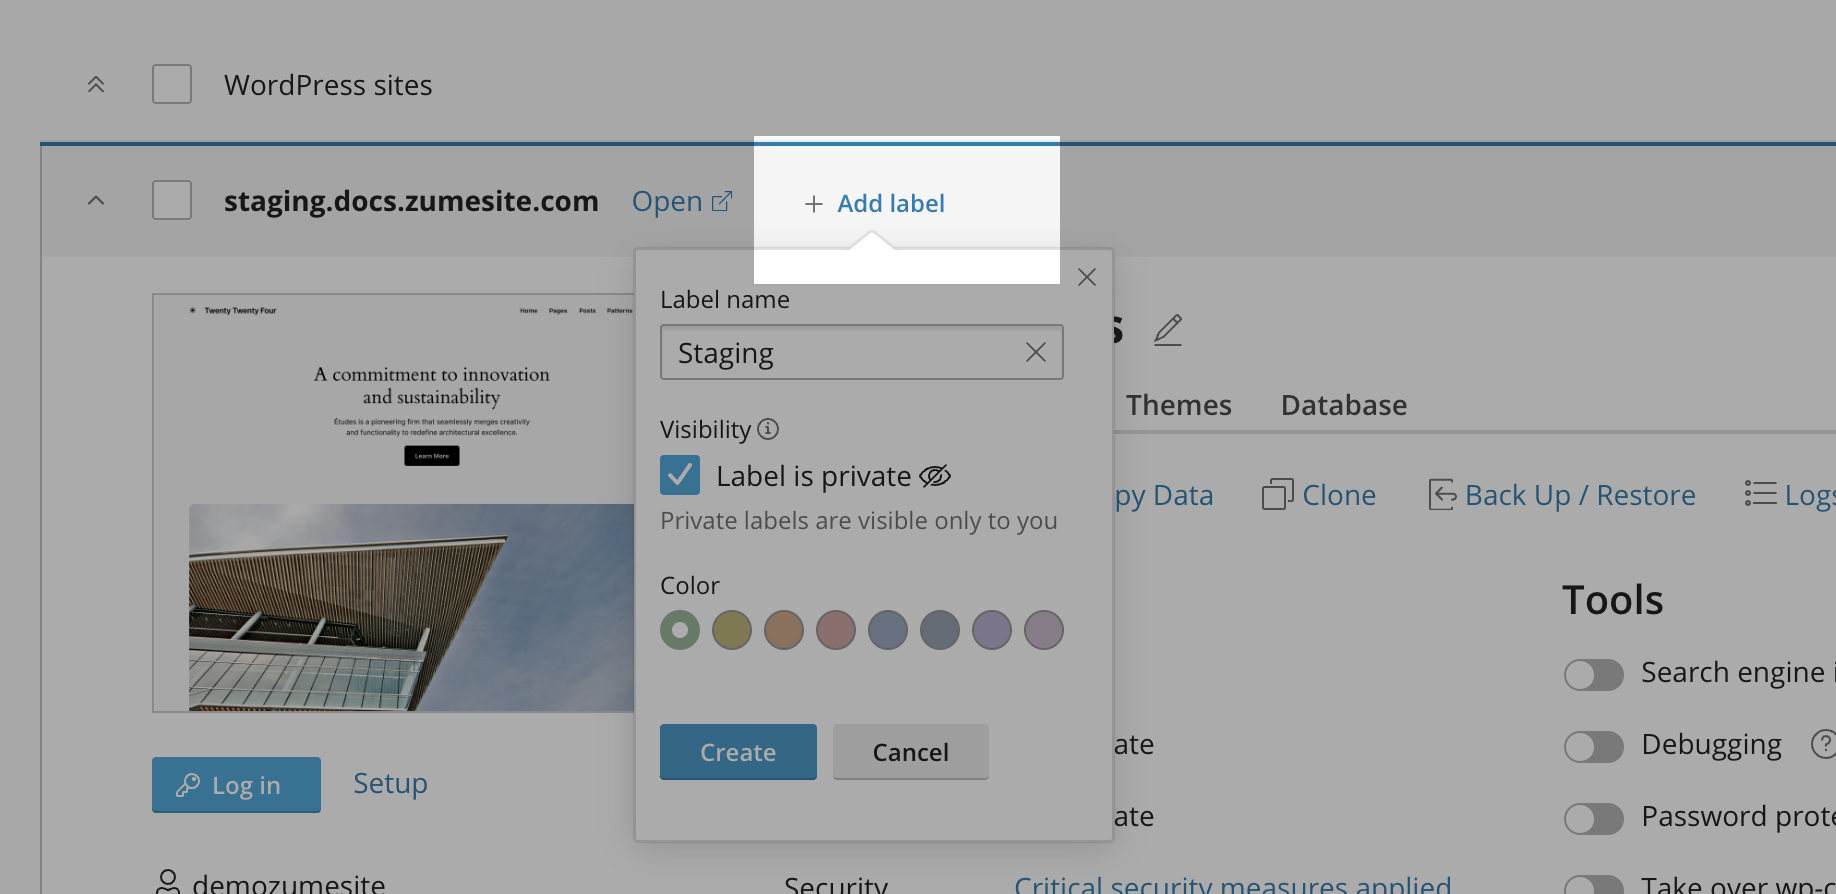
  2. You may want to add a label to the staging site to make it easier to identify.
Add a label to the staging site

Deploy the changes to the live site

  1. Navigate to the “WP Toolkit” option on the left-hand menu.
WP Toolkit option in cPanel
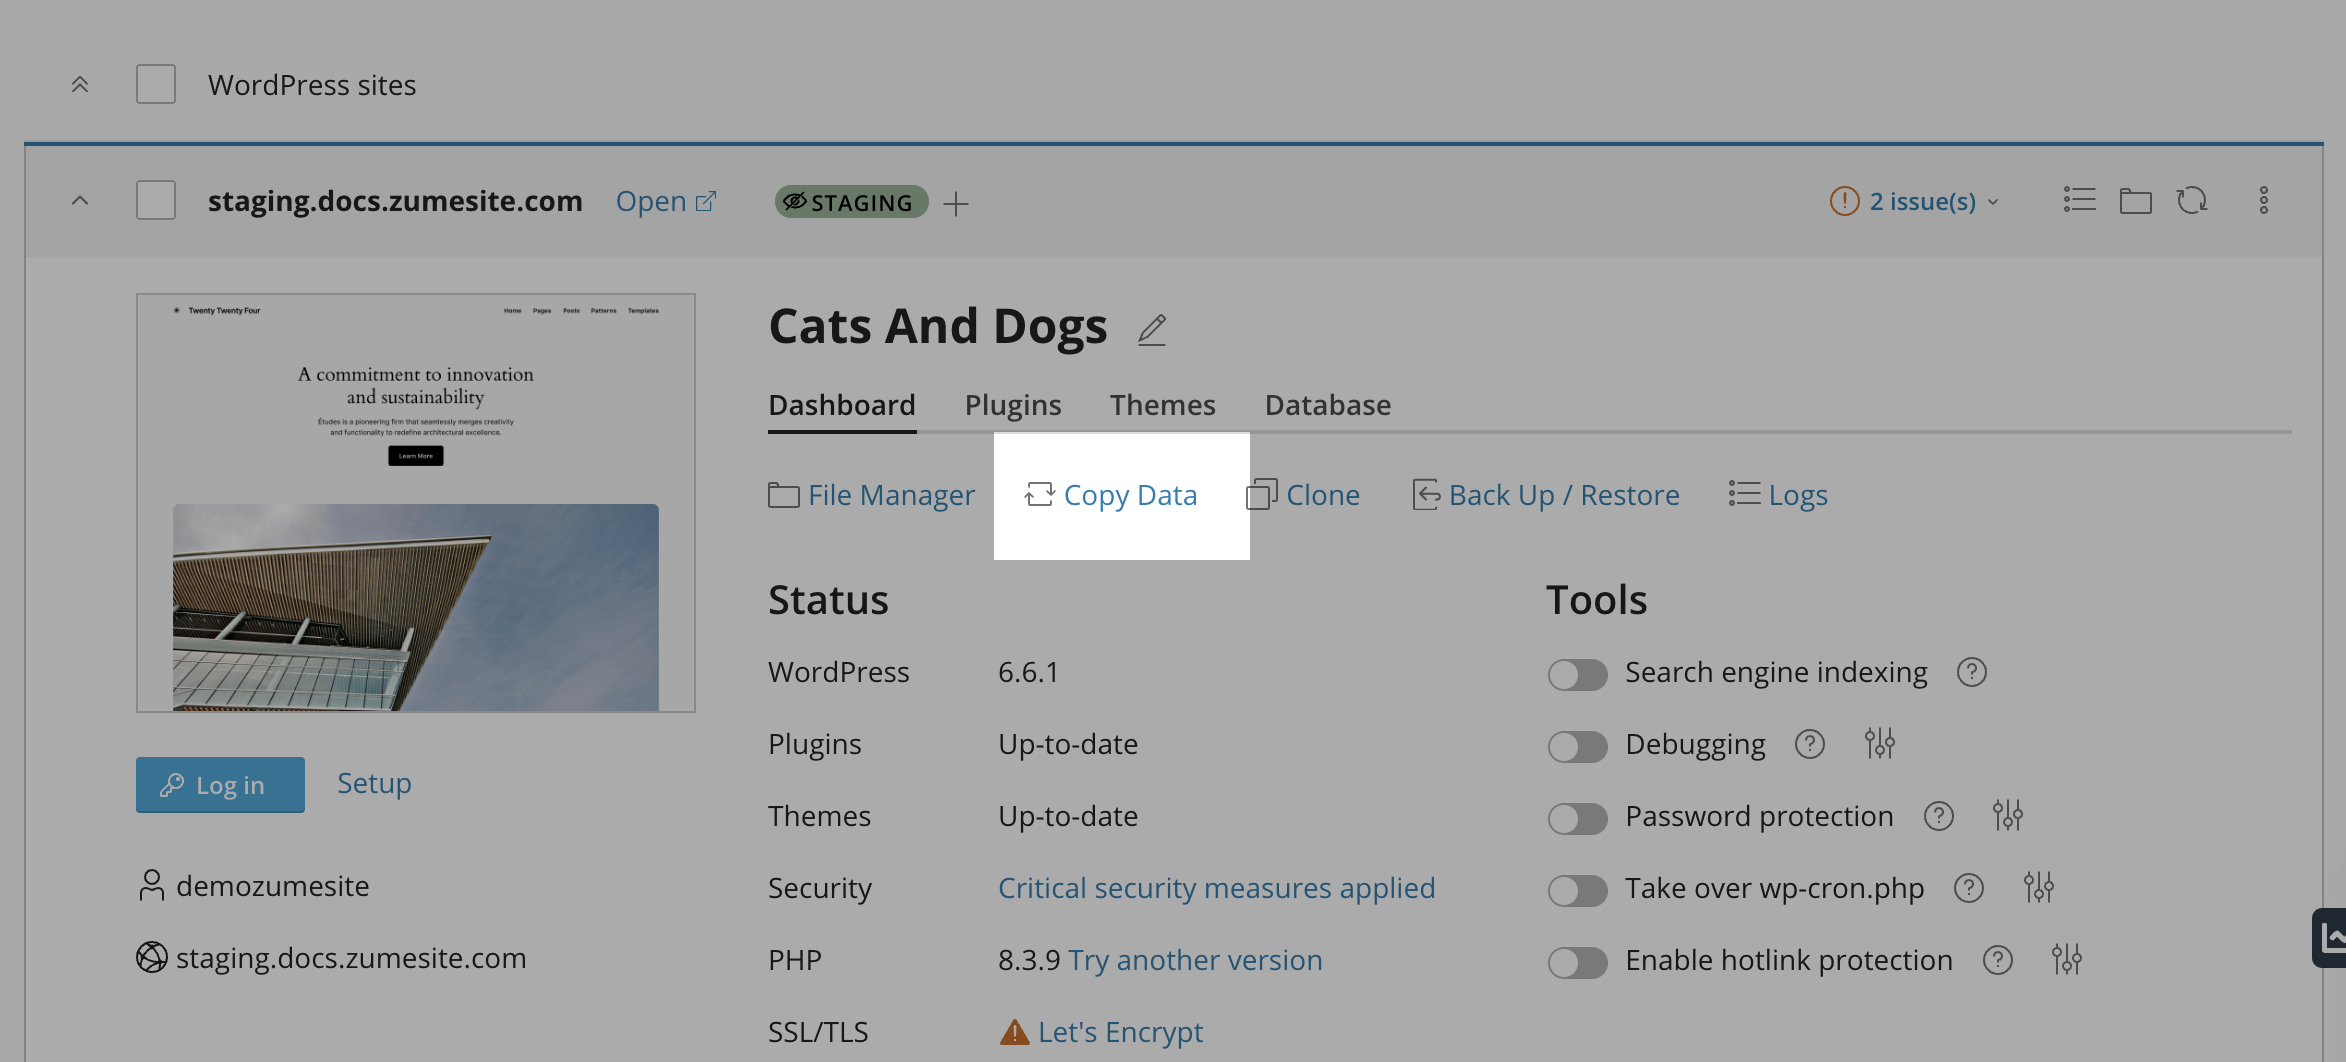
  1. Locate the staging site that you have been working on. Click the “Copy data” button.
Copy data button in cPanel
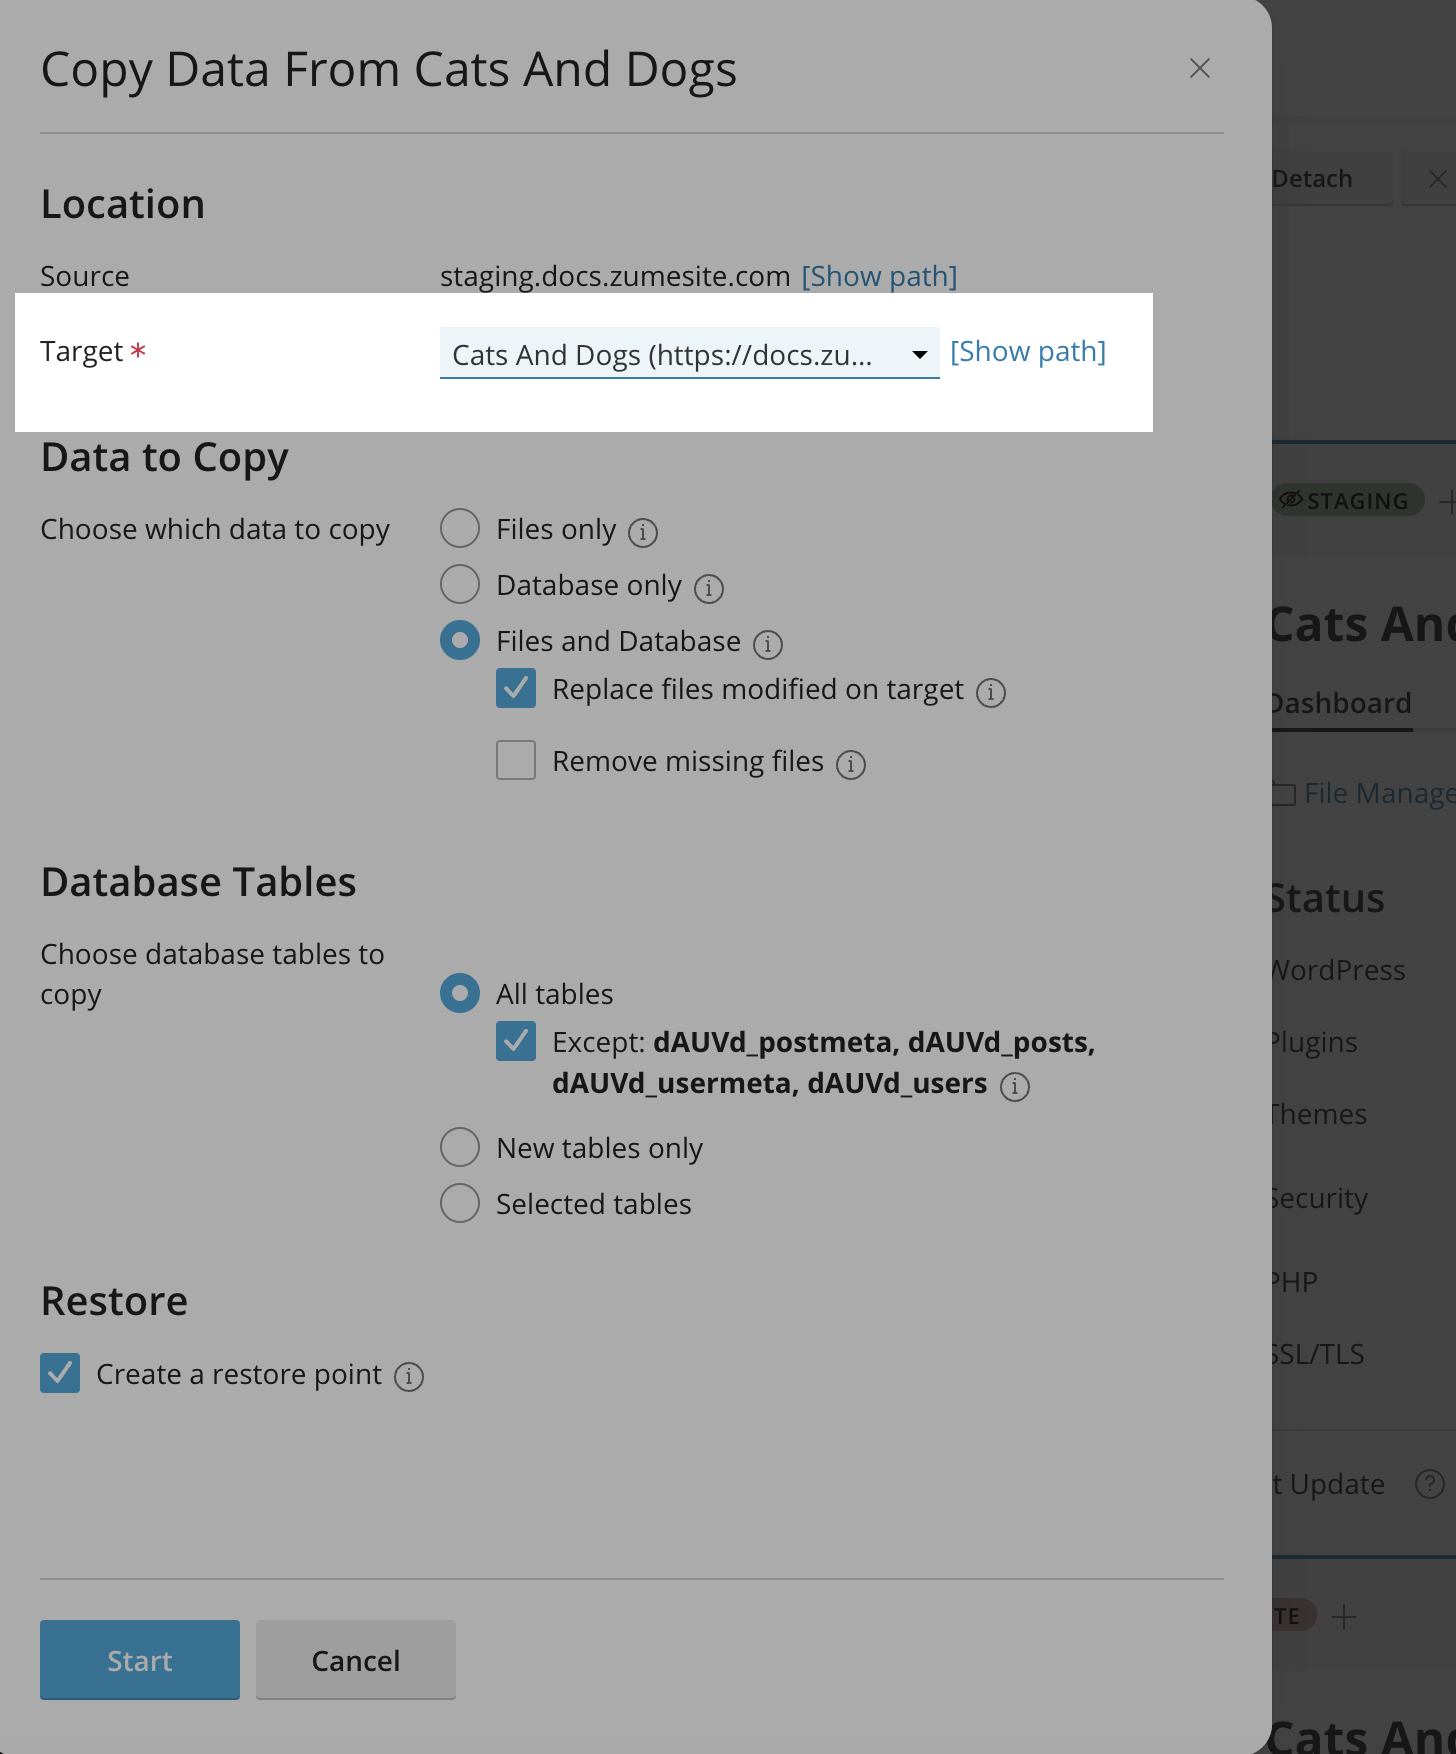
  1. Under the “Target” dropdown, select the live site that you want to deploy the changes to.
Target dropdown in cPanel
  1. Click “Start” to deploy the changes.

Make sure you have clicked ‘Copy data’ on the staging site, and selected the live site in the ‘Target’ dropdown!

  1. The changes have now been deployed to the live site.

How to install WordPress on Managed WordPress Hosting

It’s easy to get started with WordPress on Zume. This guide will walk you through the steps to install WordPress on your Managed WordPress Hosting with Zume.


We are more than happy to install WordPress for our Managed WordPress Hosting customers. Please contact our support team for help.

Log in to cPanel

Learn how to log in to cPanel

Install WordPress

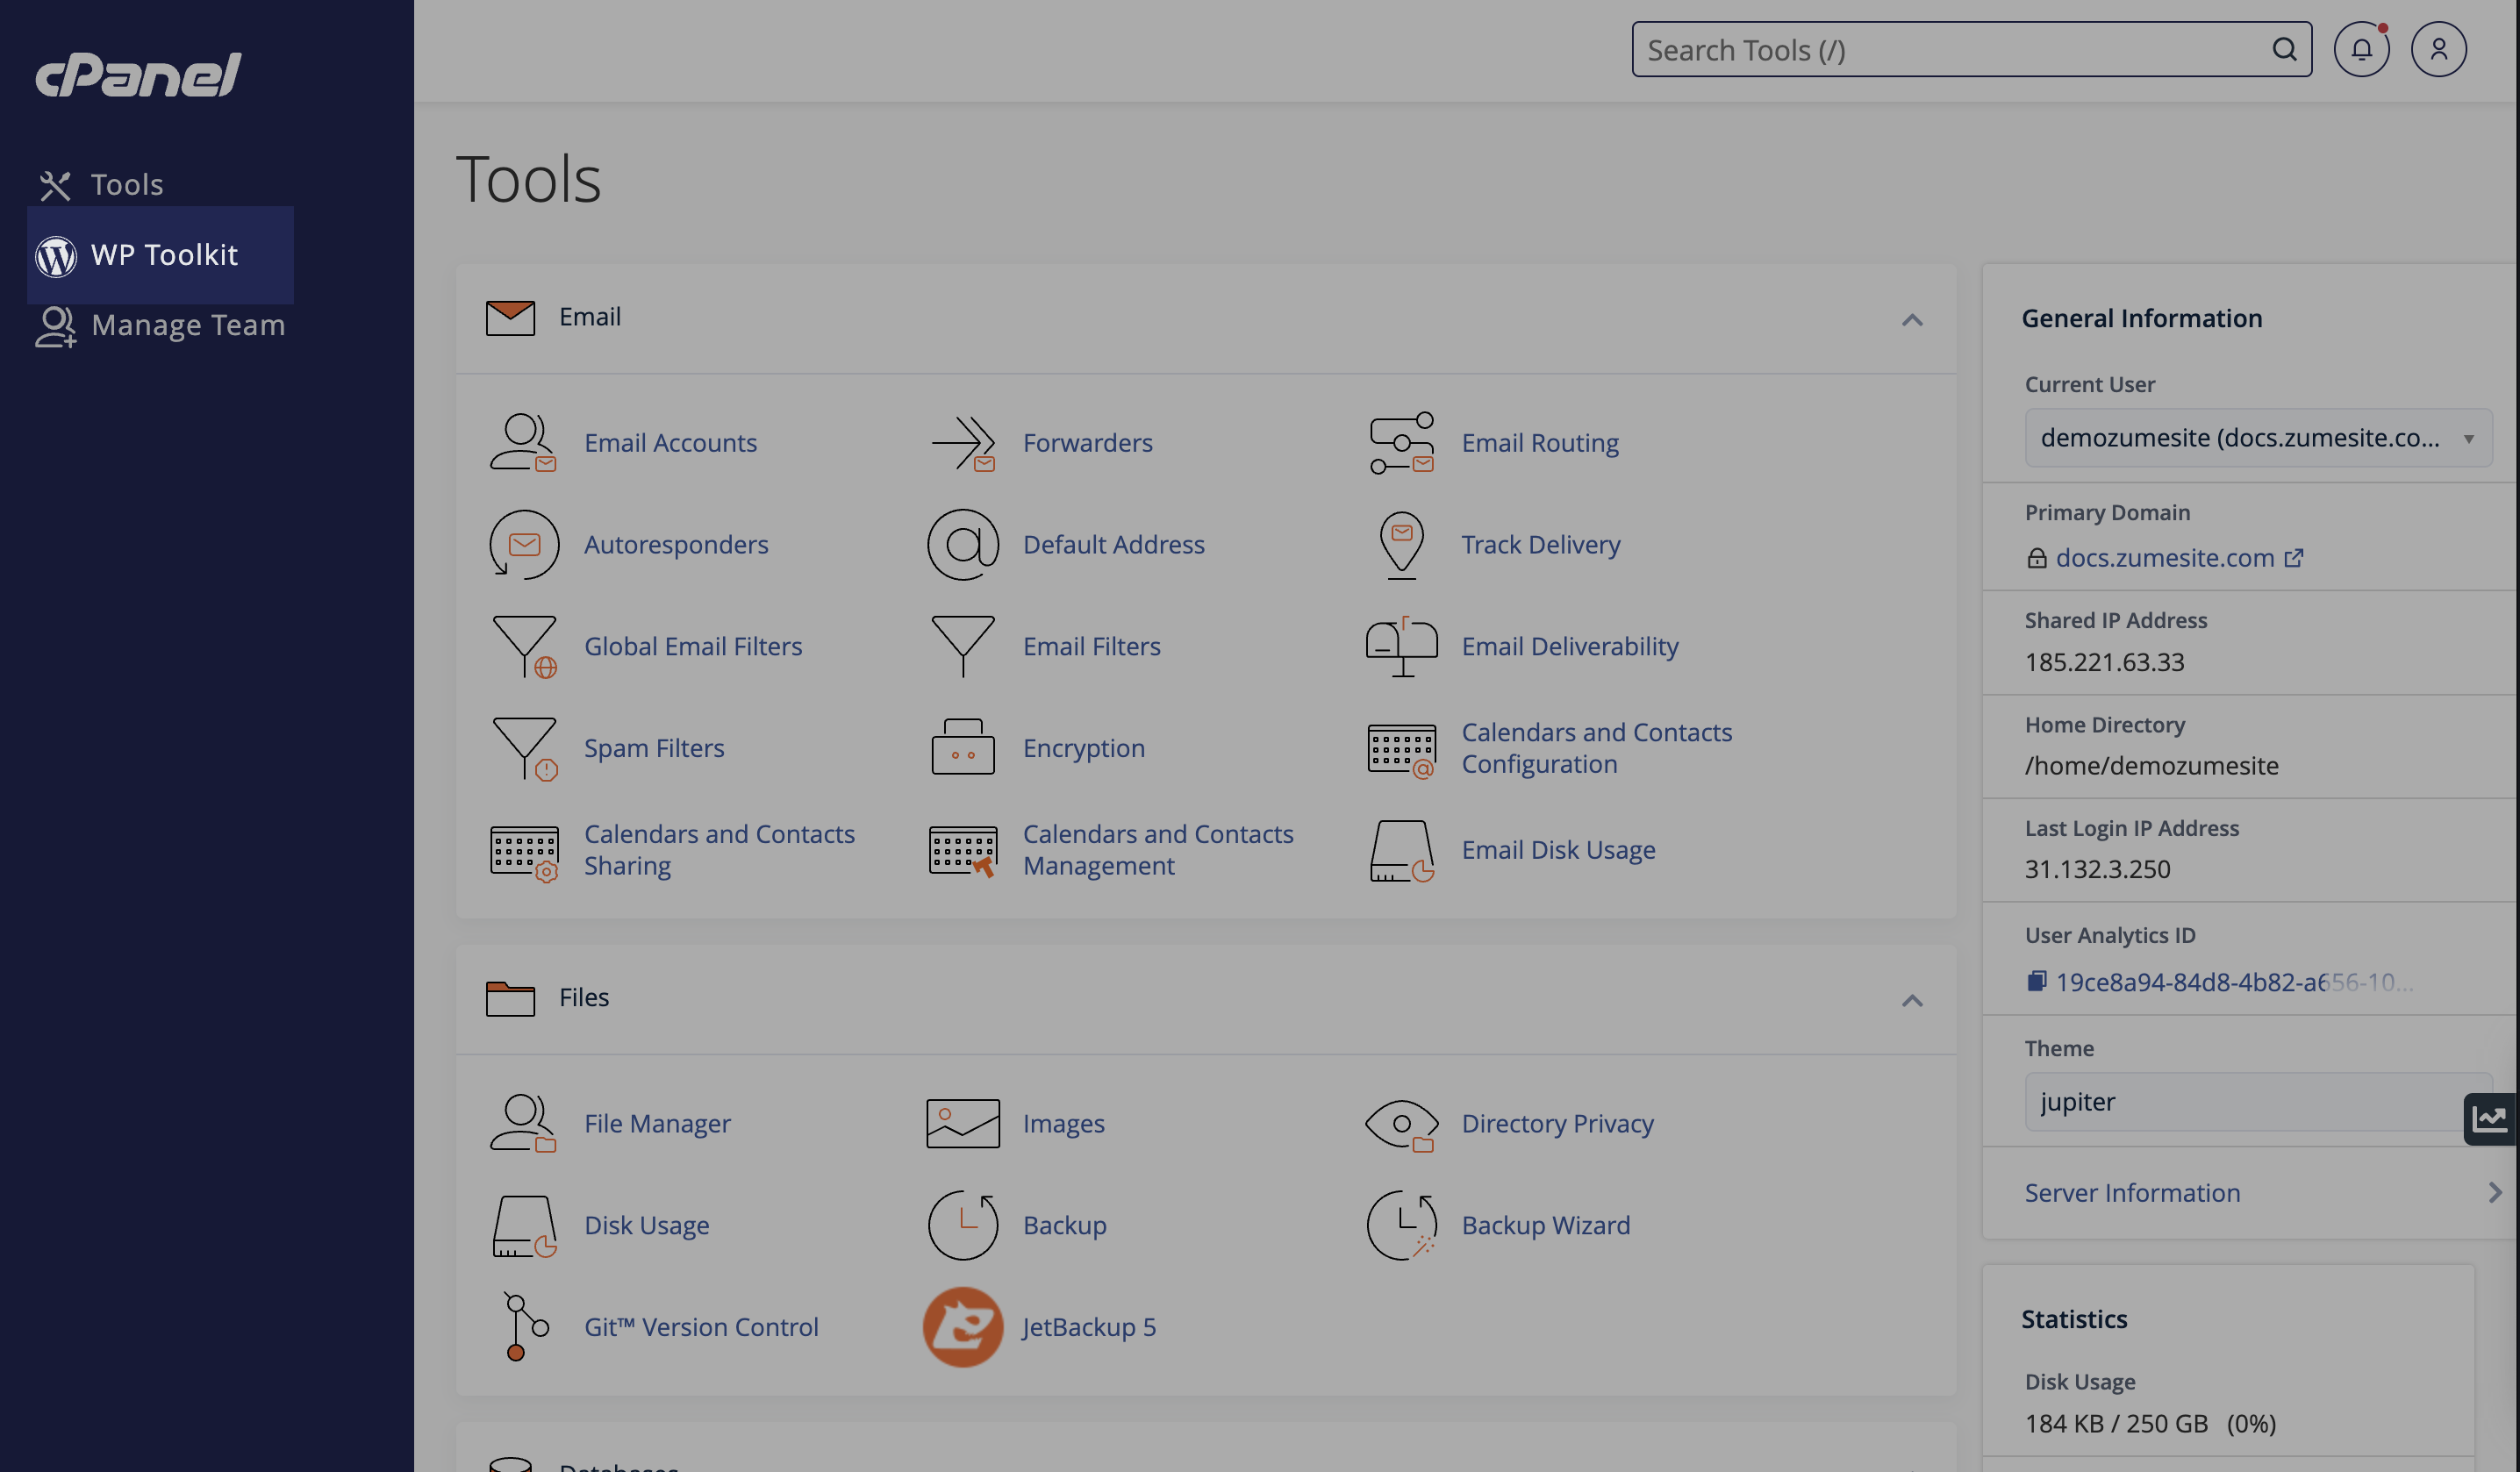
  1. Navigate to the “WP Toolkit” option on the left-hand menu.
WP Toolkit option in cPanel
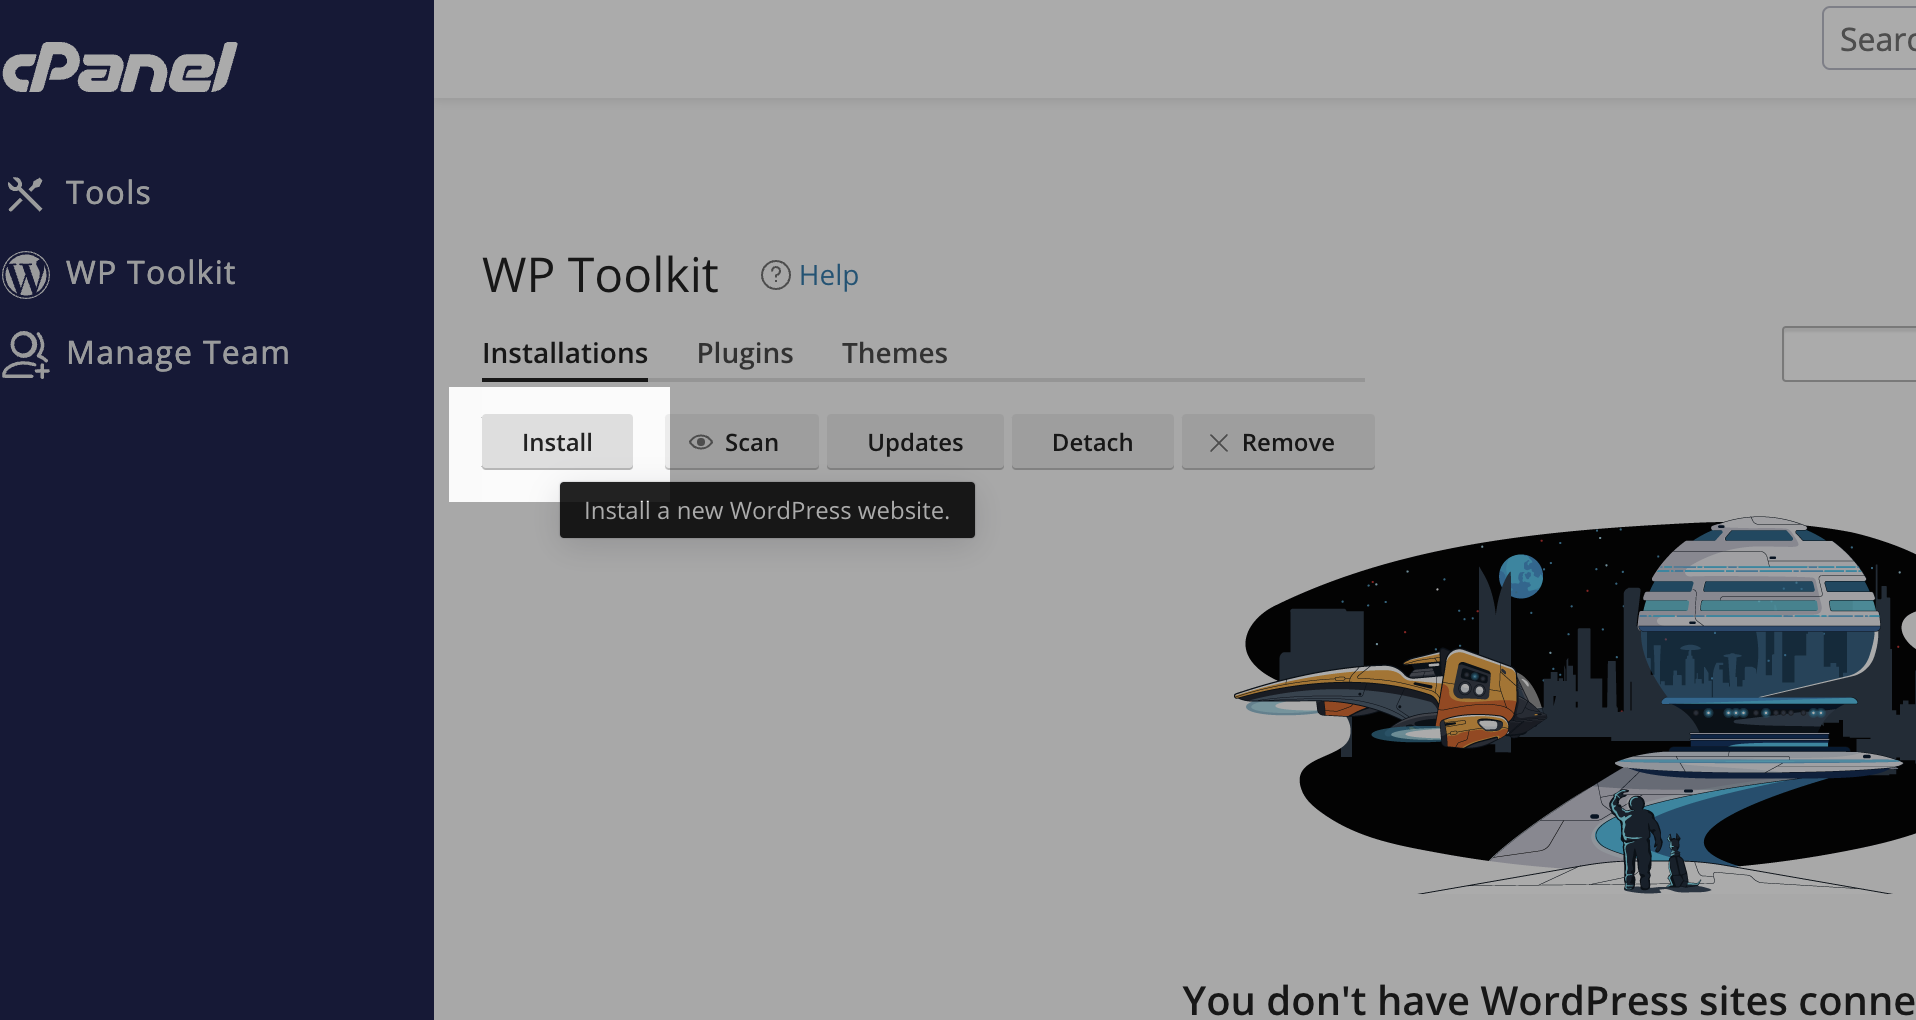
  1. Click the “Install” button.
Install button in cPanel
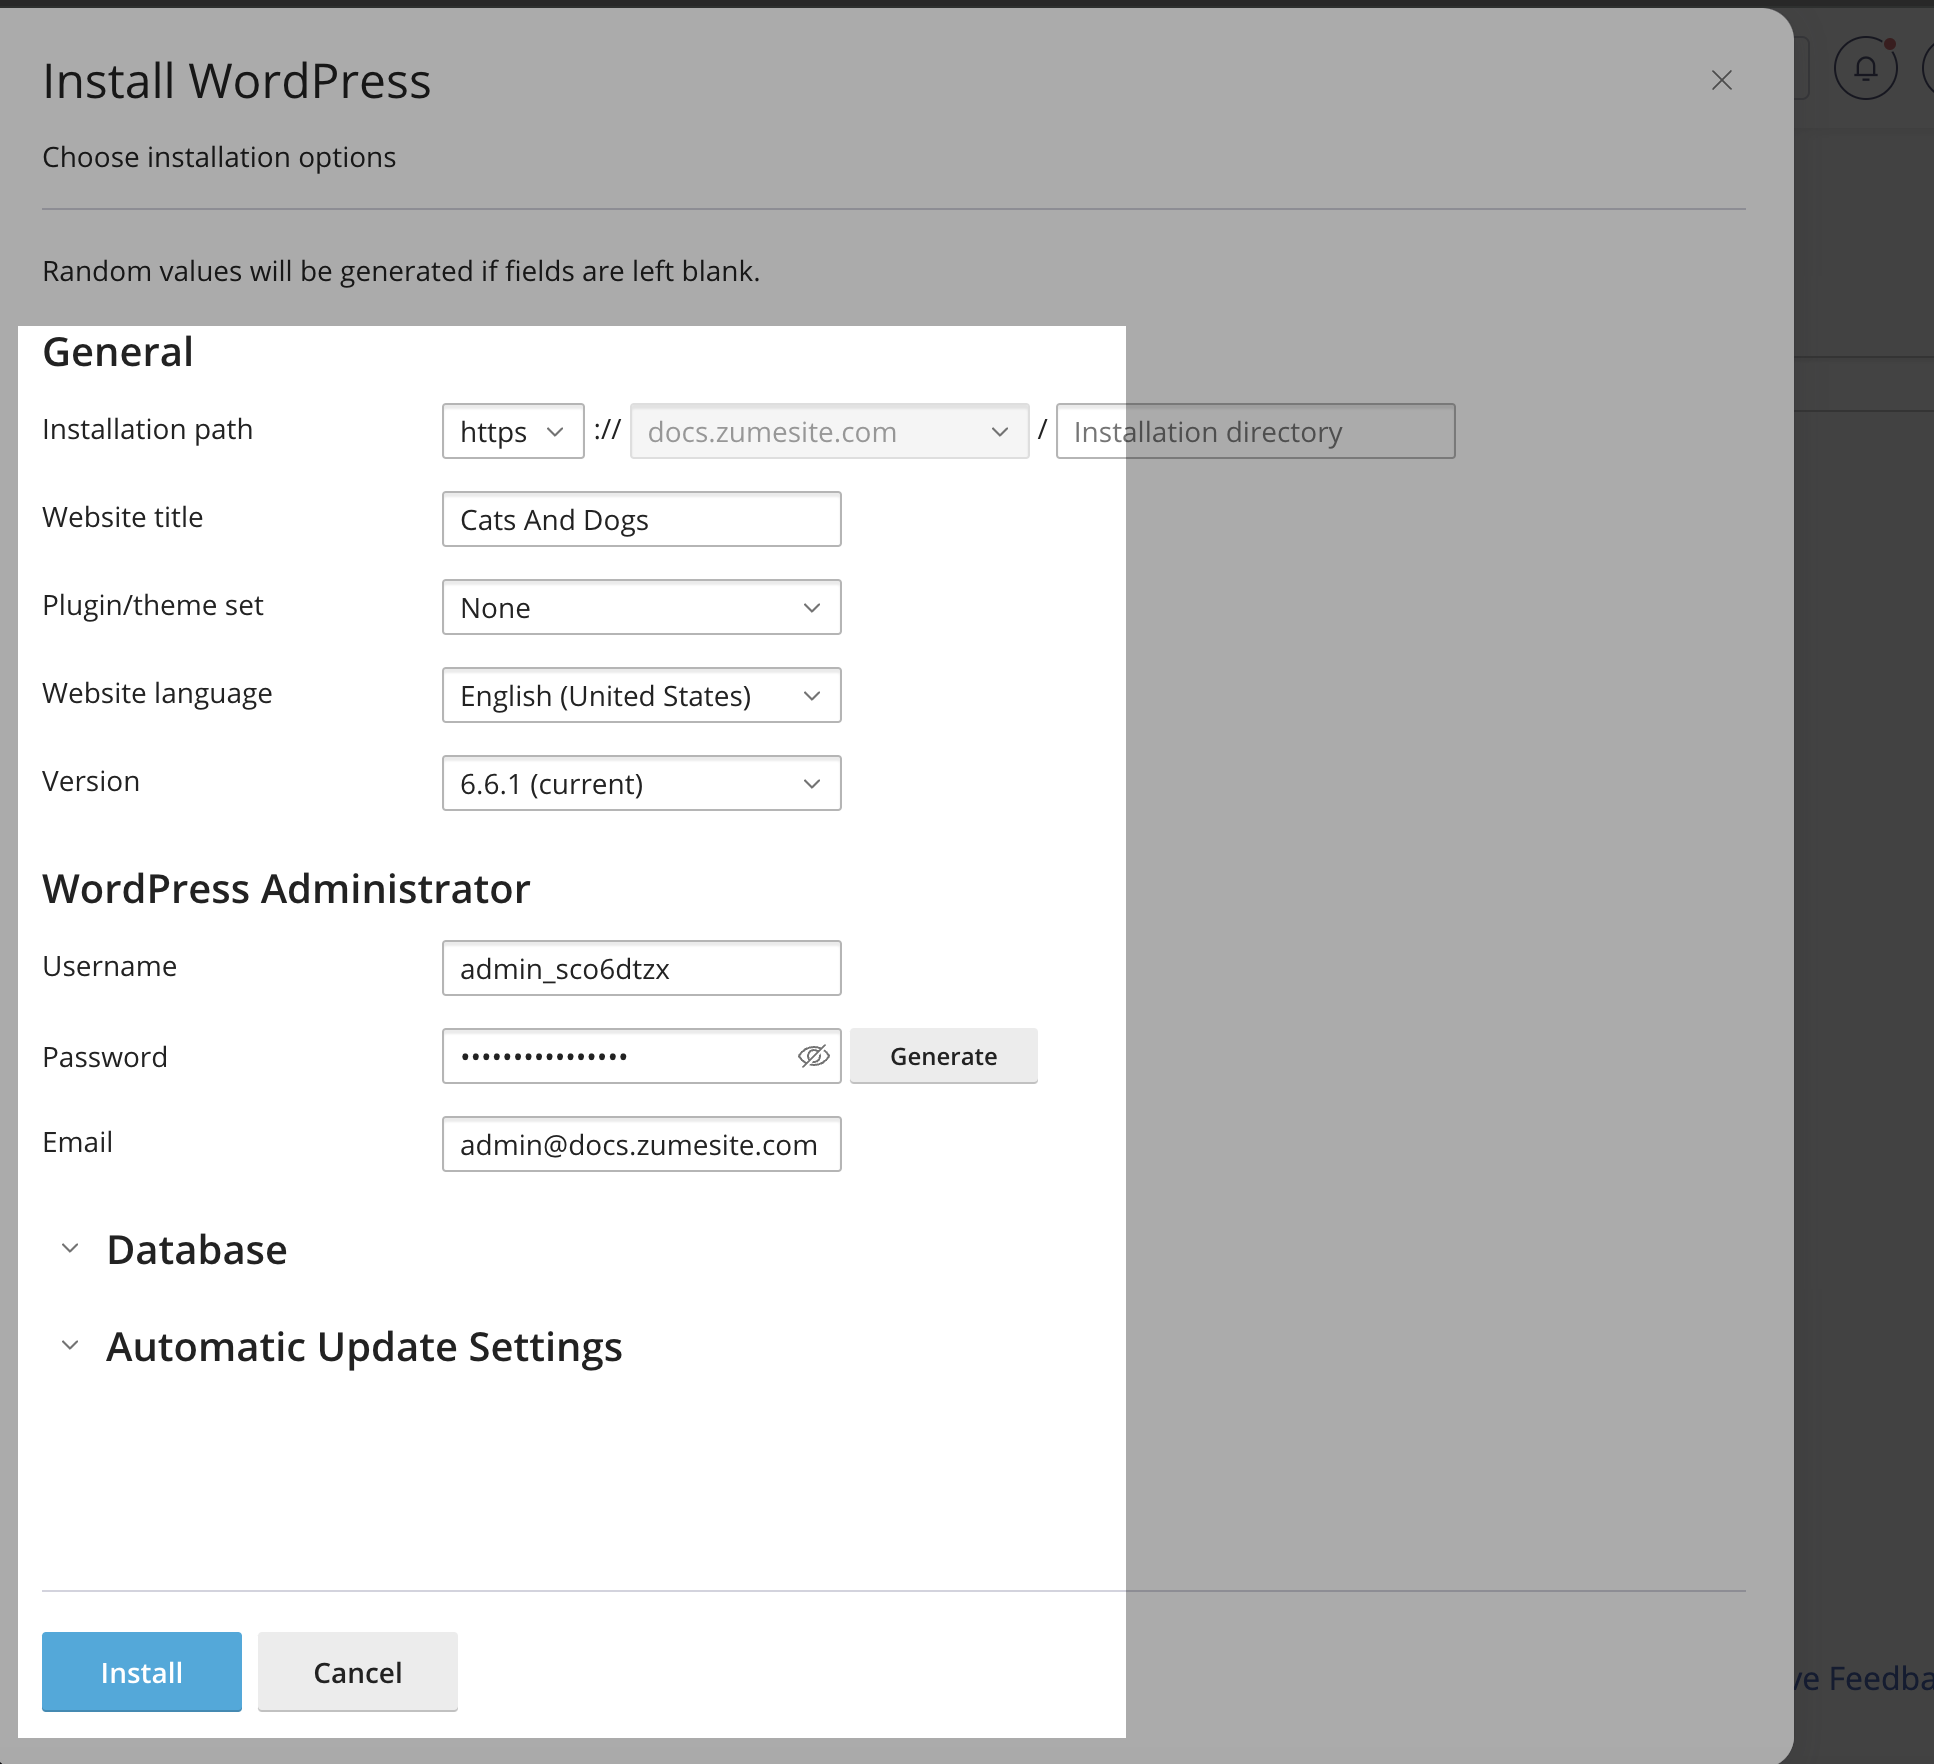
  1. Fill in the information, including the site title, admin username and password. Click the “Install” button.
Fill in the information in cPanel
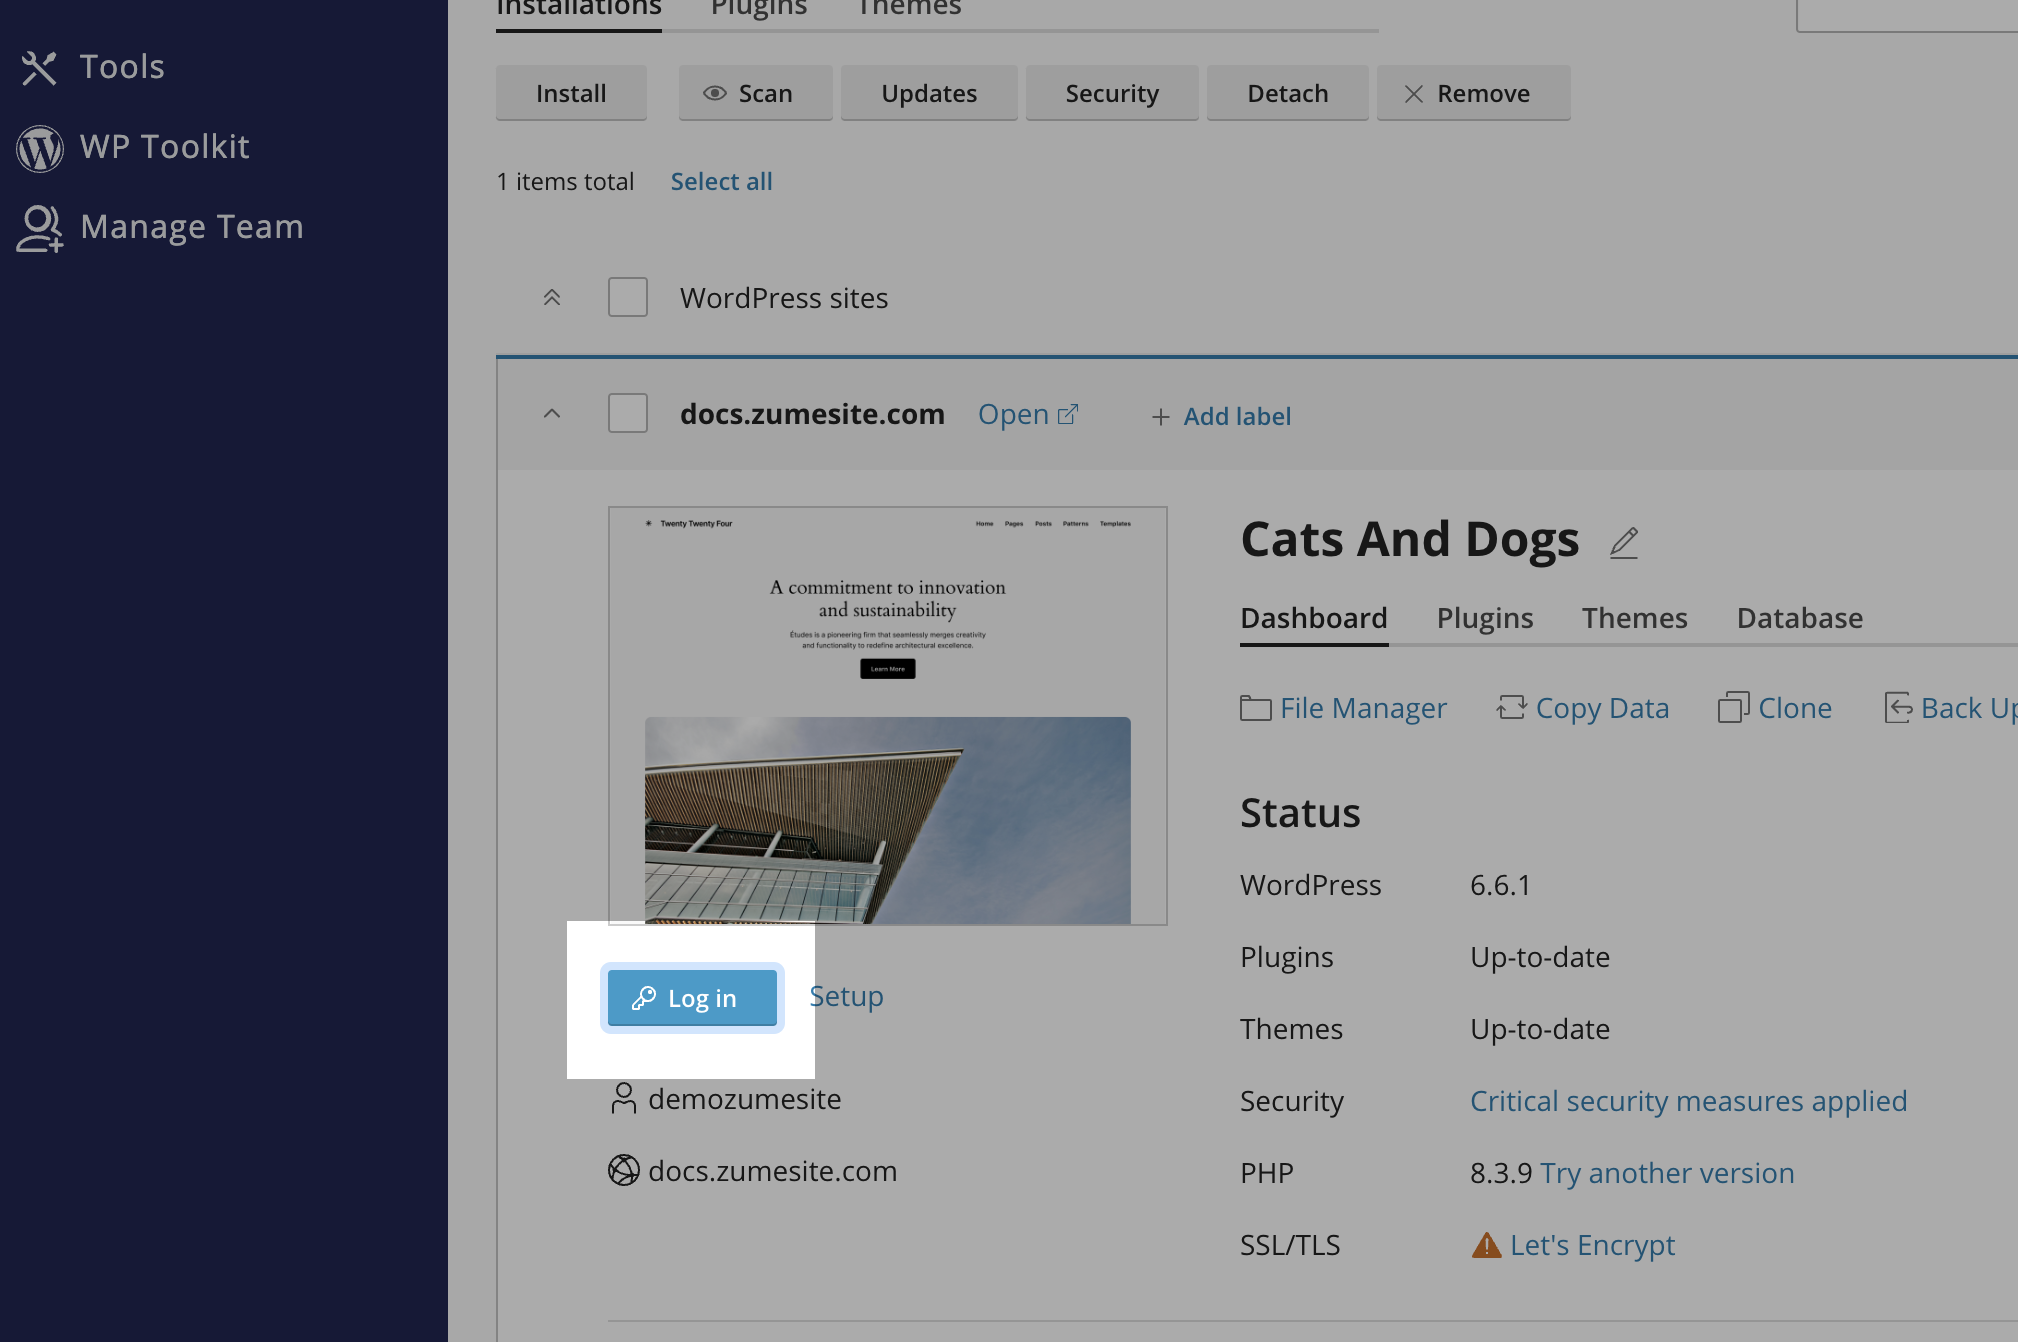
  1. Once the installation is complete, you can access your WordPress dashboard by clicking the “Log in” button.
Log In button in cPanel