How to create a staging site on your Managed WordPress Hosting
Staging sites are useful for testing changes to your website before they are live. Zume’s Managed WordPress Hosting allows you to create a staging site for your WordPress website, so you can test changes before they are live, and deploy in a single click.
Log in to cPanel
Add the staging domain
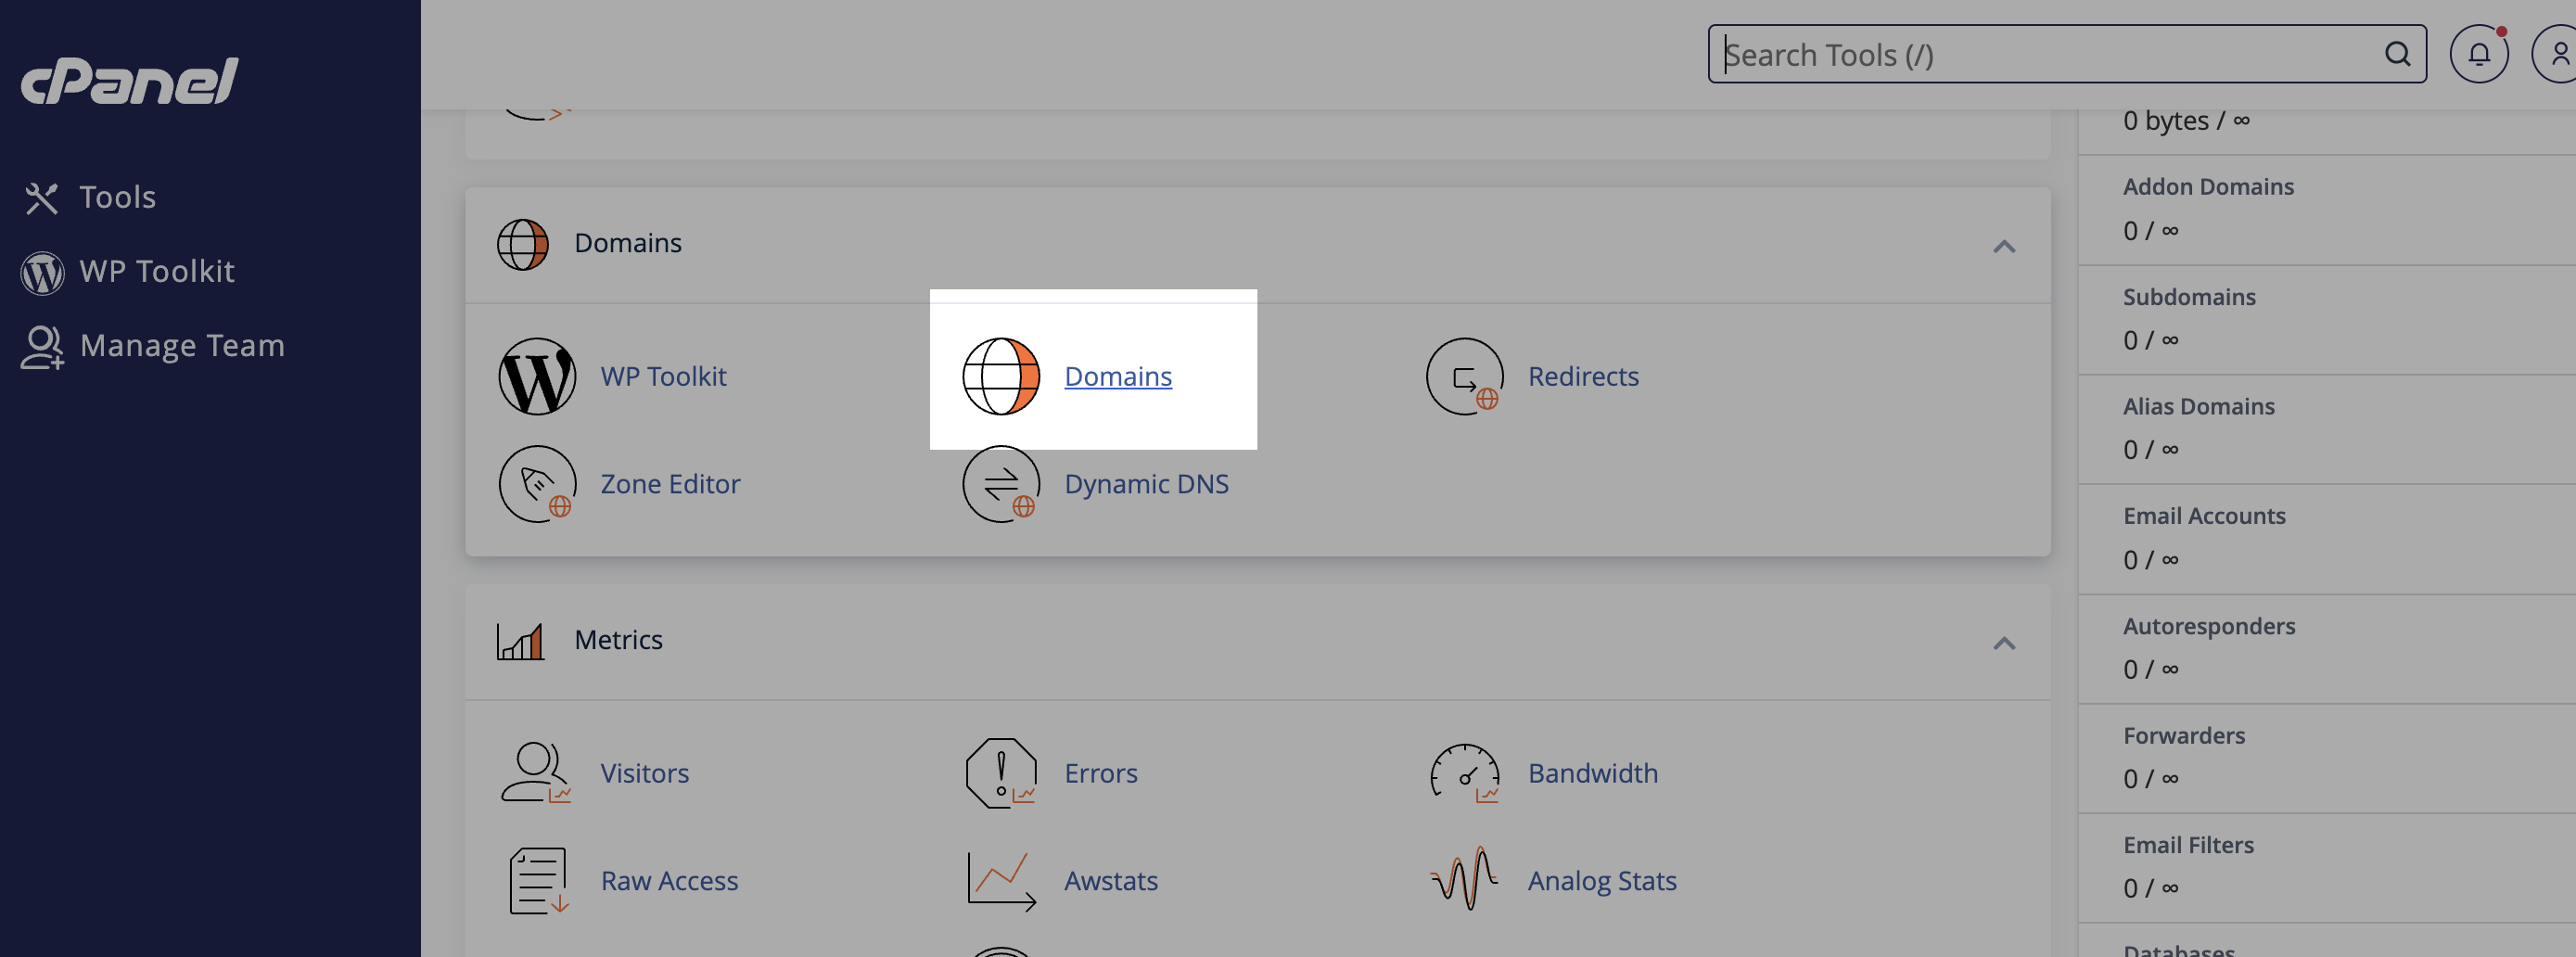
- Scroll to the “Domains” section in cPanel and click the “Domains” menu option.
- Click “Create a New Domain”
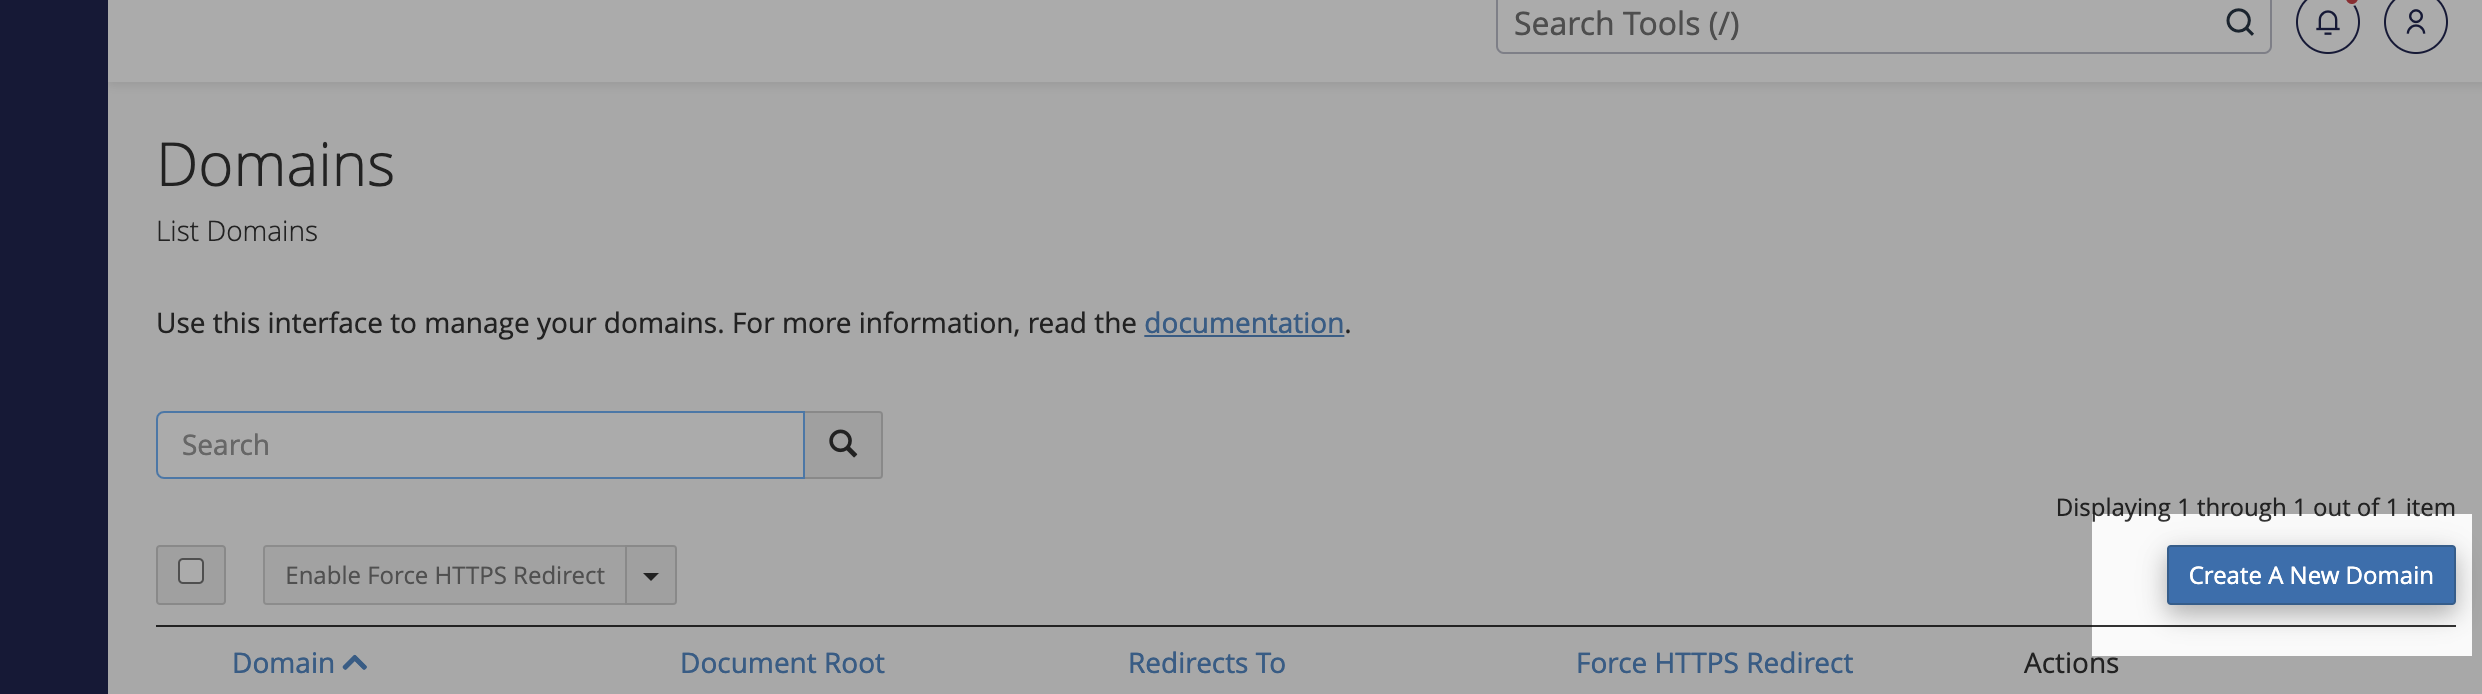
- Enter your desired staging domain name, and click “Submit”.
Make sure you uncheck the ‘Share document root’ checkbox!

Clone the live site
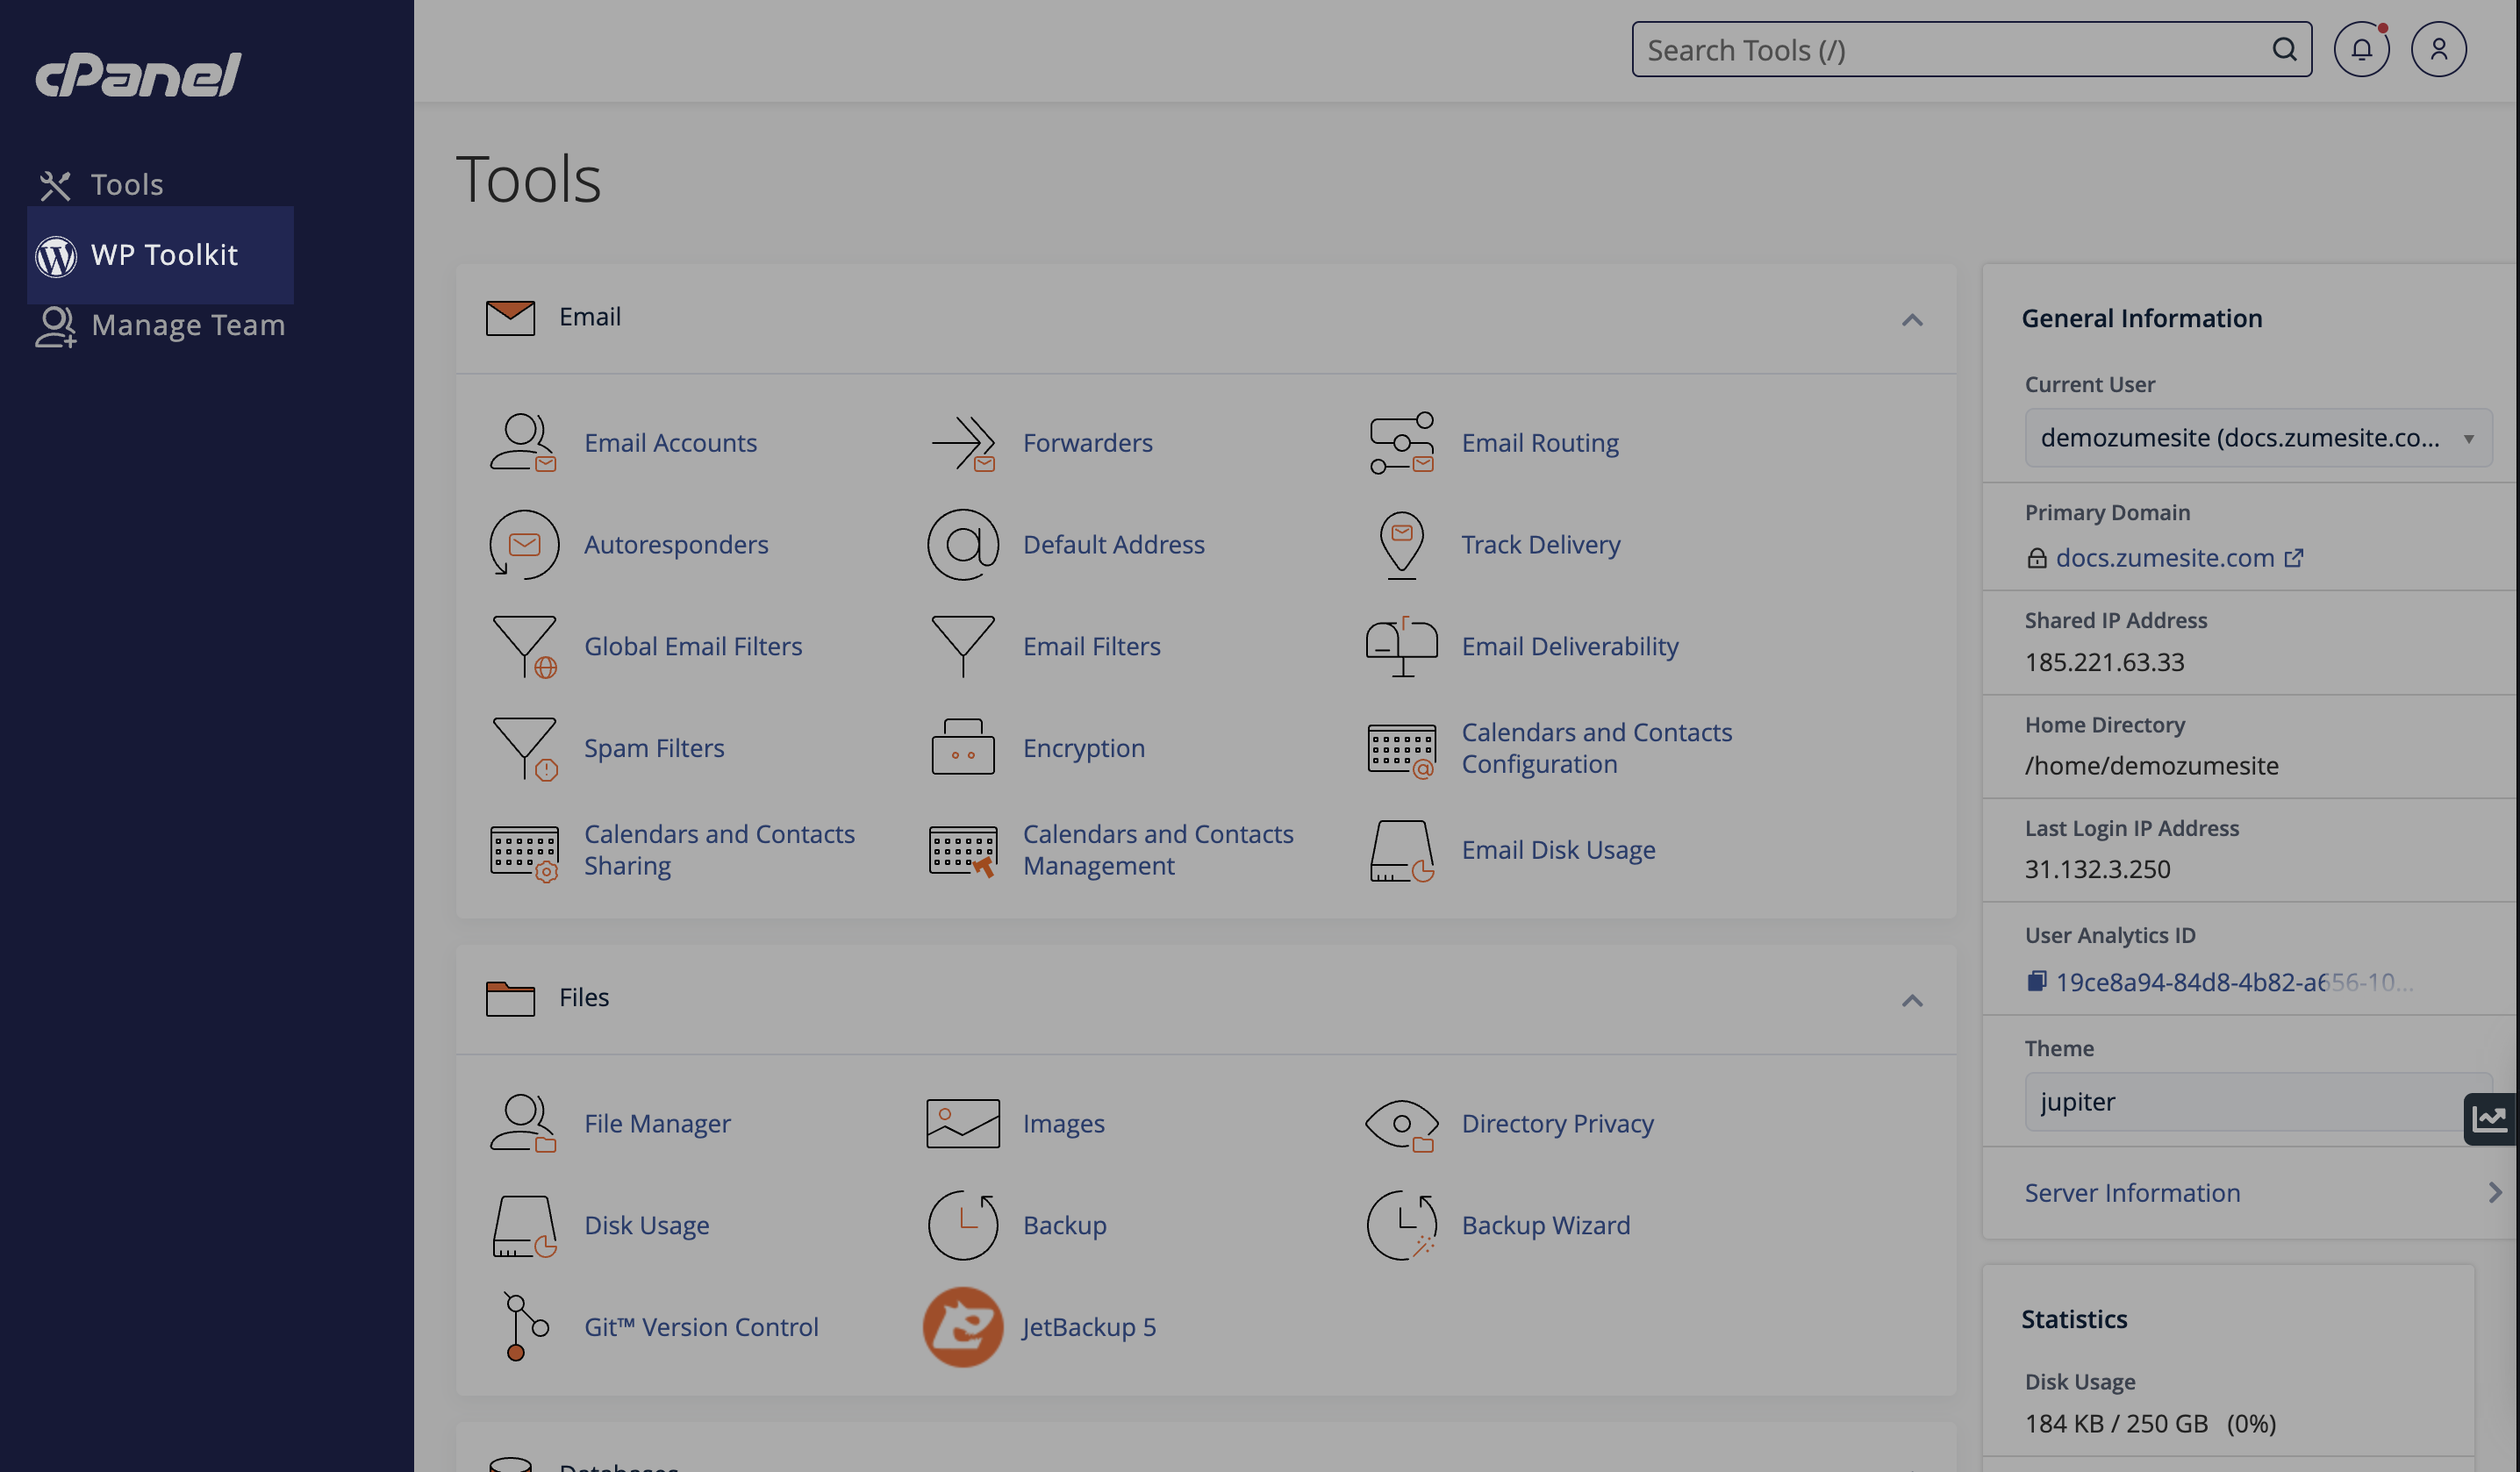
- Navigate to the “WP Toolkit” option on the left-hand menu.
- Click the “Clone” button.

- Click the “Use existing domain” option, and select the domain you just created. Alternatively, you can generate a new domain by selecting the “Create subdomain” option.
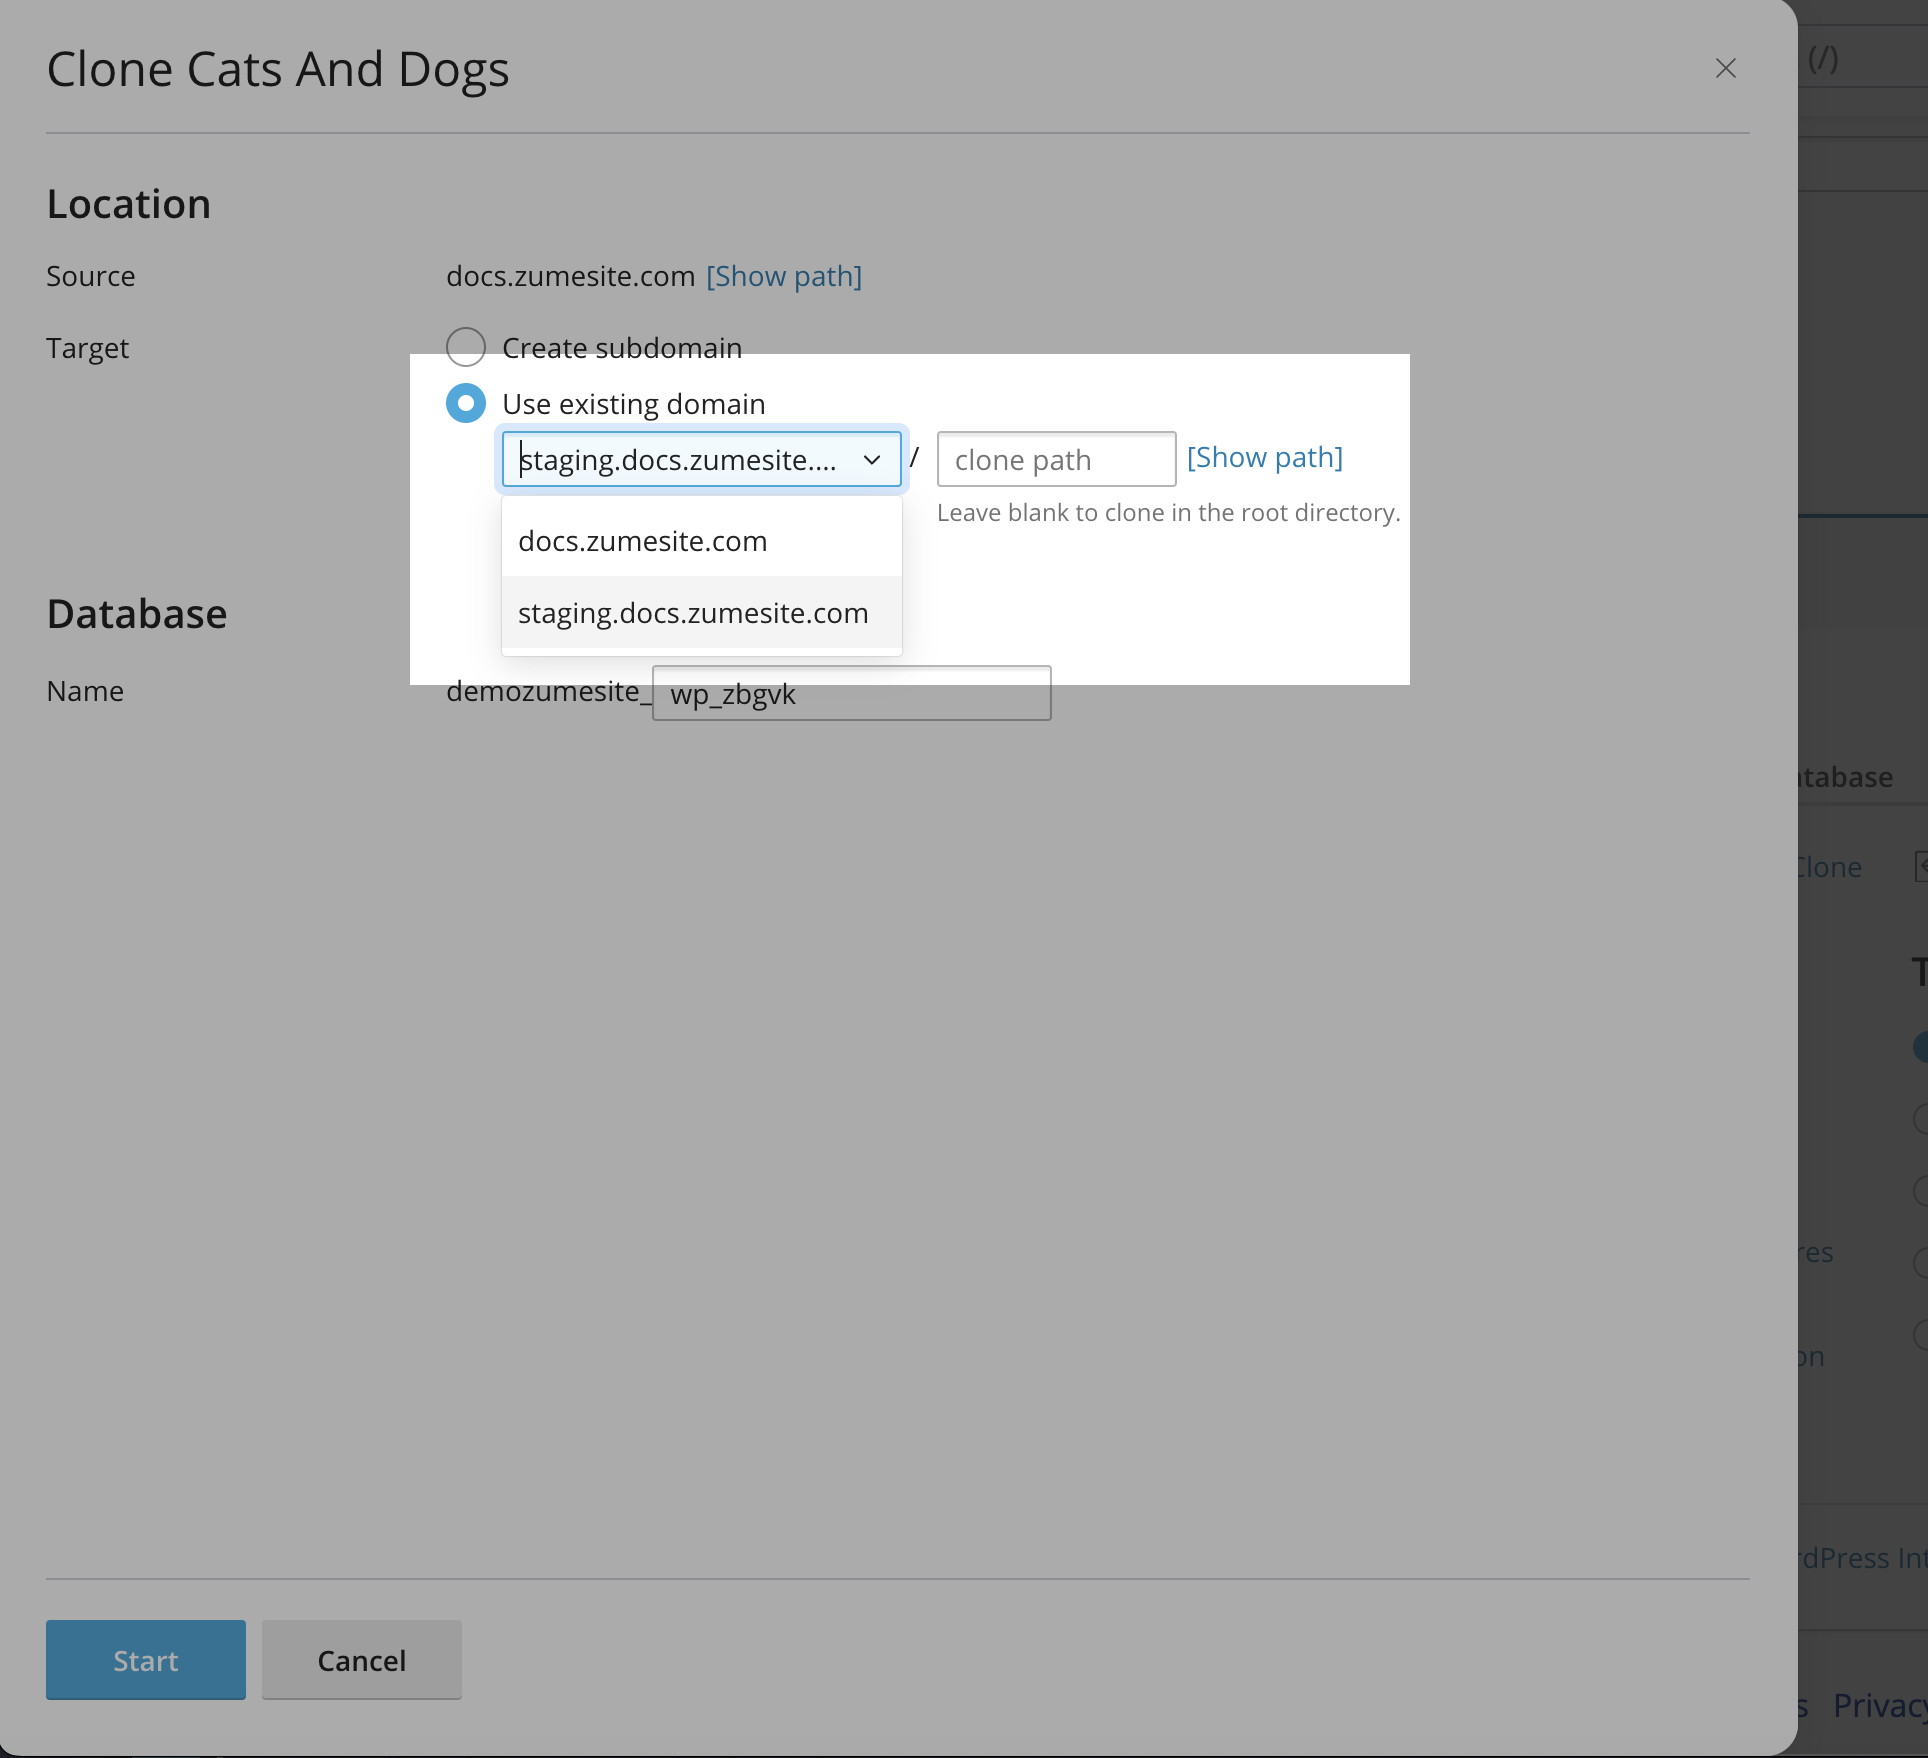
- Click “Start” to clone the live site.
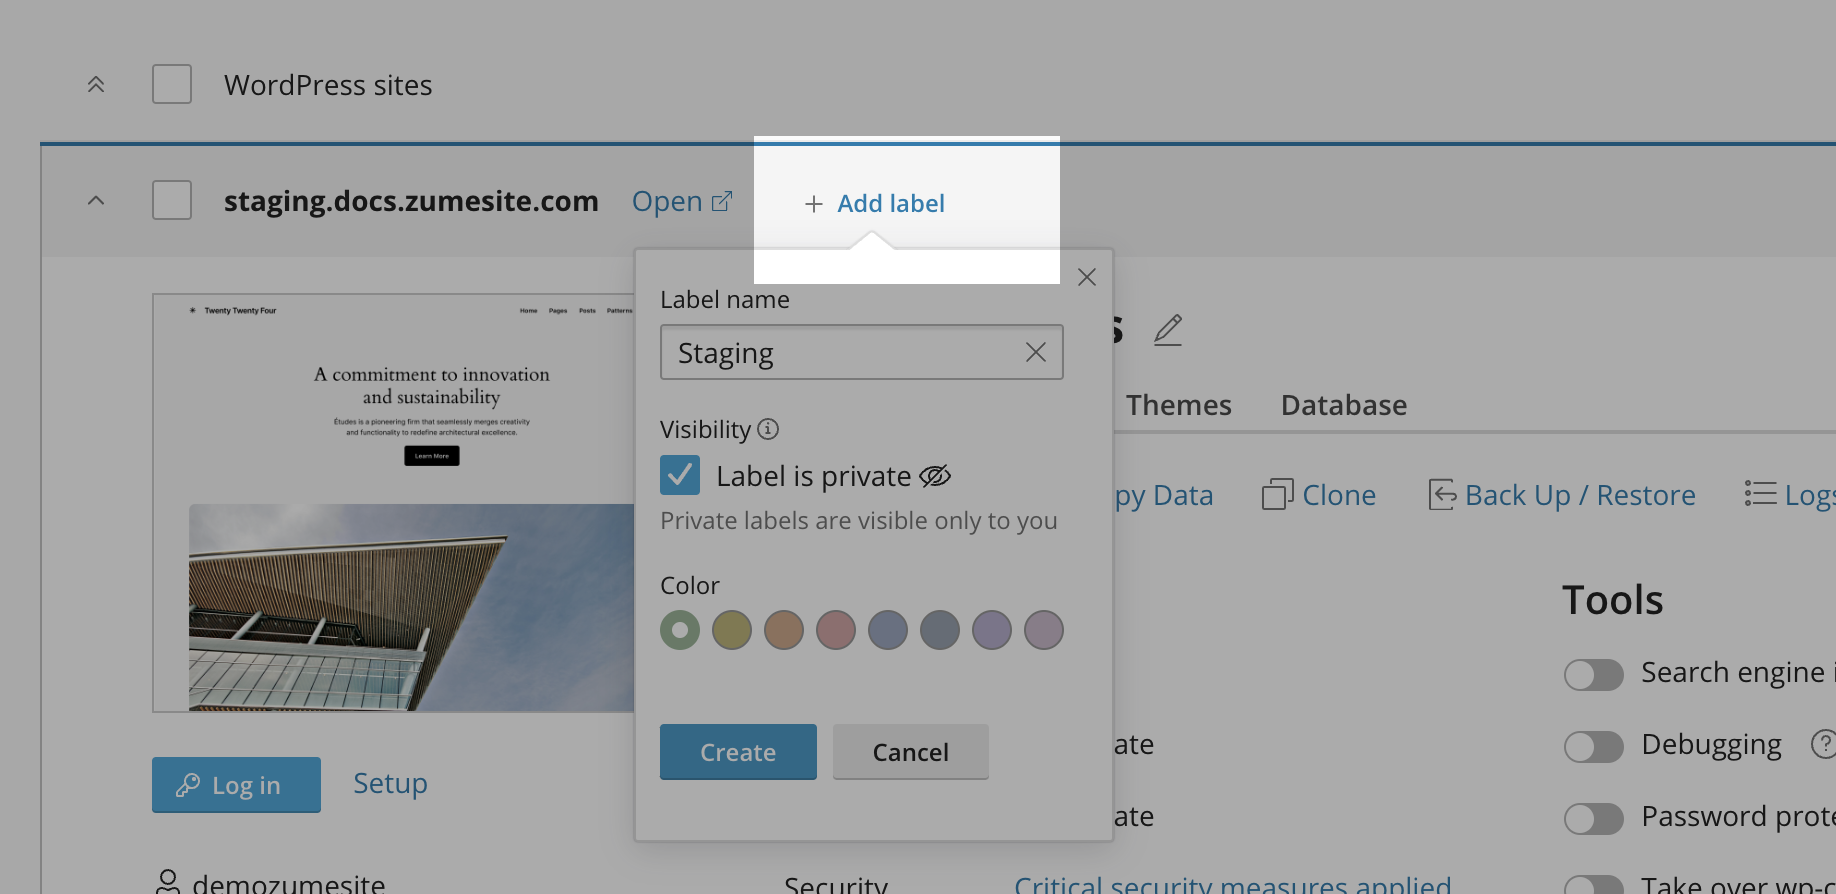
- You may want to add a label to the staging site to make it easier to identify.
Deploy the changes to the live site
- Navigate to the “WP Toolkit” option on the left-hand menu.
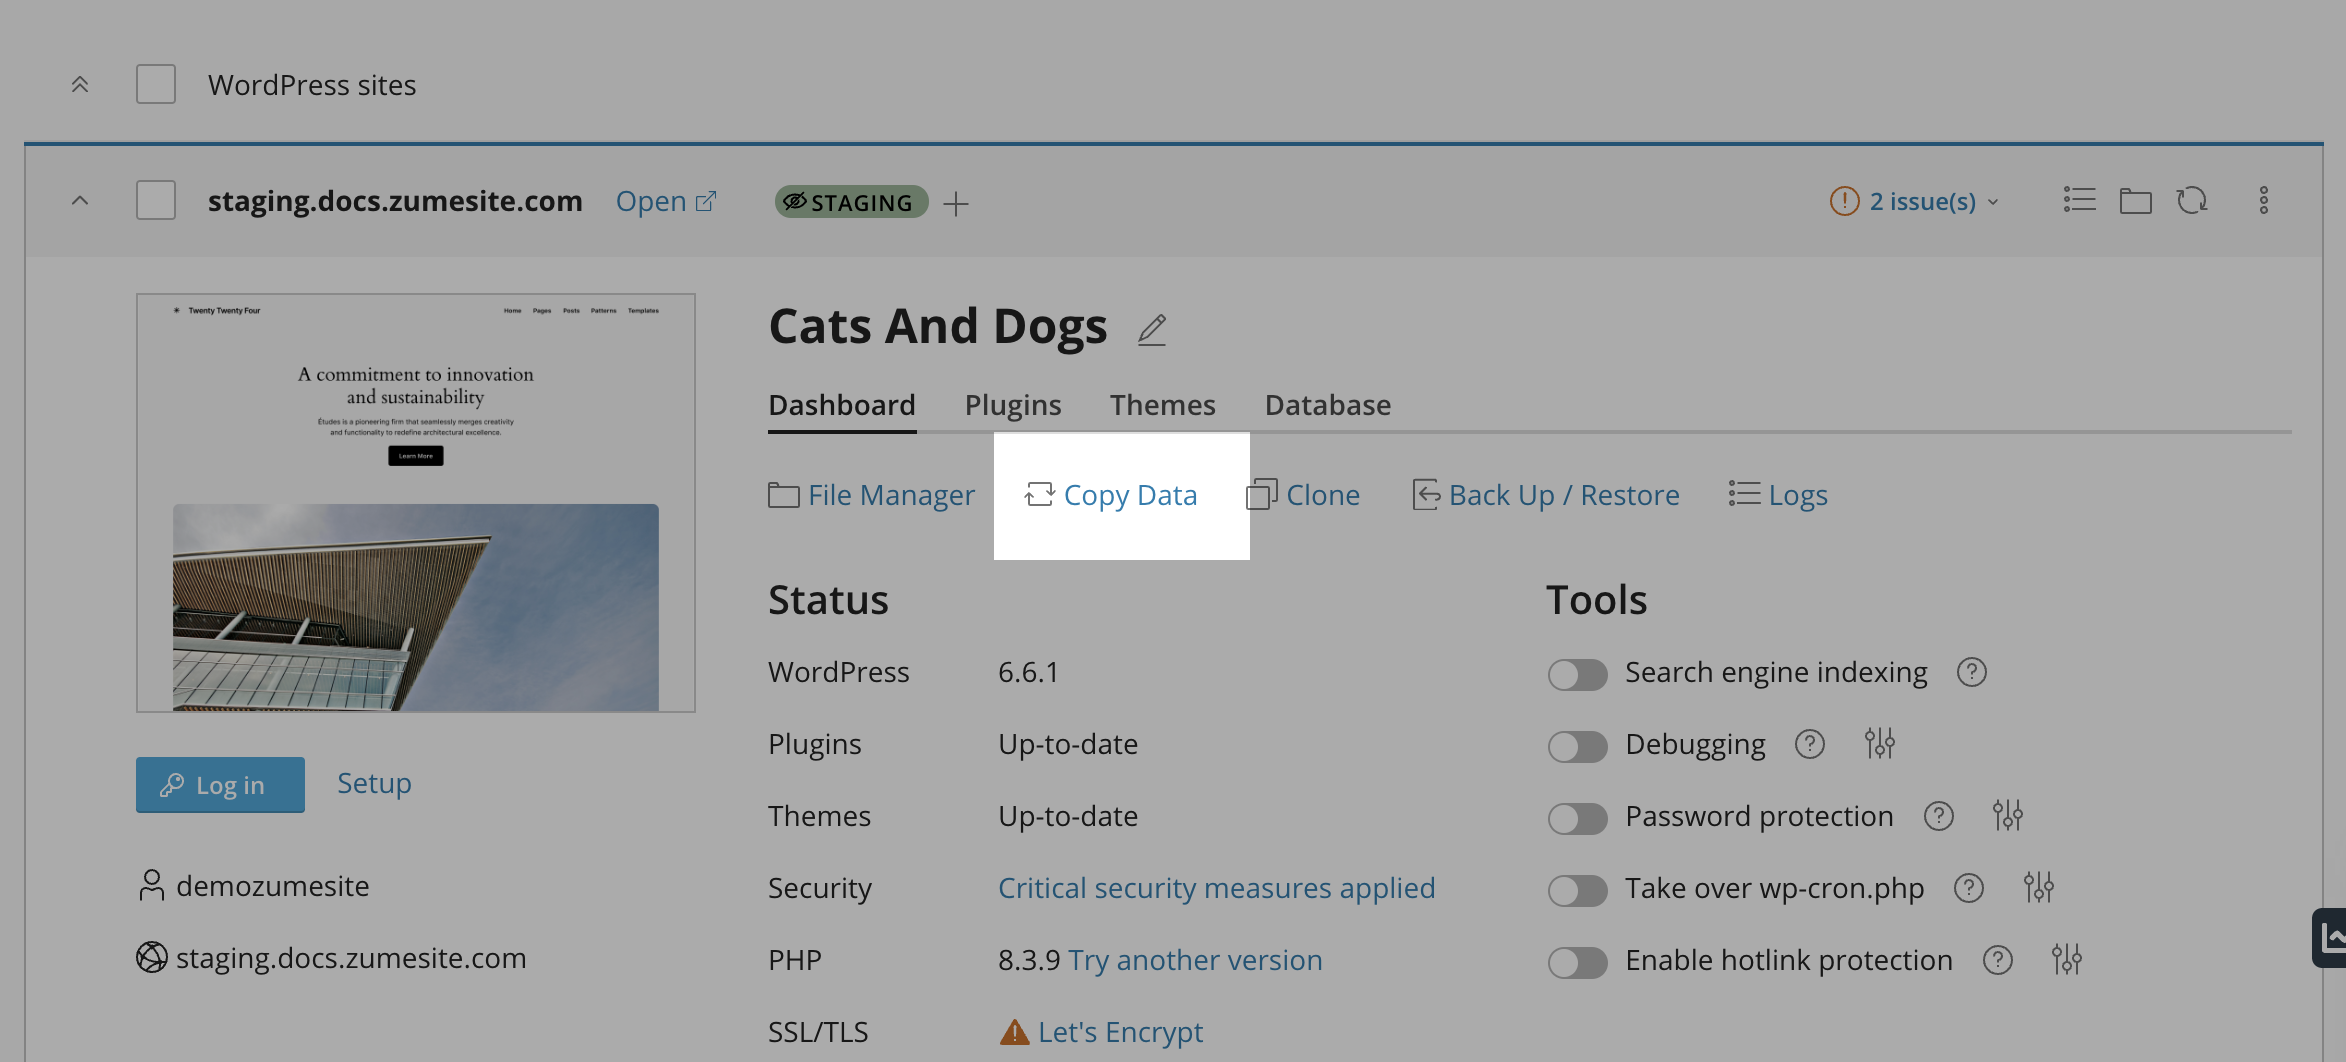
- Locate the staging site that you have been working on. Click the “Copy data” button.
- Under the “Target” dropdown, select the live site that you want to deploy the changes to.
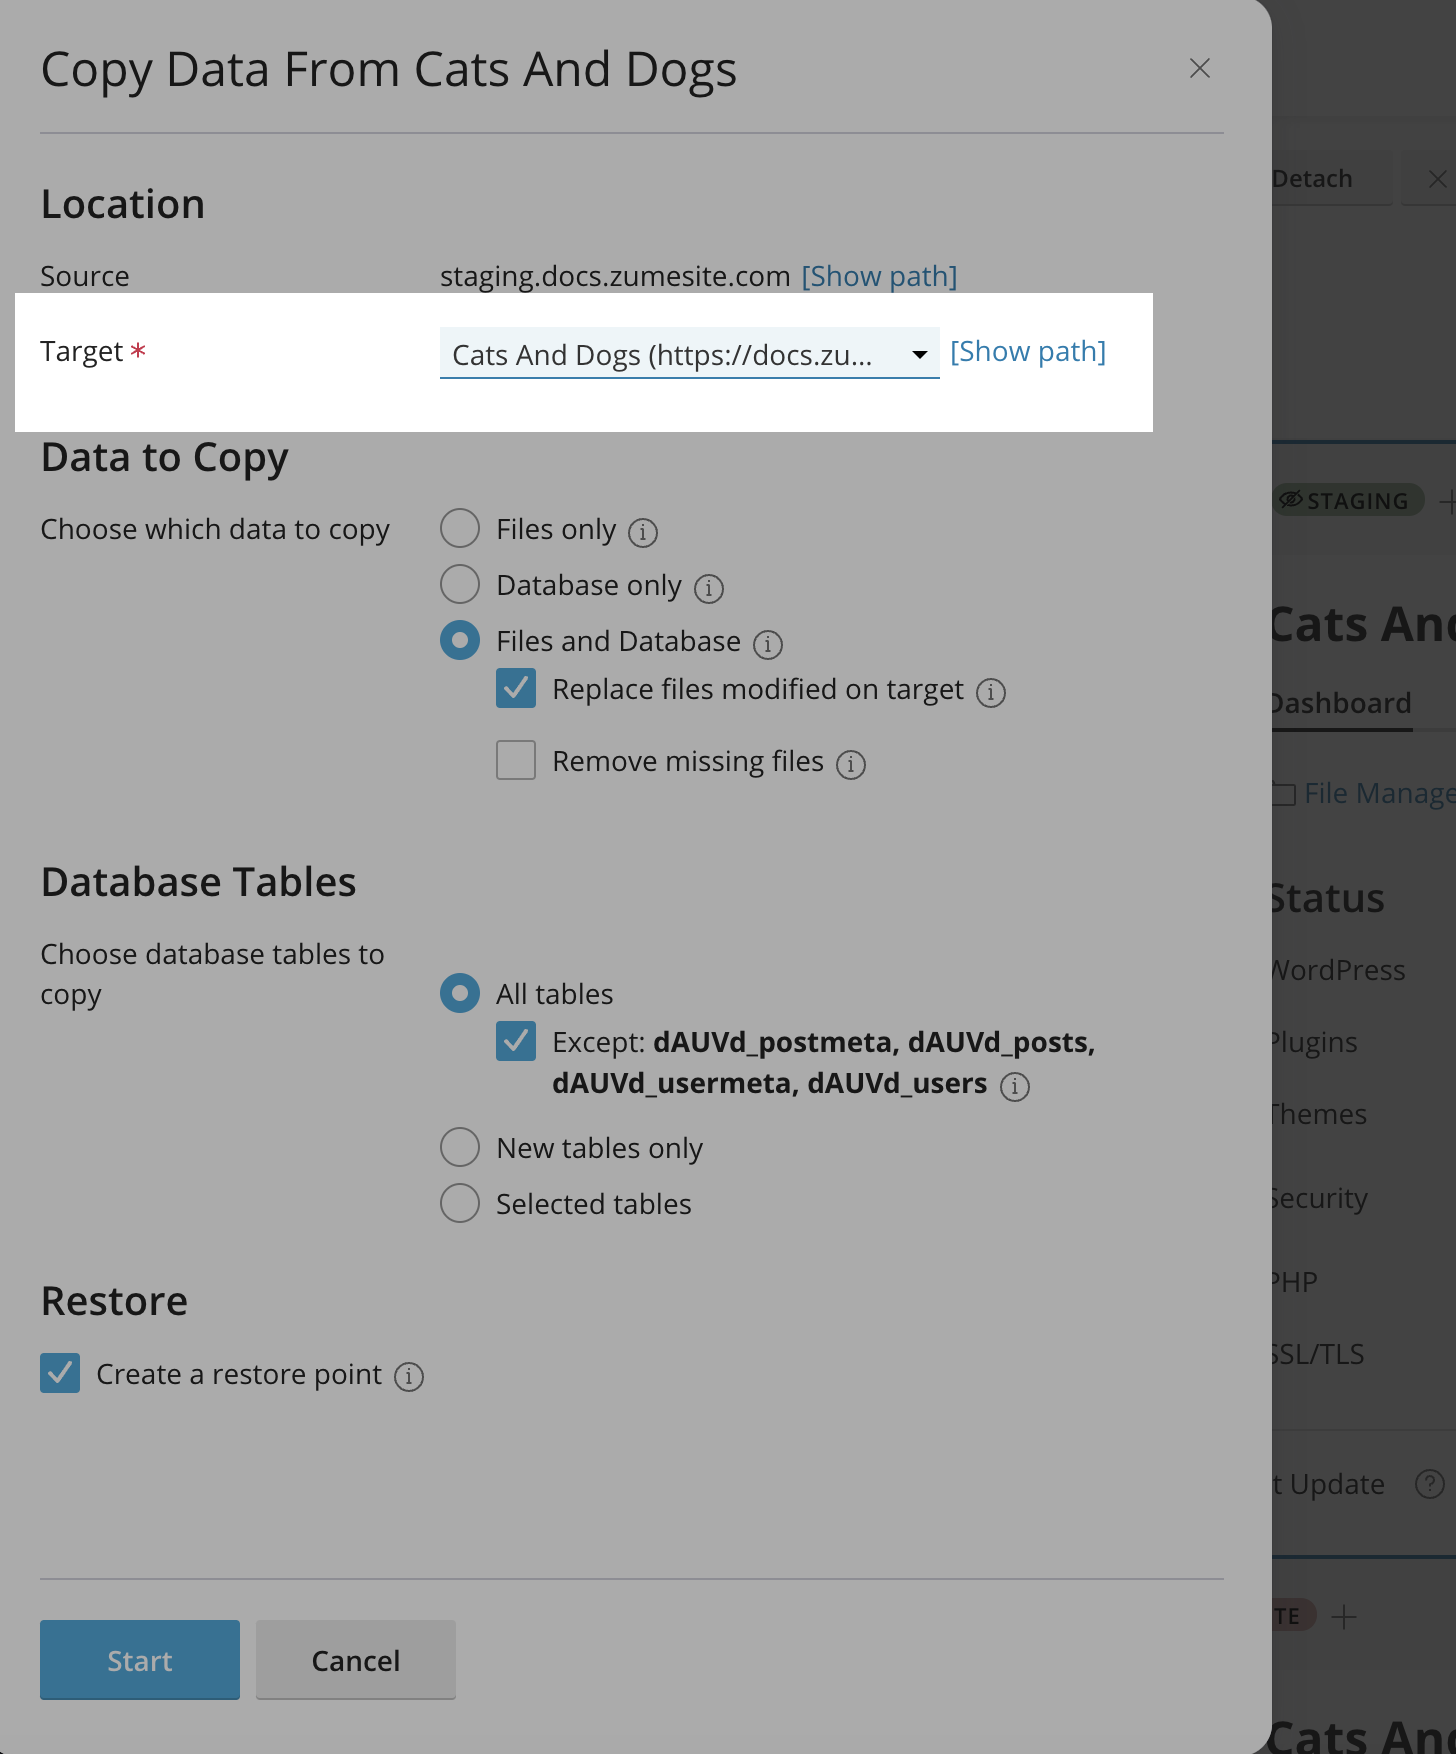
- Click “Start” to deploy the changes.
Make sure you have clicked ‘Copy data’ on the staging site, and selected the live site in the ‘Target’ dropdown!
- The changes have now been deployed to the live site.
Need help?
Can't find what you're looking for? Our support team is here to help.